Connect HighLevel workflows with Apify to run scraping jobs, launch actors, and bring structured external data into your automations without relying on extra webhook setups or third-party connector tools. This guide explains what the integration is, why it is useful, how to connect your account, and how to set it up in workflows. When used correctly, Apify can help you automate research, enrichment, and follow-up processes directly inside HighLevel.
TABLE OF CONTENTS
- What is Apify Actions & Triggers in Workflows?
- Key Benefits of Apify Actions & Triggers
- Prerequisites & Permissions
- Connecting Your Apify Account
- Available Triggers (Apify → HighLevel)
- Available Actions (HighLevel → Apify)
- How To Setup Apify Actions & Triggers
- Common Use Cases
- Frequently Asked Questions
- Related Articles
What is Apify Actions & Triggers in Workflows?
Apify actions and triggers connect HighLevel workflows with Apify so you can run scraping and data collection jobs as part of your automation strategy. Triggers let HighLevel respond when Apify jobs finish, while actions let HighLevel send work to Apify and retrieve the resulting data. This makes it easier to automate lead sourcing, enrichment, and external data processing inside the same workflow.
Key Benefits of Apify Actions & Triggers
- Automated data collection: Launch Apify jobs from workflows to collect external data without manual exports or extra connector tools.
- Faster enrichment: Use scraped website or business data to improve contact records, segmentation, and follow-up workflows.
- More responsive automations: Start a workflow when an Apify actor or task finishes so your team can act on fresh data faster.
- Less manual setup between tools: Keep Apify activity and HighLevel workflow logic connected in one automation flow.
- Better workflow flexibility: Use Apify when HighLevel events should trigger scraping, or use Apify completion events to trigger HighLevel actions.
Prerequisites & Permissions
A few account requirements should be confirmed before building your workflow. Setting these up first helps avoid connection issues and makes testing much smoother.
- Access to Automation → Workflows in the HighLevel sub-account where the workflow will run.
- An Apify account with a valid API key.
- Access to Settings → Integrations if you want to connect Apify outside the workflow builder.
- Premium workflow usage may apply, depending on how these actions and triggers are billed in your HighLevel account.
Connecting Your Apify Account
Connecting your Apify account allows HighLevel to use Apify actions and triggers in workflows. This connection is made using your Apify API key, which authorizes HighLevel to communicate with your Apify account.
- In HighLevel, open Automation → Workflows and add any Apify action or trigger.
→ If not connected, click Connect Now and sign in to ClickUp to approve access.
→ If already connected, fields load instantly in the step.
- Alternate path: Sub-Account settings → Integrations → ClickUp → Connect.

Available Triggers (Apify → HighLevel)
Apify triggers let a HighLevel workflow start when activity is completed inside Apify. This is useful when HighLevel should wait for scraping or data processing to finish before taking the next step.
| Trigger | Description |
|---|---|
| Finished Actor Run | Starts the workflow when an Apify actor run finishes. |
| Finished Task Run | Starts the workflow when an Apify task run finishes. |
Available Actions (HighLevel → Apify)
Apify actions let HighLevel workflows send requests to Apify and work with the returned results. These actions are useful when a HighLevel event should trigger scraping, enrichment, or data retrieval.
| Action | Description |
|---|---|
| Run A Task | Executes a predefined Apify task. |
| Run An Actor | Starts an Apify actor using workflow-provided input. |
| Scrape Single URL | Extracts structured data from a single webpage. |
| Fetch Dataset Items | Retrieves output data returned by an Apify run. |
| Find Last Task Run | Returns details from the latest task execution. |
| Find Last Actor Run | Returns details from the latest actor execution. |
How To Setup Apify Actions & Triggers
A clear setup process helps make sure your workflow runs in the right direction, waits for data when needed, and processes results reliably. Testing with a simple use case first is the best way to confirm your mappings and timing.
1. Open a workflow
Go to Automation → Workflows and create a new workflow or open an existing one.

2. Connect Apify
Add an Apify step and connect your account using your API key, or connect Apify first through Settings → Integrations.

3. Choose the workflow direction
Choose the setup pattern that matches your goal:
- Apify → HighLevel (Trigger-first): Use an Apify trigger when the workflow should start after an Apify run finishes.

- HighLevel → Apify (Action-first): Use an Apify action when a HighLevel event should launch scraping or data retrieval.

4. Configure the trigger or action
Set up the specific Apify trigger or action you want to use.
Examples:
- Select Finished Actor Run if HighLevel should respond after an actor completes.
- Select Run A Task if a workflow should start a saved Apify task.
- Select Scrape Single URL if you want to collect structured data from one webpage.

5. Use a Wait step before fetching returned data
When your workflow starts an Apify actor or task and then needs the result, add a Wait step before using Find Last Actor Run, Find Last Task Run, or Fetch Dataset Items. This helps make sure the Apify run has enough time to finish before HighLevel tries to process the returned data.
6. Test and publish
Run a small test first, confirm the returned data looks correct, and then publish the workflow once all mappings and actions are working as expected.
Common Use Cases
Real-world examples make it easier to decide where Apify fits into your automation strategy. The examples below focus on practical ways agencies and businesses can use scraped or structured data inside HighLevel.
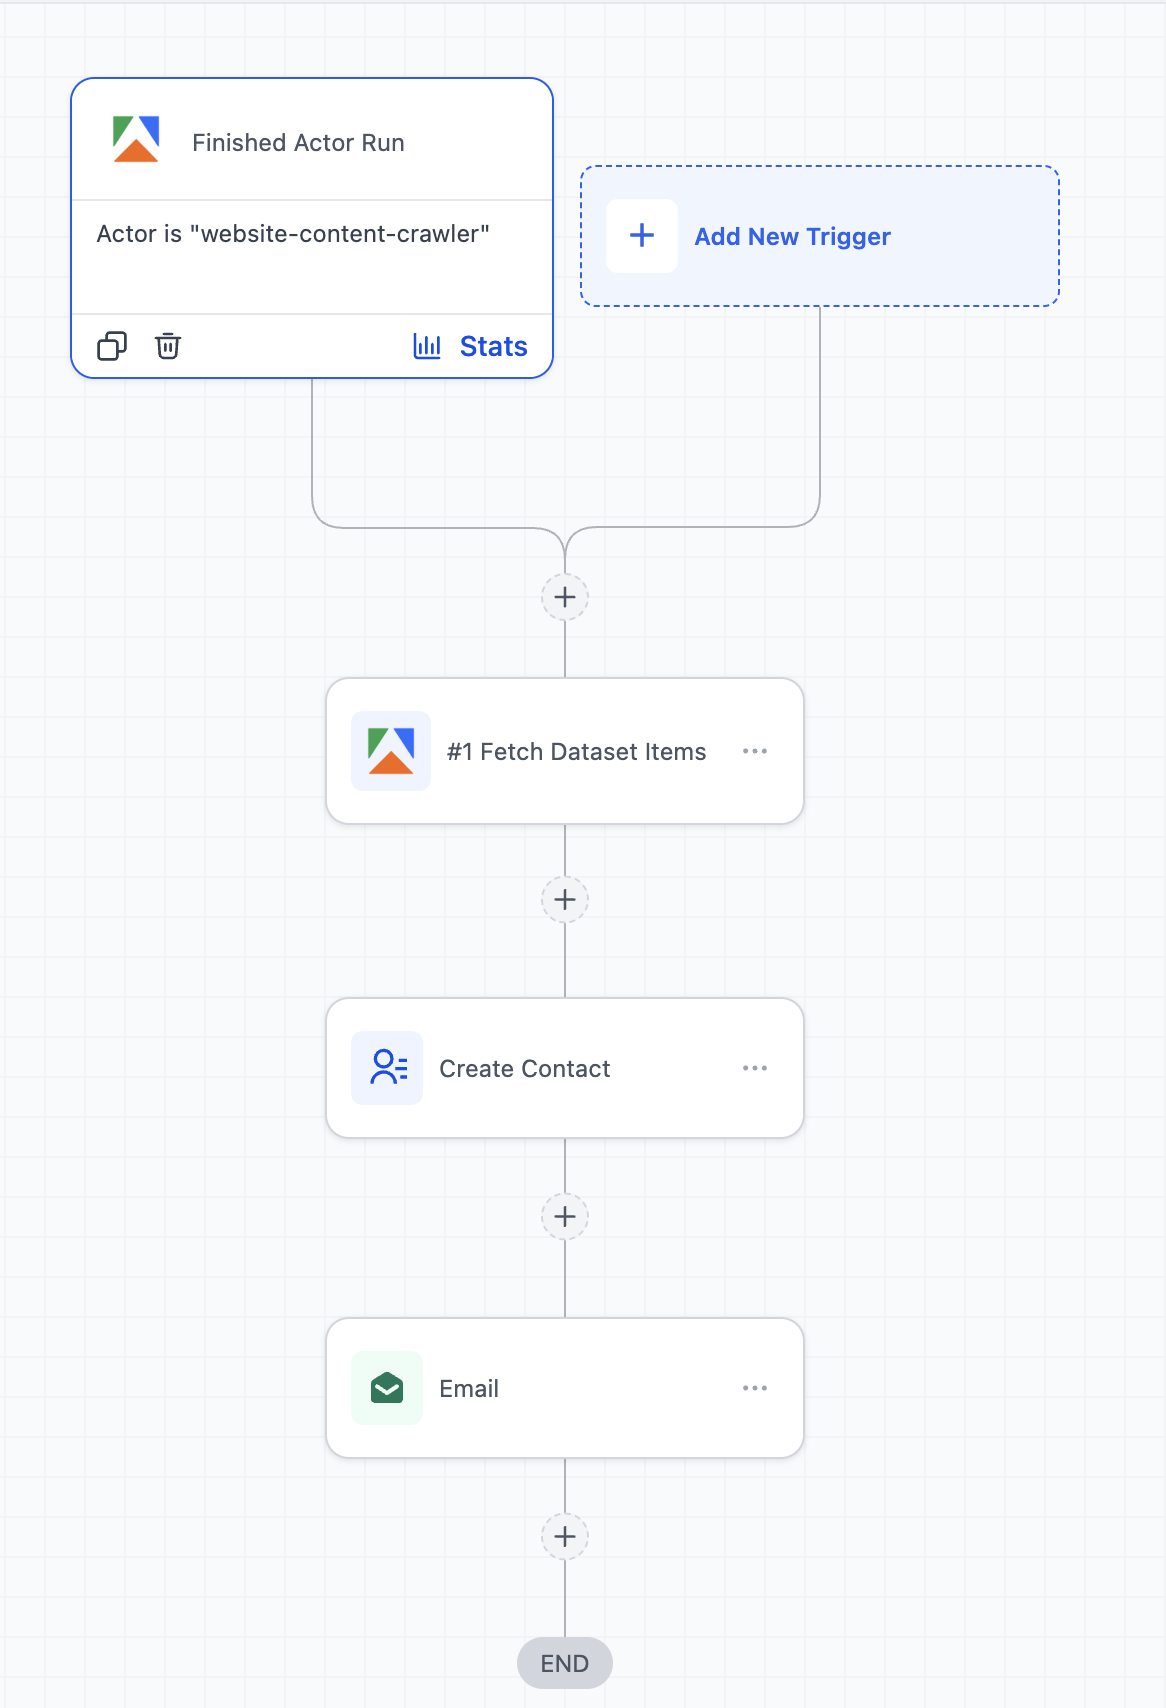
Use Case 1: Local Business Lead Generation from Google Maps
Goal: Automatically generate local leads for outreach campaigns
Workflow Setup:
- Trigger: Finished Actor Run (Google Maps scraper in Apify)
- Action: Fetch Dataset Items
- Action: Create/Update Contact
- Action: Add to Workflow (Email/SMS campaign)
Example:
A marketer runs an Apify actor to scrape dentists in a city → once completed, leads are automatically added to HighLevel → each lead is enrolled into a cold outreach campaign with email and SMS follow-ups.
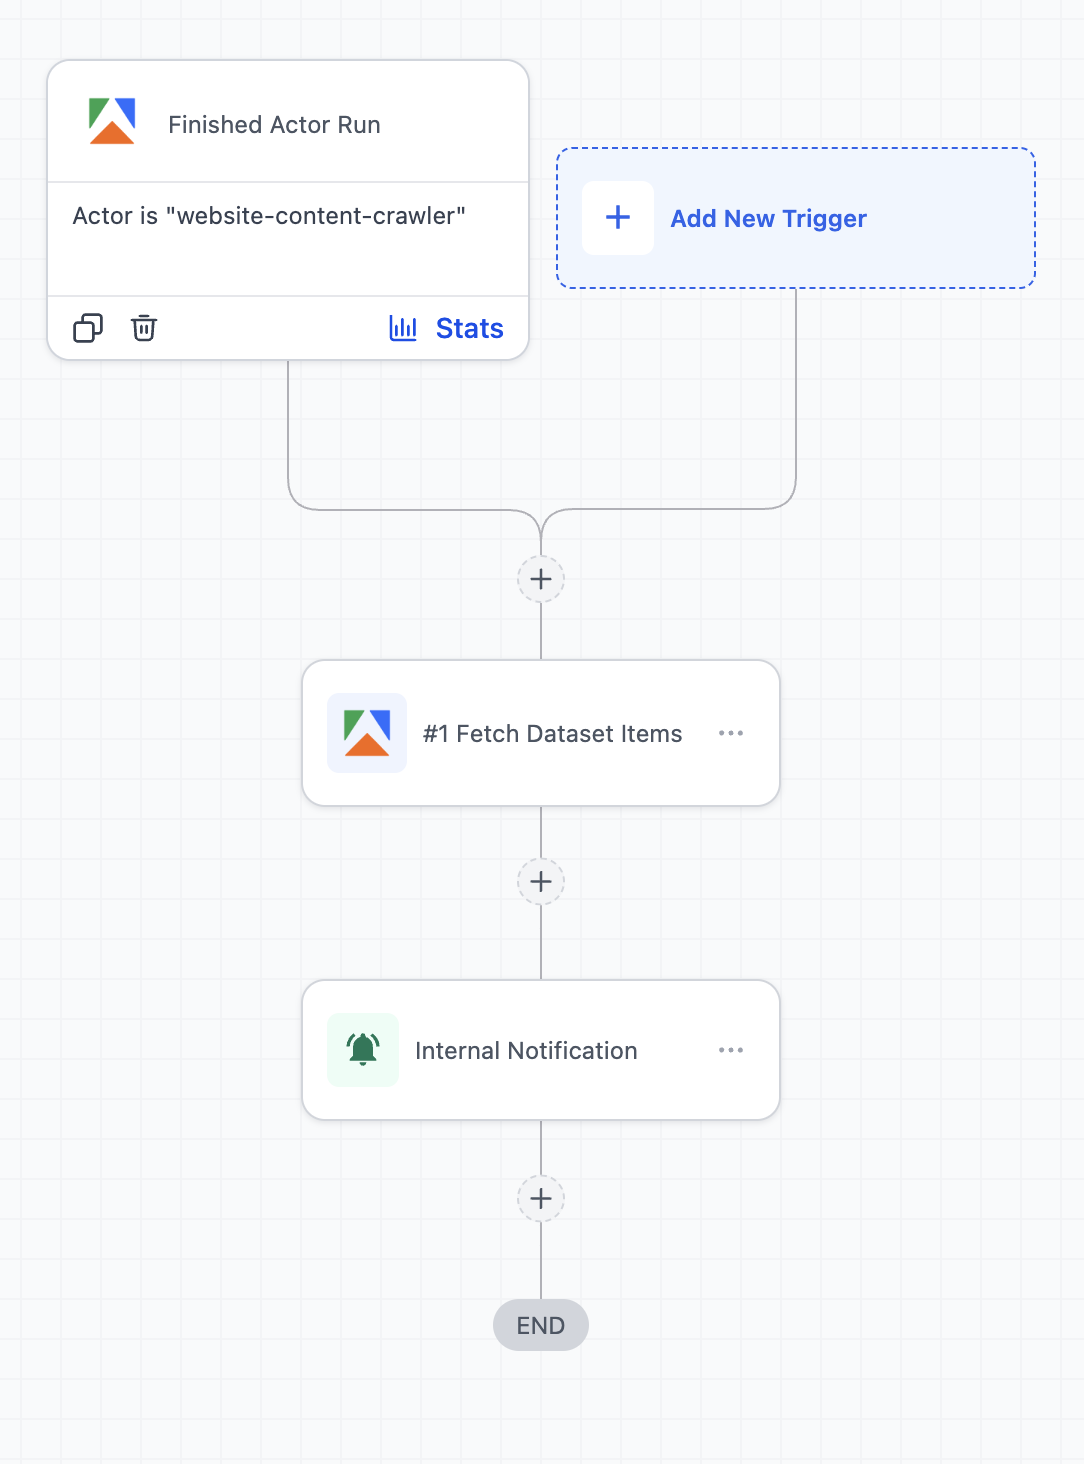
Use Case 2: Competitor Monitoring & Instant Alerts
Goal: Track competitor updates and react quickly
Workflow Setup:
- Trigger: Finished Task Run (website/product scraper)
- Action: Fetch Dataset Items
- Action: Send Internal Notification
- Action: Create Task (HighLevel)
Example:
An Apify task monitors competitor websites or pricing pages → when changes are detected, the workflow triggers → the marketing team gets notified and a task is created to respond (e.g., update ads or pricing strategy).
Frequently Asked Questions
Q: How do I handle large datasets?
Add a Wait step after running an actor or task, then use Fetch Dataset Items and process the returned data in manageable workflow steps.
Q: Are there charges for using Apify actions and triggers?
Yes. Usage may include Apify charges based on your Apify account, along with premium workflow usage in HighLevel where applicable.
Q: Where do I connect Apify in HighLevel?
You can connect it from an Apify step inside Automation → Workflows, or through Settings → Integrations.
Q: What should I do if no data is returned?
Confirm the Apify run completed successfully, check that the correct action was used, add a Wait step before fetching results, and test again with a small sample.
Related Articles
Was this article helpful?
That’s Great!
Thank you for your feedback
Sorry! We couldn't be helpful
Thank you for your feedback
Feedback sent
We appreciate your effort and will try to fix the article