The layout and navigation editor lets you decide what clients see first, how your app's menu is organised, and which extra pages appear in it, without writing any code.
Open the Editor
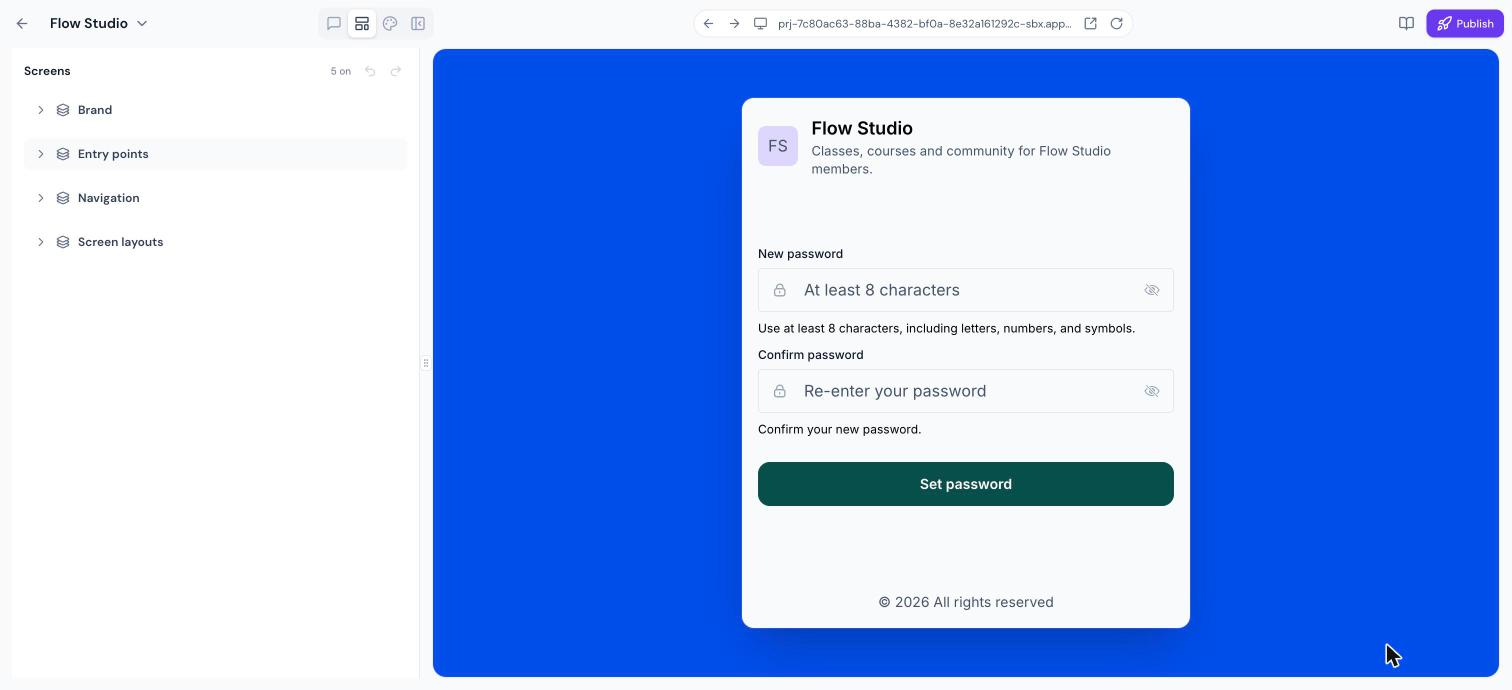
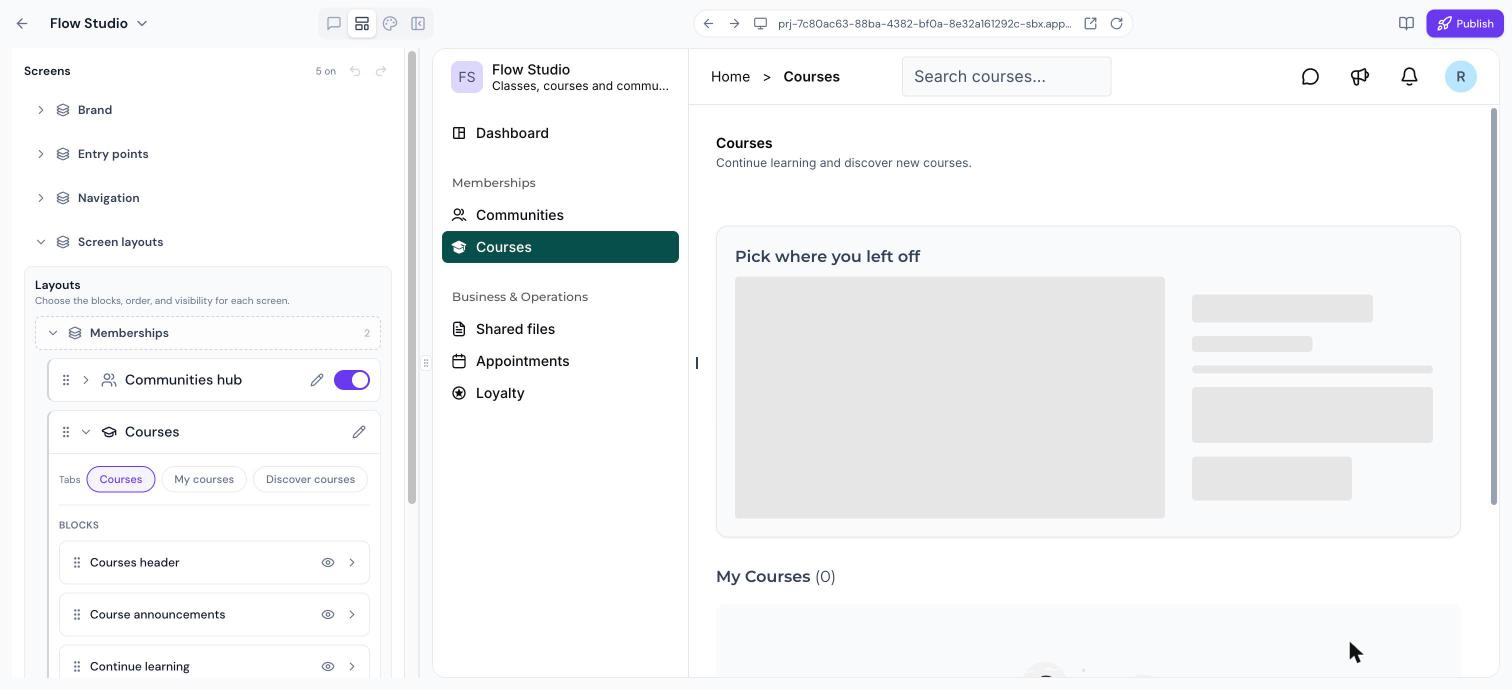
Open your app and click the Layout icon at the top left. The Screens panel opens, with four sections: Brand, Entry points, Navigation and Screen layouts.
Entry Points
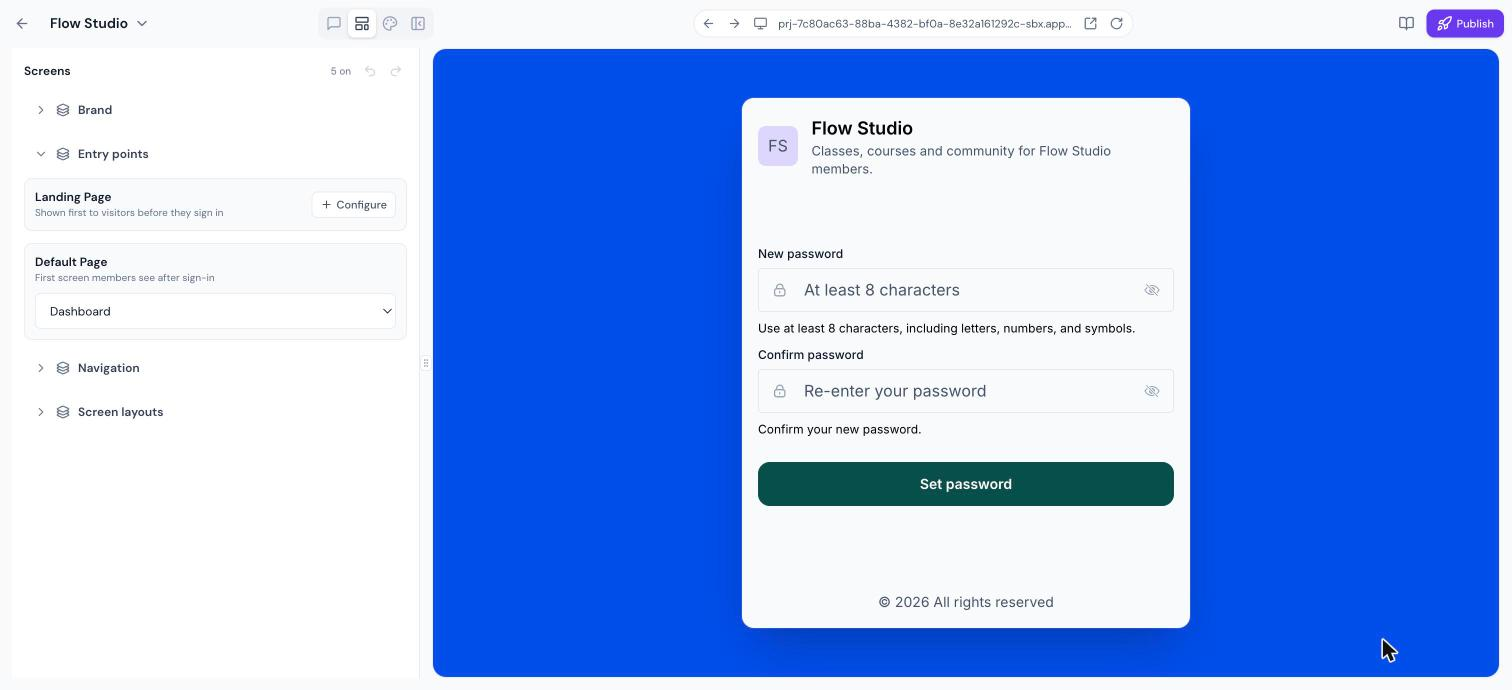
Landing Page: the page visitors see before they sign in. Click Configure to set it up.
Default Page: the first screen members see after sign-in, such as the Dashboard.
Navigation
Sidebar groups
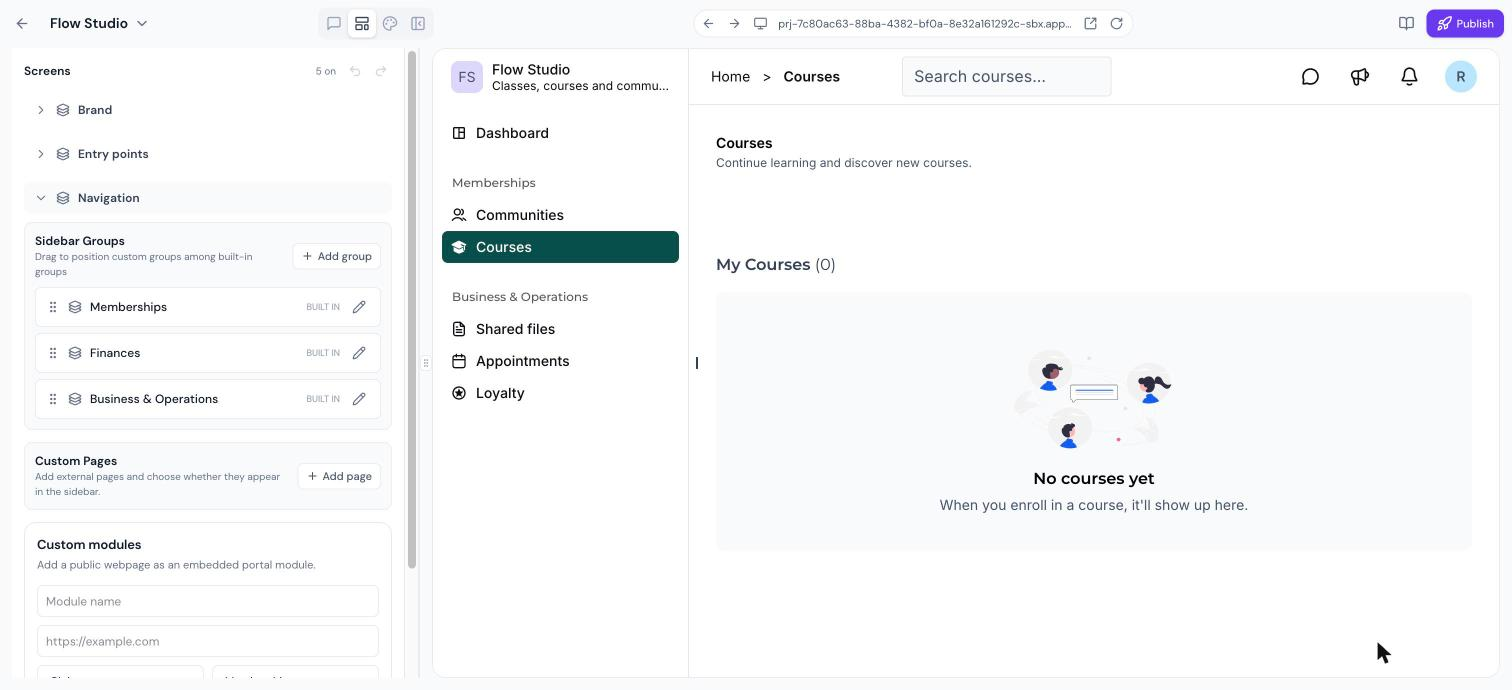
Modules are grouped in the sidebar under Memberships, Finances and Business & Operations. Drag groups to reorder them, click the pencil icon to rename one, or click Add group to create your own.
Custom pages
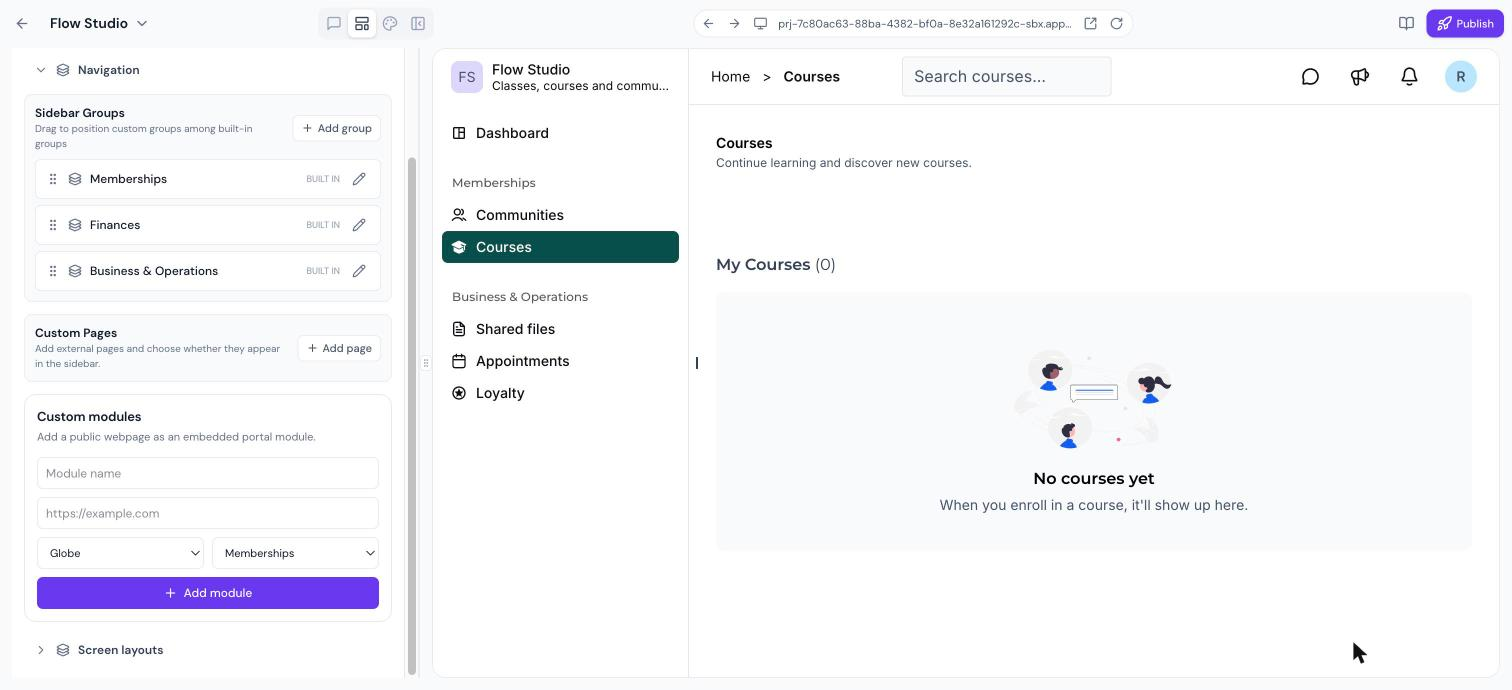
Click Add page to add an external page and choose whether it appears in the sidebar.
Custom modules
Embed a public web page as a module in your app. Enter a Module name and URL, choose an icon and a sidebar group, then click Add module.
Screen Layouts
Expand Screen layouts to choose the blocks, order and visibility for each screen. Screens are grouped by sidebar group. Use the toggle to show or hide a screen, drag to reorder, and expand a screen to show, hide or reorder its blocks, such as the Courses header or Continue learning.
Change Navigation Through Chat
You can also ask in the chat. For example: "Move Courses to the front and rename Communities to Member Lounge."
Note: Web apps built with Describe it instead draw their own navigation. For these apps, ask in the chat to change tabs, the header or sign-in. You can still add custom pages from the Screens panel. For mobile apps, see Mobile Customizer in Client App Builder.
Undo and Redo
Use the undo and redo arrows at the top of the Screens panel to step back through your changes.
Was this article helpful?
That’s Great!
Thank you for your feedback
Sorry! We couldn't be helpful
Thank you for your feedback
Feedback sent
We appreciate your effort and will try to fix the article