This article explains how to add and manage files for contacts in HighLevel using a File Upload custom field. This allows you to store documents such as contracts, invoices, forms, and other files directly within a contact record.
TABLE OF CONTENTS
- Why Add Files to Contacts?
- Key Considerations Before Creating a Custom Field
- Upload Files to a Contact Using a Custom Field
- Frequently Asked Questions
- Why Add Files to Contacts?
- Key Considerations Before Creating a Custom Field
- Upload Files to a Contact Using a Custom Field
- Step 1: Create a Custom Field Called File Upload
- Step 2: Add a File to a Contact
- Step 3: Upload a File
- Frequently Asked Questions
- Related Articles
Why Add Files to Contacts?
Adding files to contacts helps keep important documents associated with the appropriate contact record, making them easier for your team to access and manage.
To upload a file within a contact's Custom Fields section, you must first create a custom field using the File Upload field type. The file can then be uploaded, viewed, replaced, or deleted from that field on the contact record.
Important: Uploading a file through a File Upload custom field is different from other file or document features available in HighLevel. The steps in this article specifically cover files stored in a contact's custom field.Key Considerations Before Creating a Custom Field
When setting up a File Upload custom field, you can configure options that determine what files can be uploaded and how the field appears.
| Field | What It Does | Details and Examples |
|---|---|---|
| File Type | Specifies the types of files users can upload through the custom field. | Select the supported file types appropriate for the field. |
| File Restriction | Sets the maximum file size allowed for uploads. | Maximum file size is 250 MB per file. |
| Allow Multiple Files | Determines whether the field accepts a single file or multiple files. | Choose a single file or configure the number of files allowed. |
| Object Type | Determines where the custom field is used. | Select Contact when you want the uploaded file associated with a contact record. |
| Group Tab | Determines where the custom field appears for easier organization. | For example: Contact Information, General Info, or Additional Info. |
| Save the Field | Makes the custom field available for use. | After saving, the field appears within the appropriate Custom Fields section. |
Upload Files to a Contact Using a Custom Field
Uploading a file through the Custom Fields section requires a custom field with the File Upload field type.
Once the field has been created, you can locate it on a contact's profile and upload files into the designated field.
Step 1: Create a File Upload Custom Field
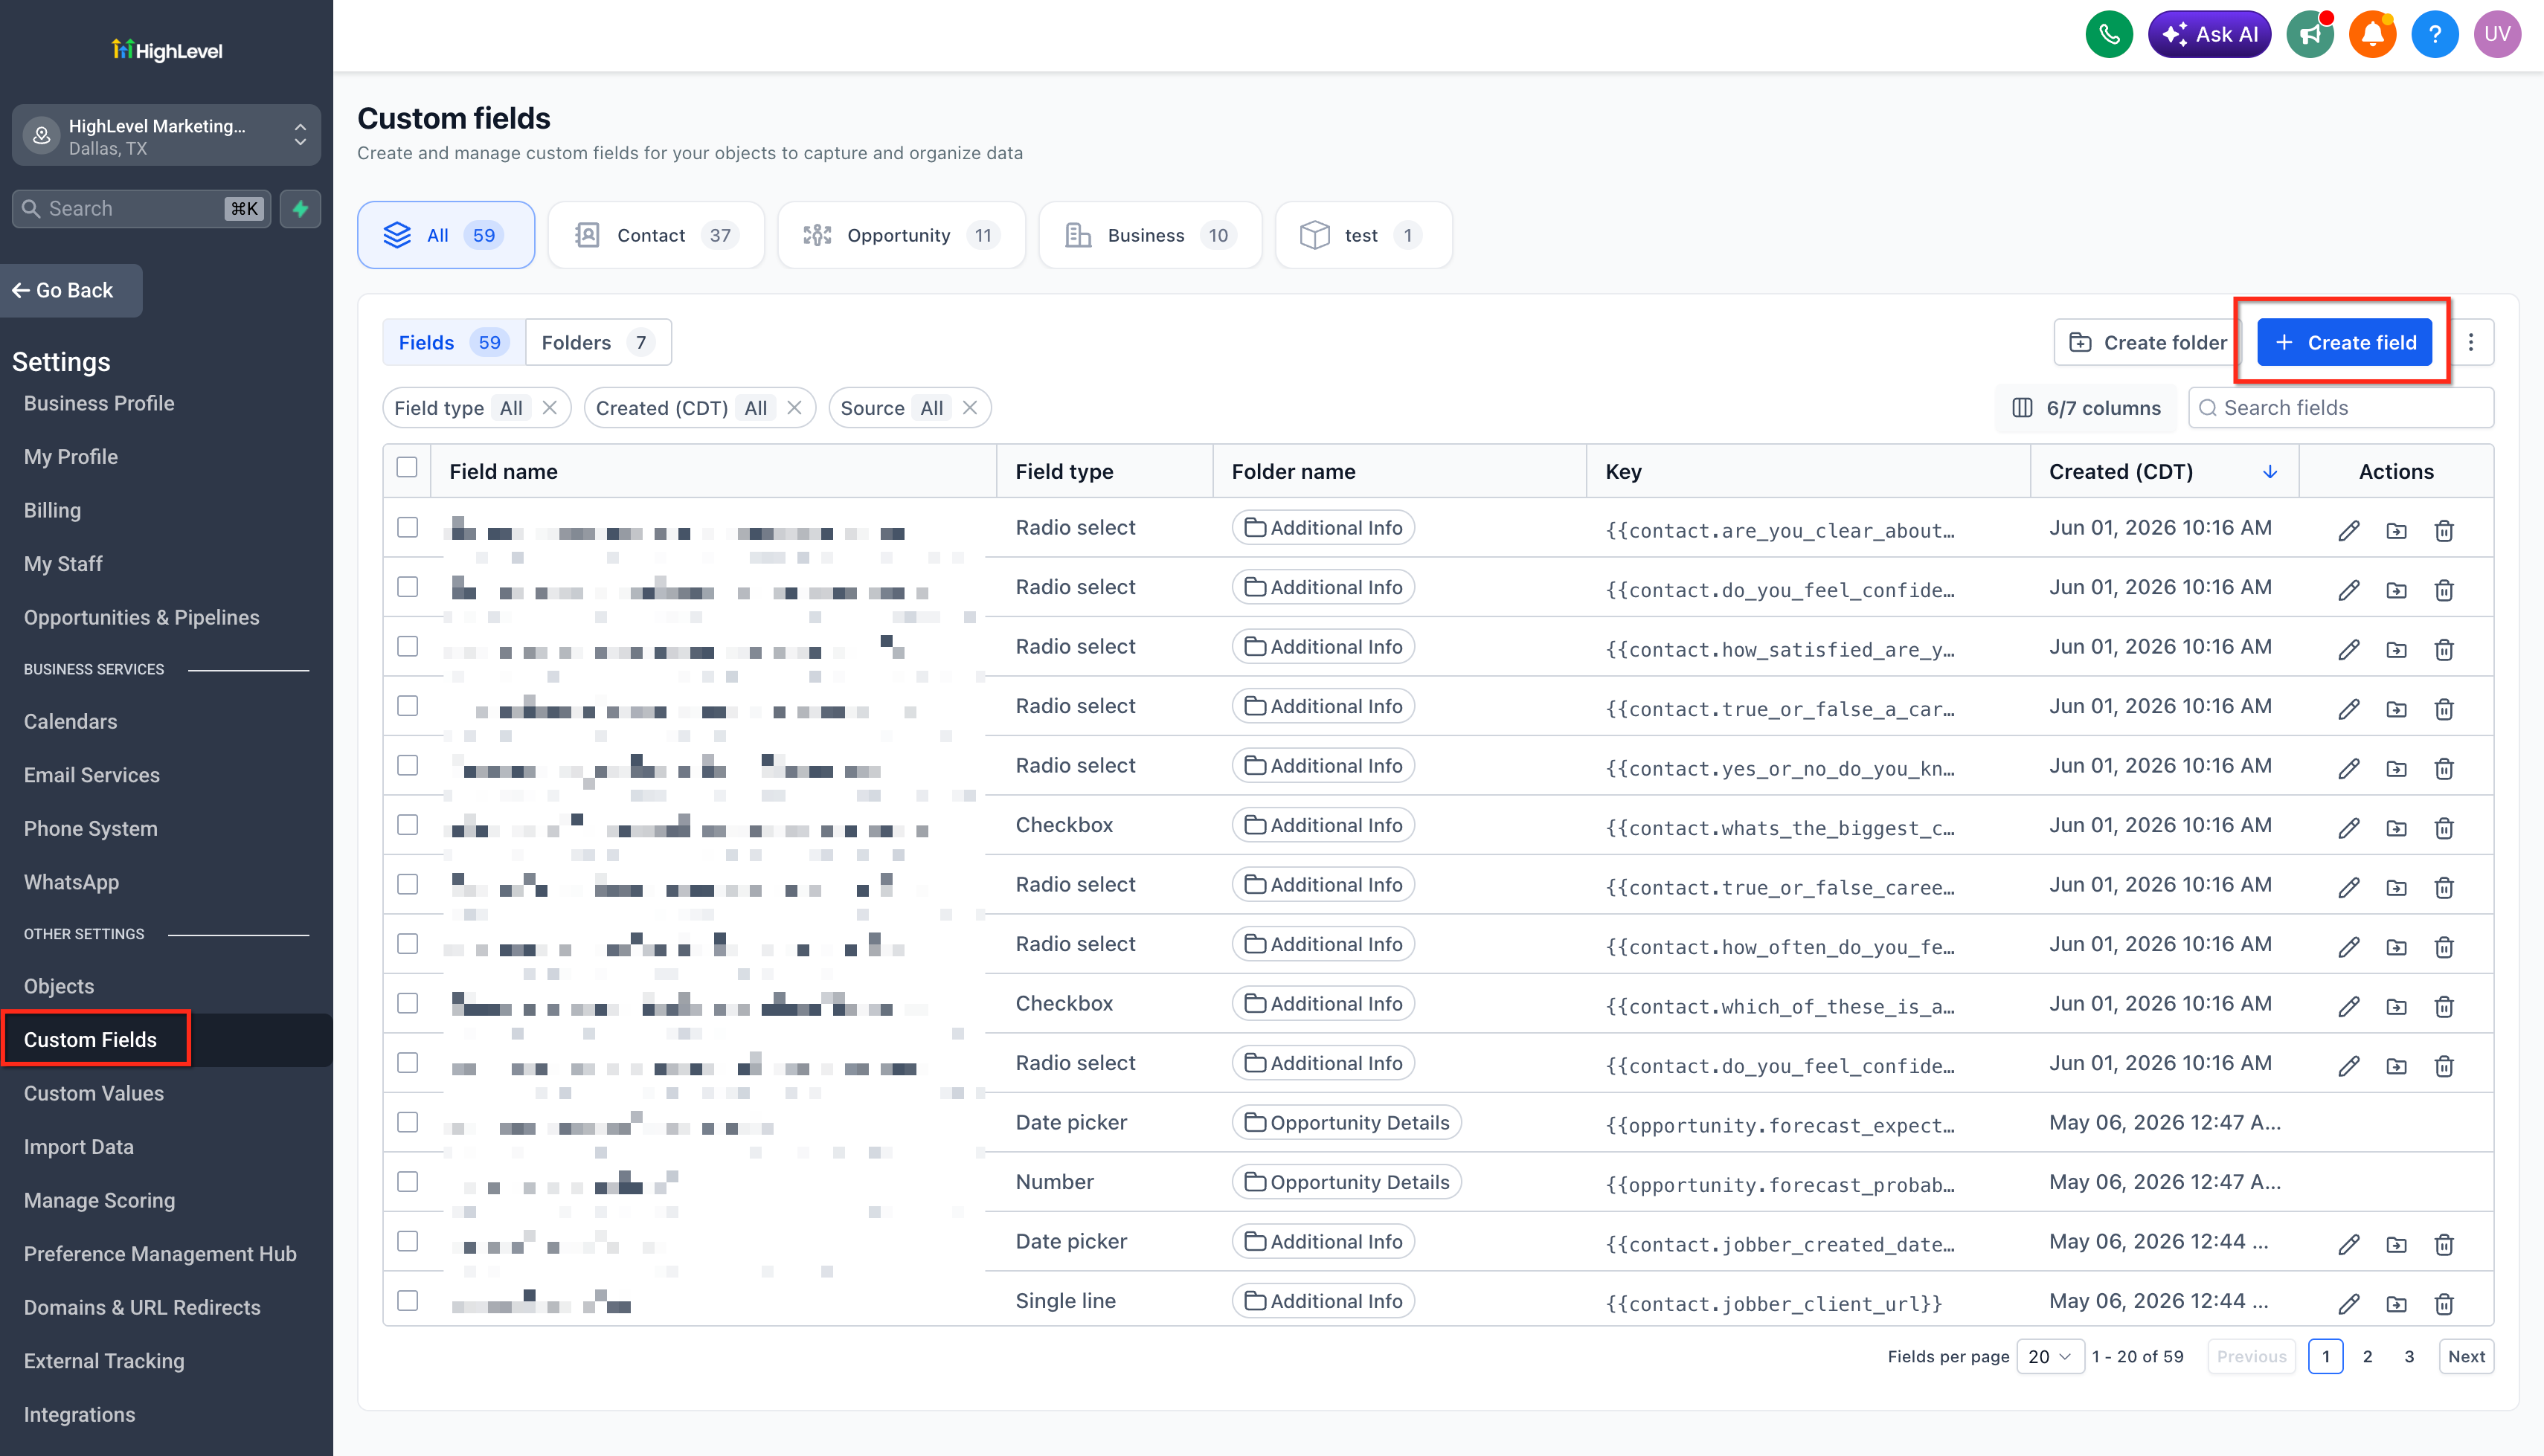
- Go to Settings from the left-hand navigation menu.
- Select Custom Fields.
- Click Create Custom Field.
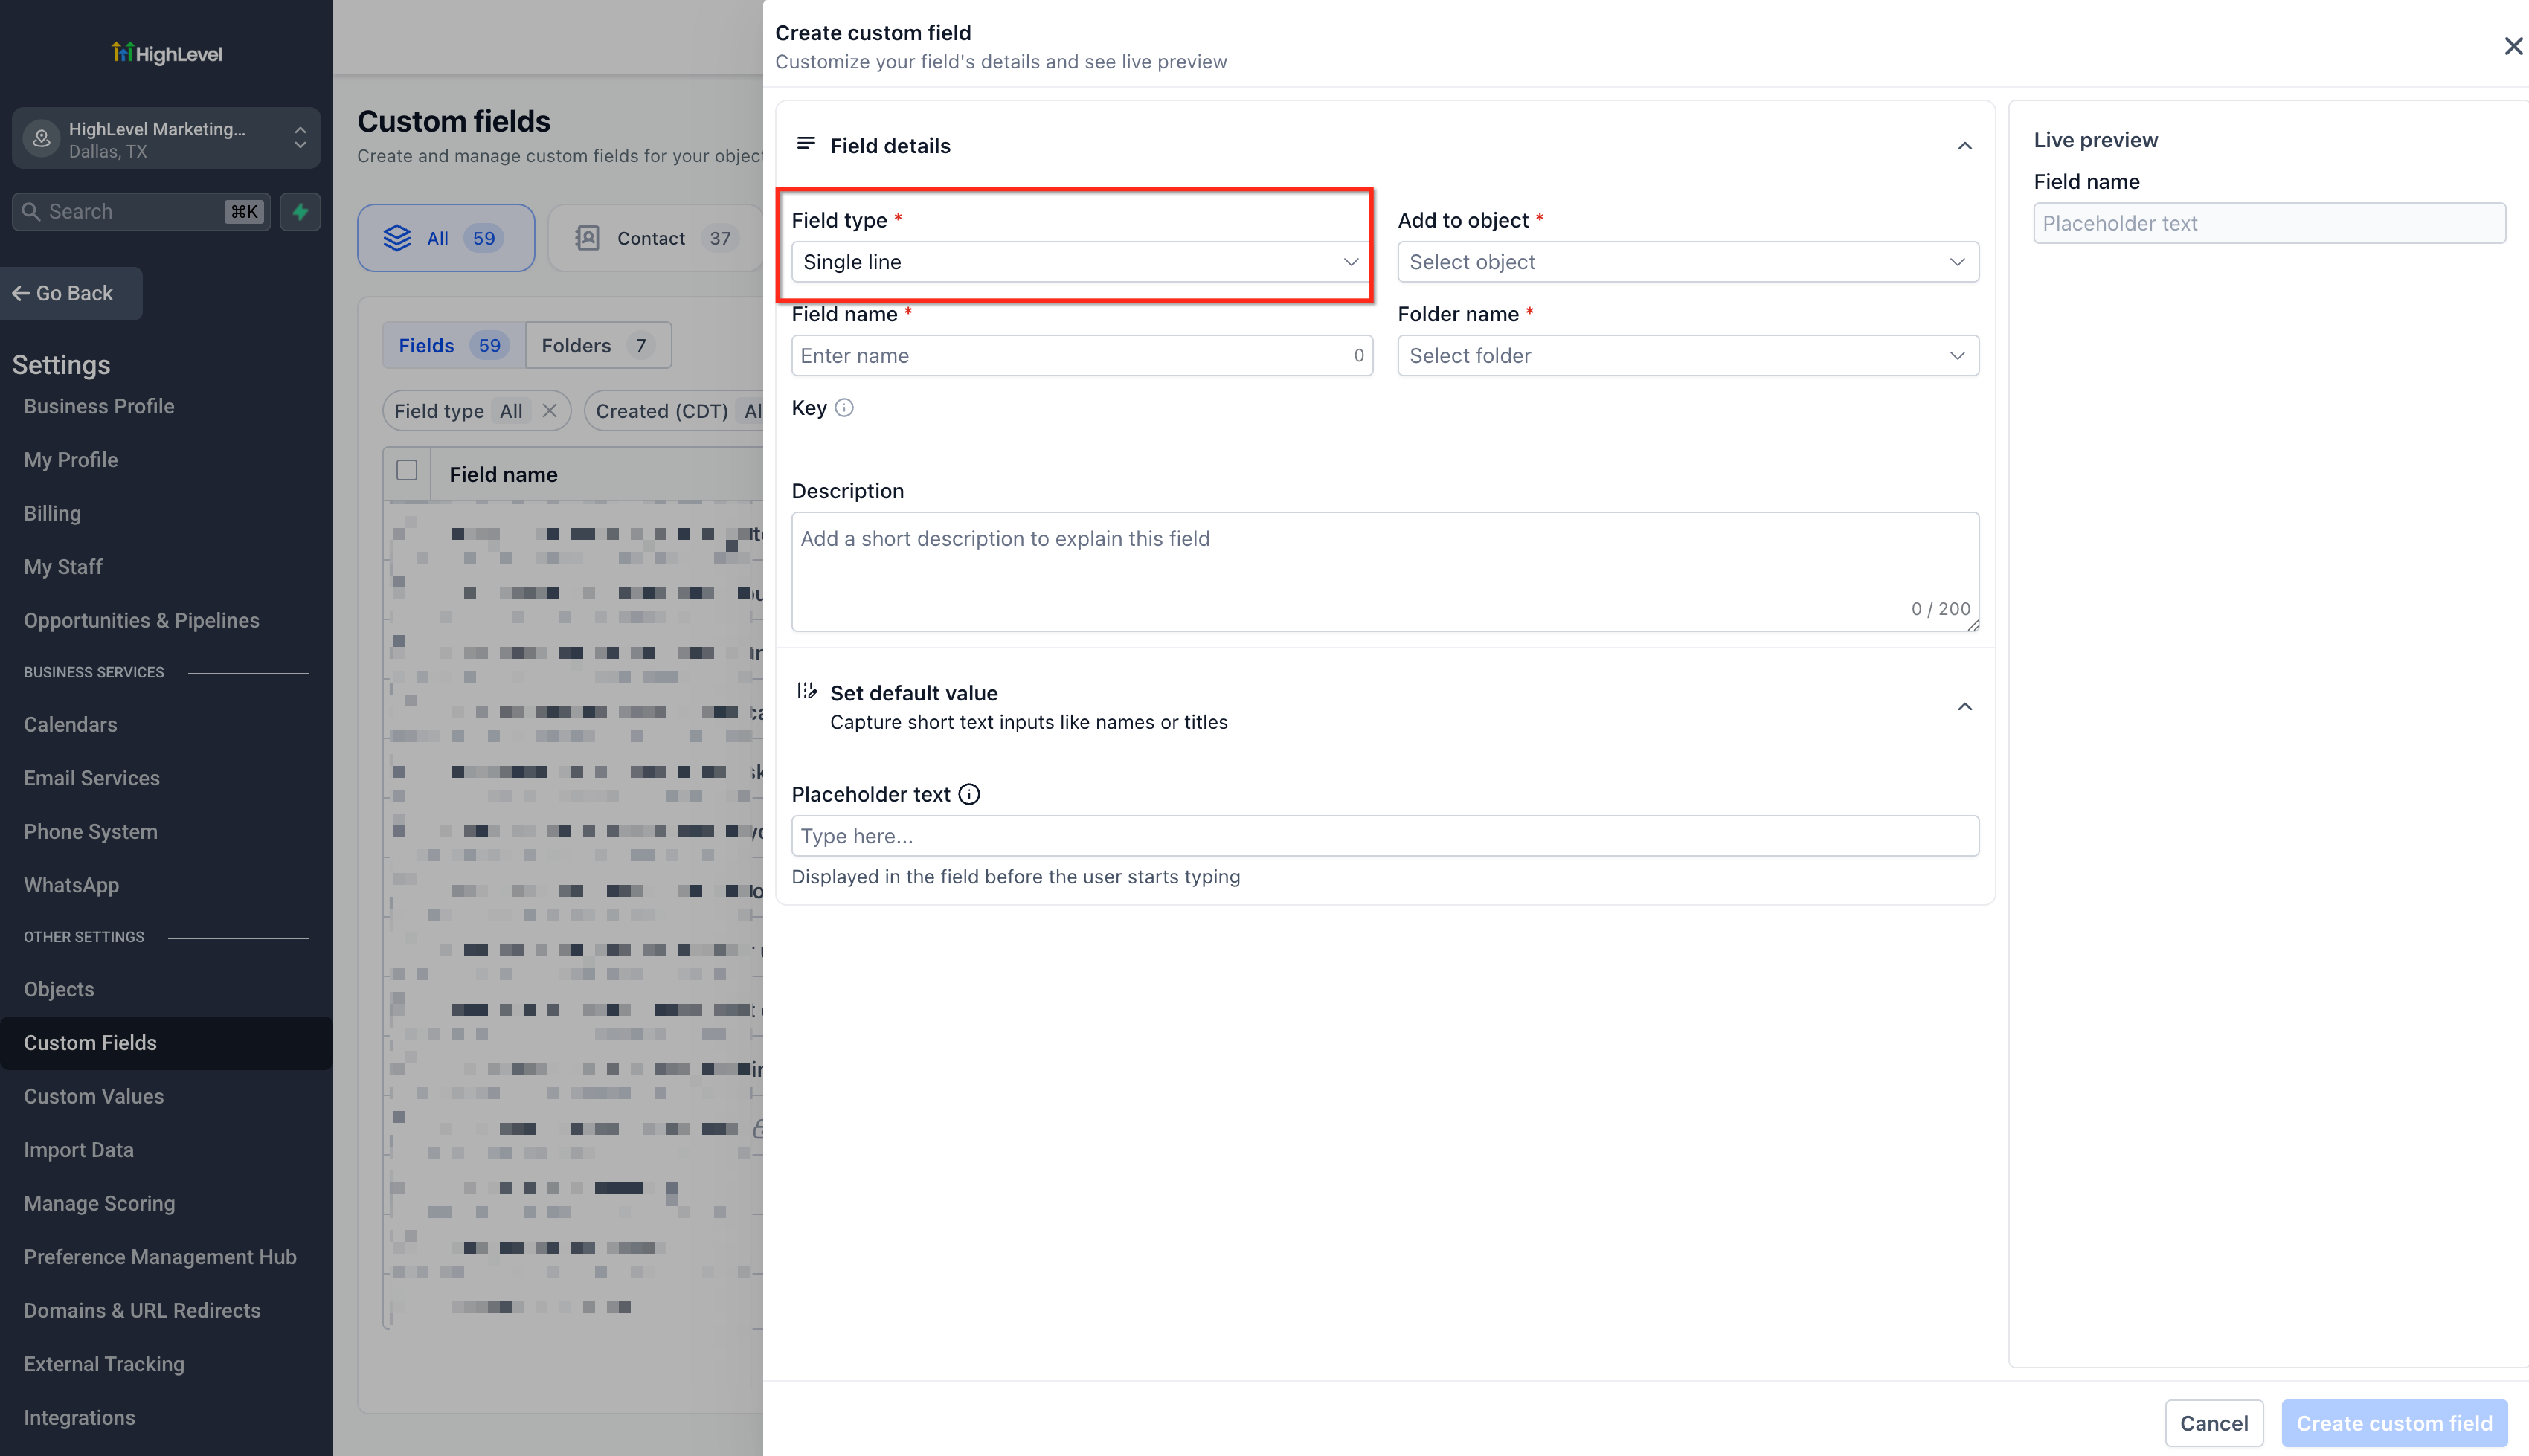
- Select the File Upload field type.
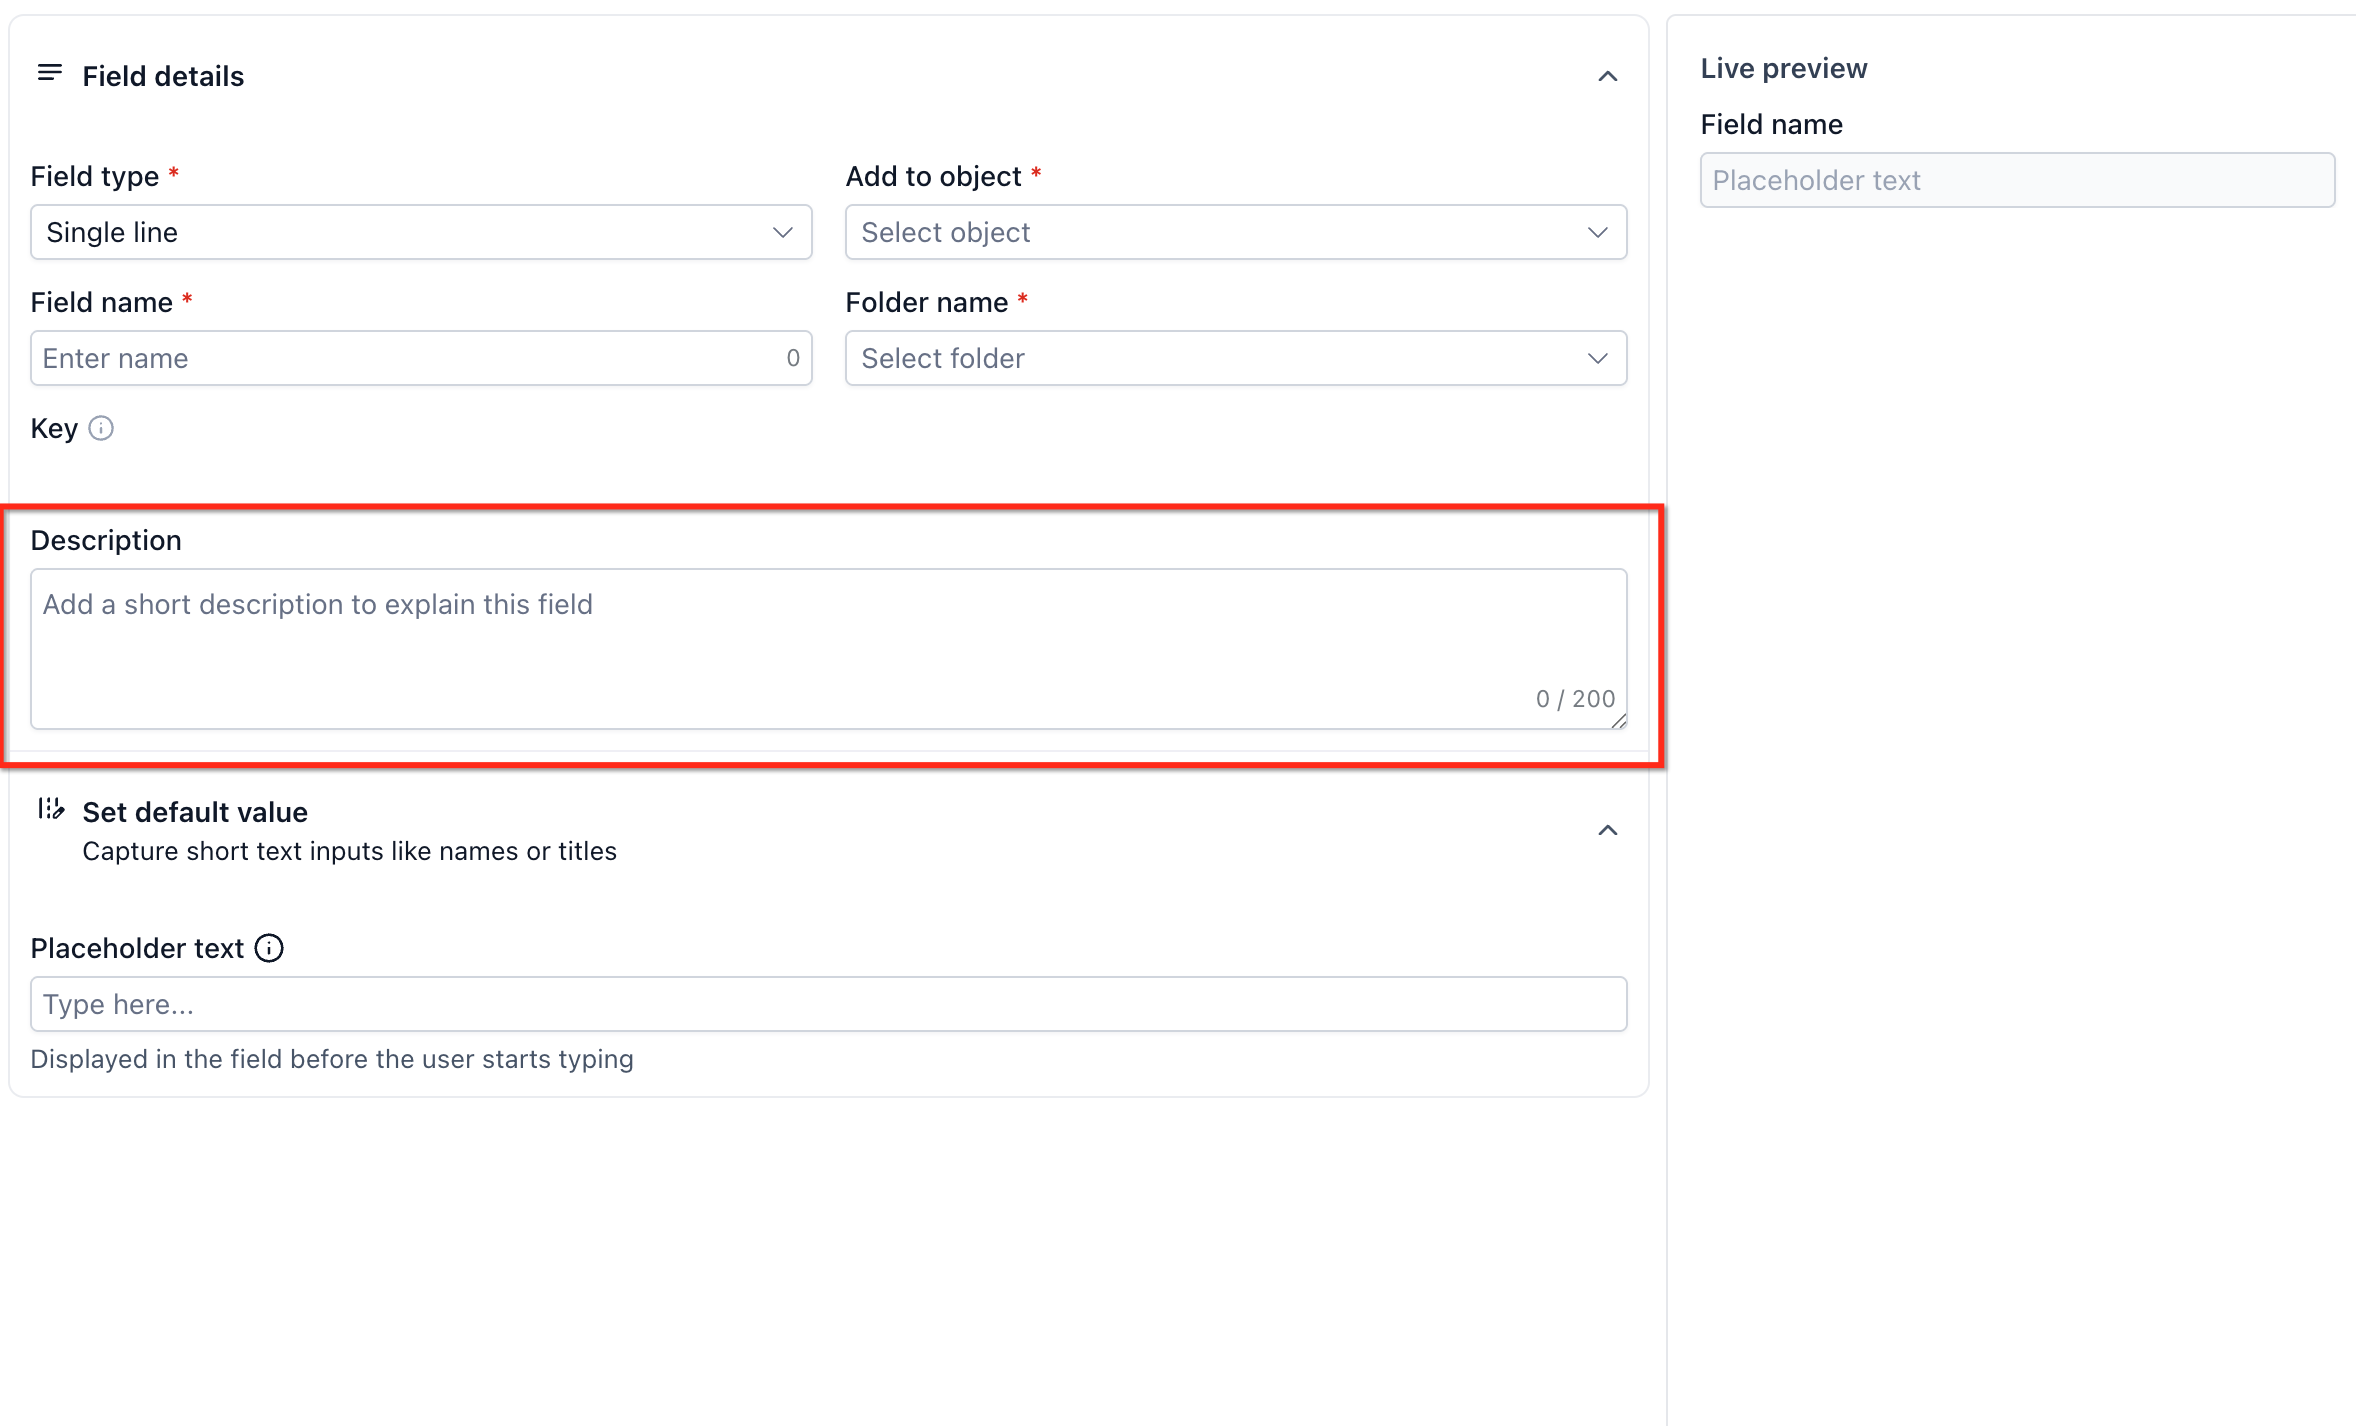
- Enter a descriptive name for the field, such as Contract Upload or Client Document.
- Configure the file and field settings as needed.
- Save the custom field.
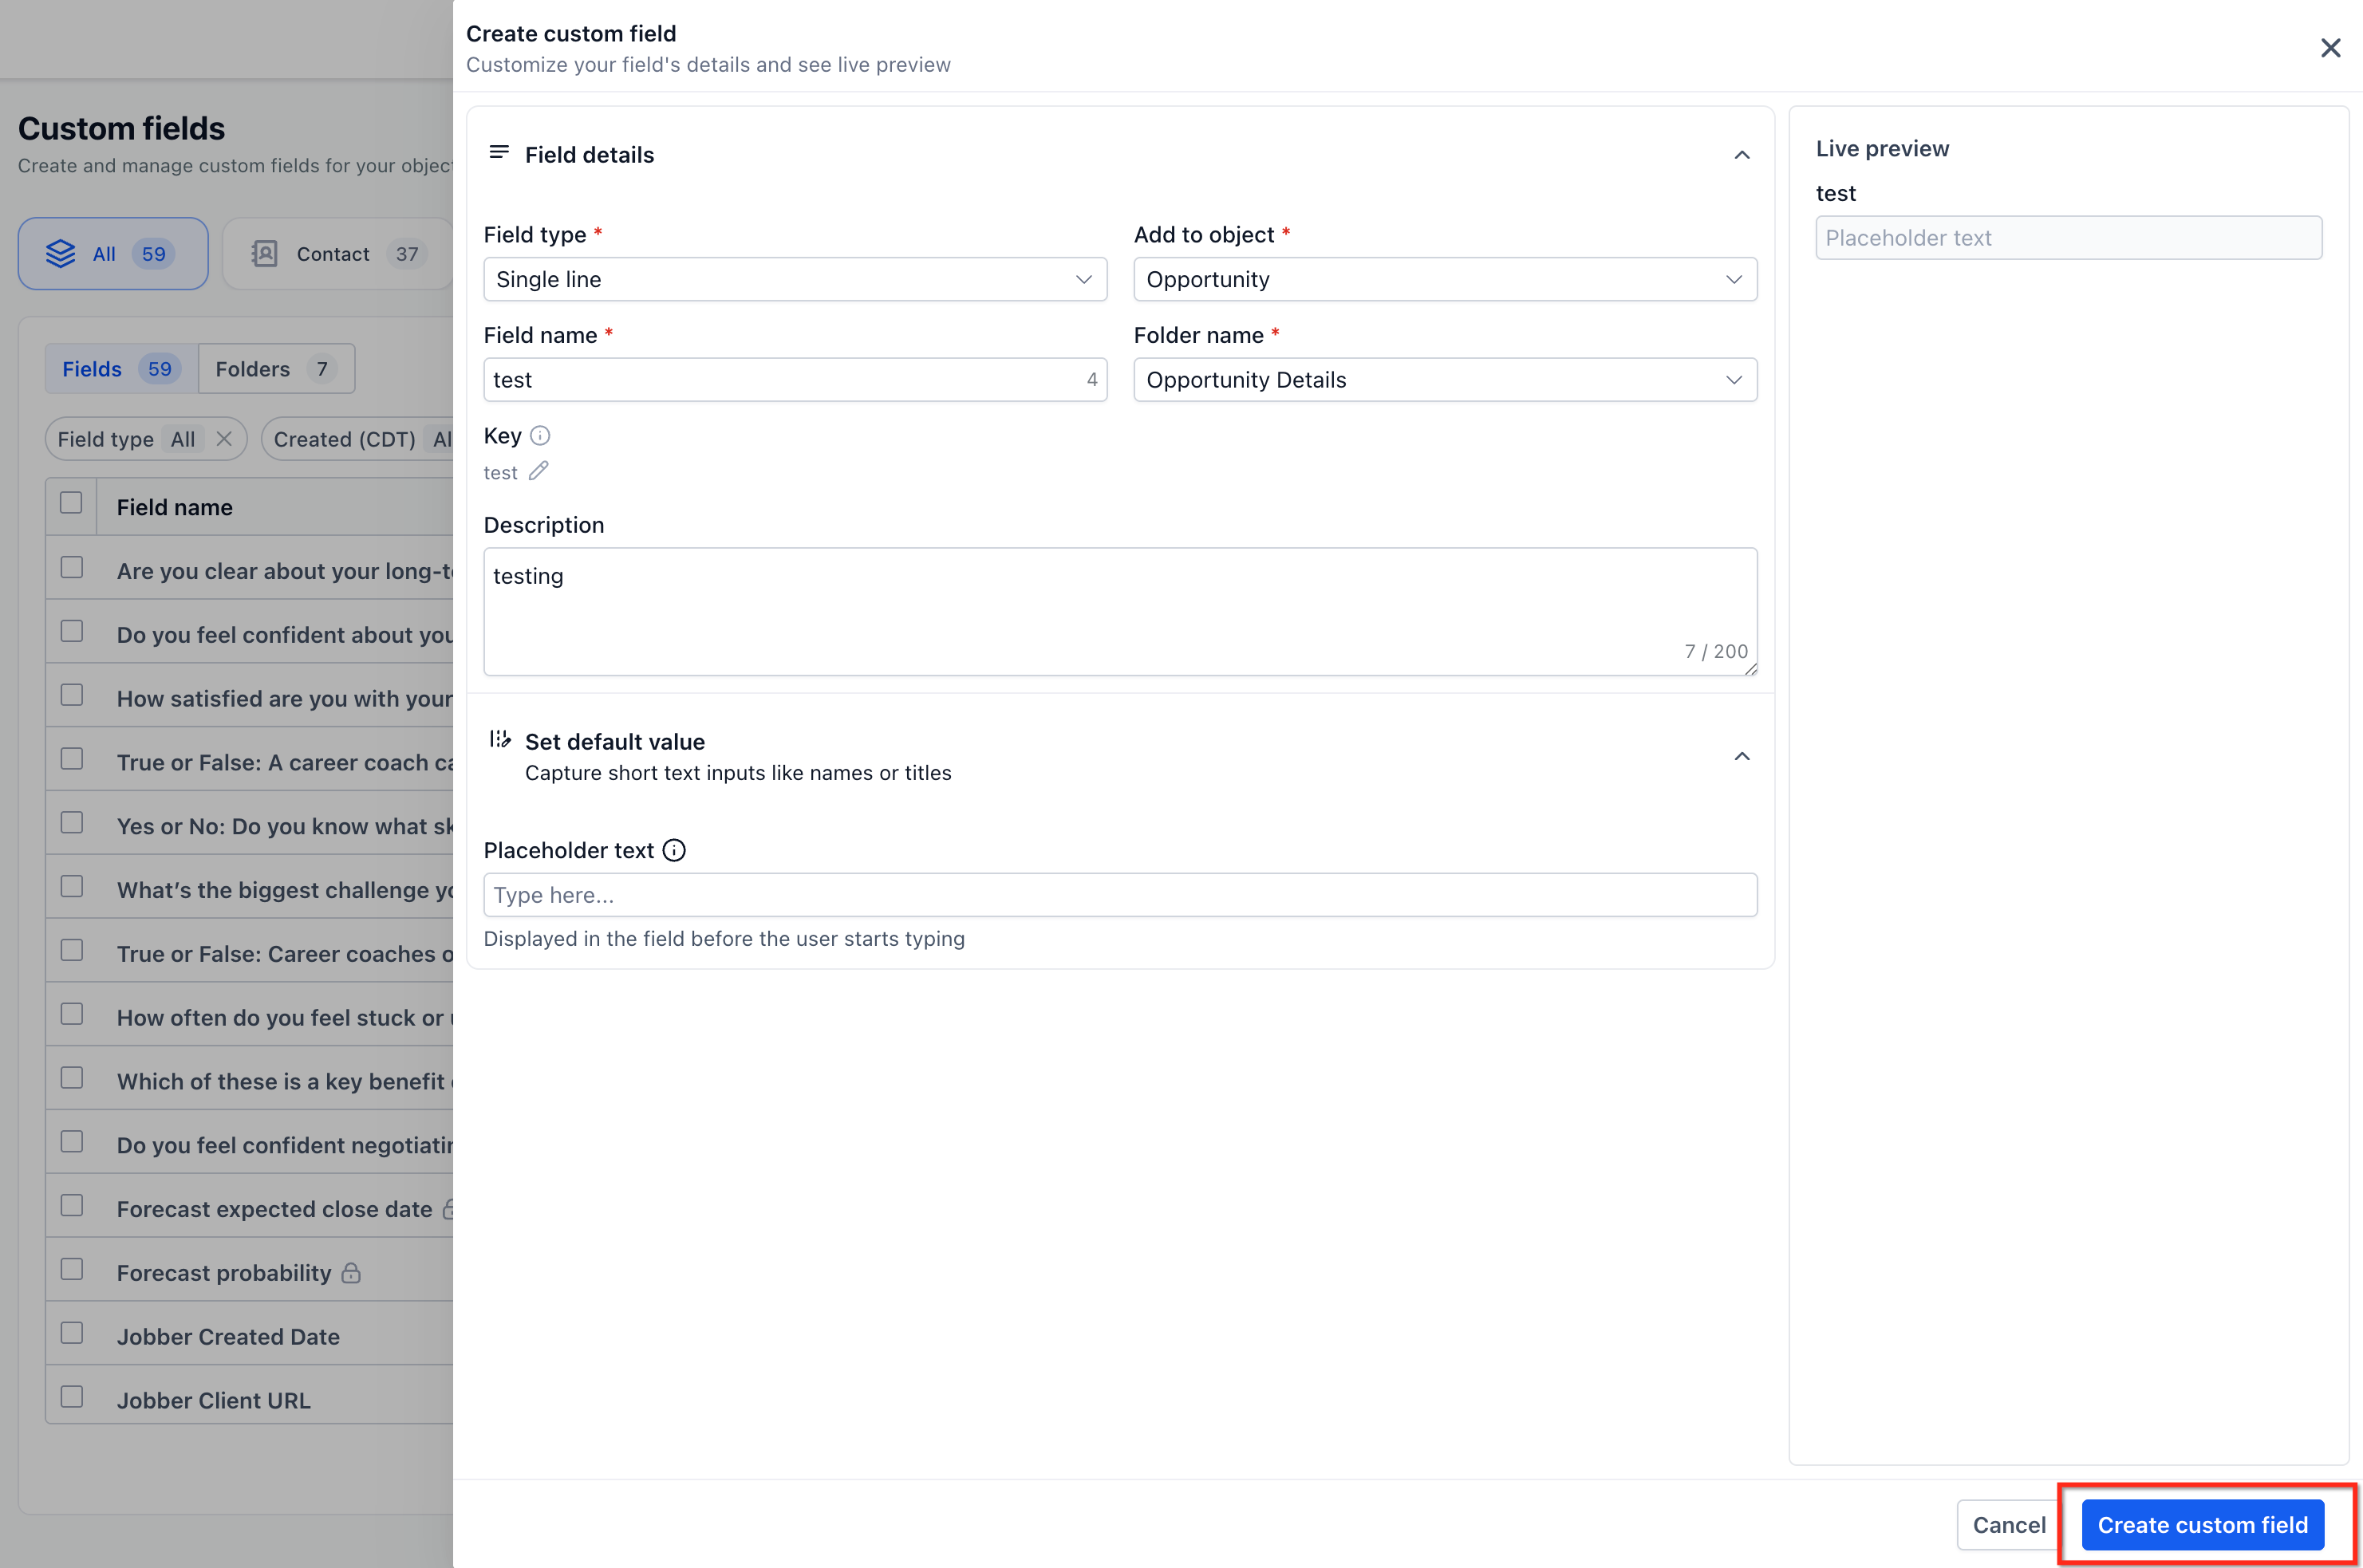
The File Upload field will now be available for the selected object.
Step 2: Locate the File Upload Field on the Contact
- Go to Contacts.
- Select the contact whose file you want to add.
- Navigate to the Custom Fields section of the contact profile.
- Locate the File Upload custom field you created.
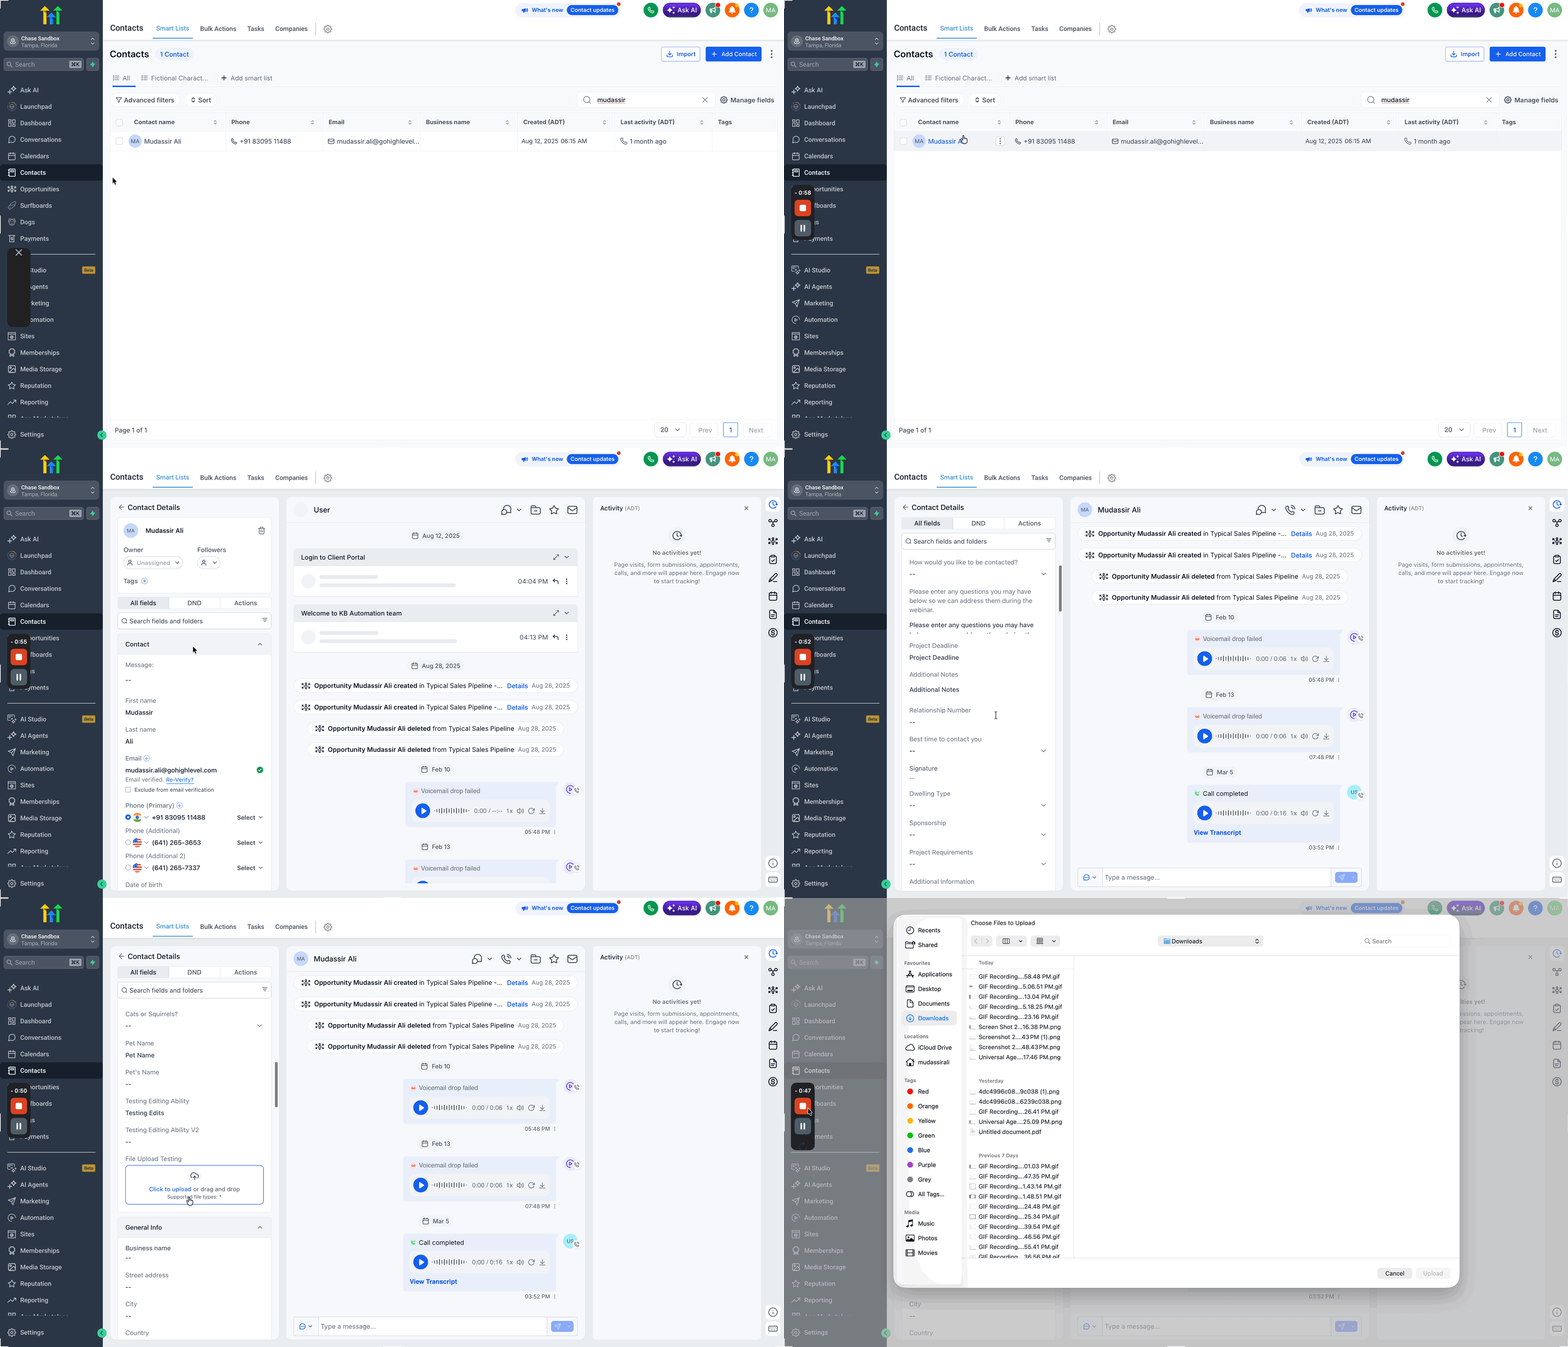
If you have several custom fields, locate the field within the Group Tab you selected when creating it.
Step 3: Upload the File
- Locate the File Upload custom field on the contact.
- Click Upload File.
- Select the file from your device.
- Confirm the upload.
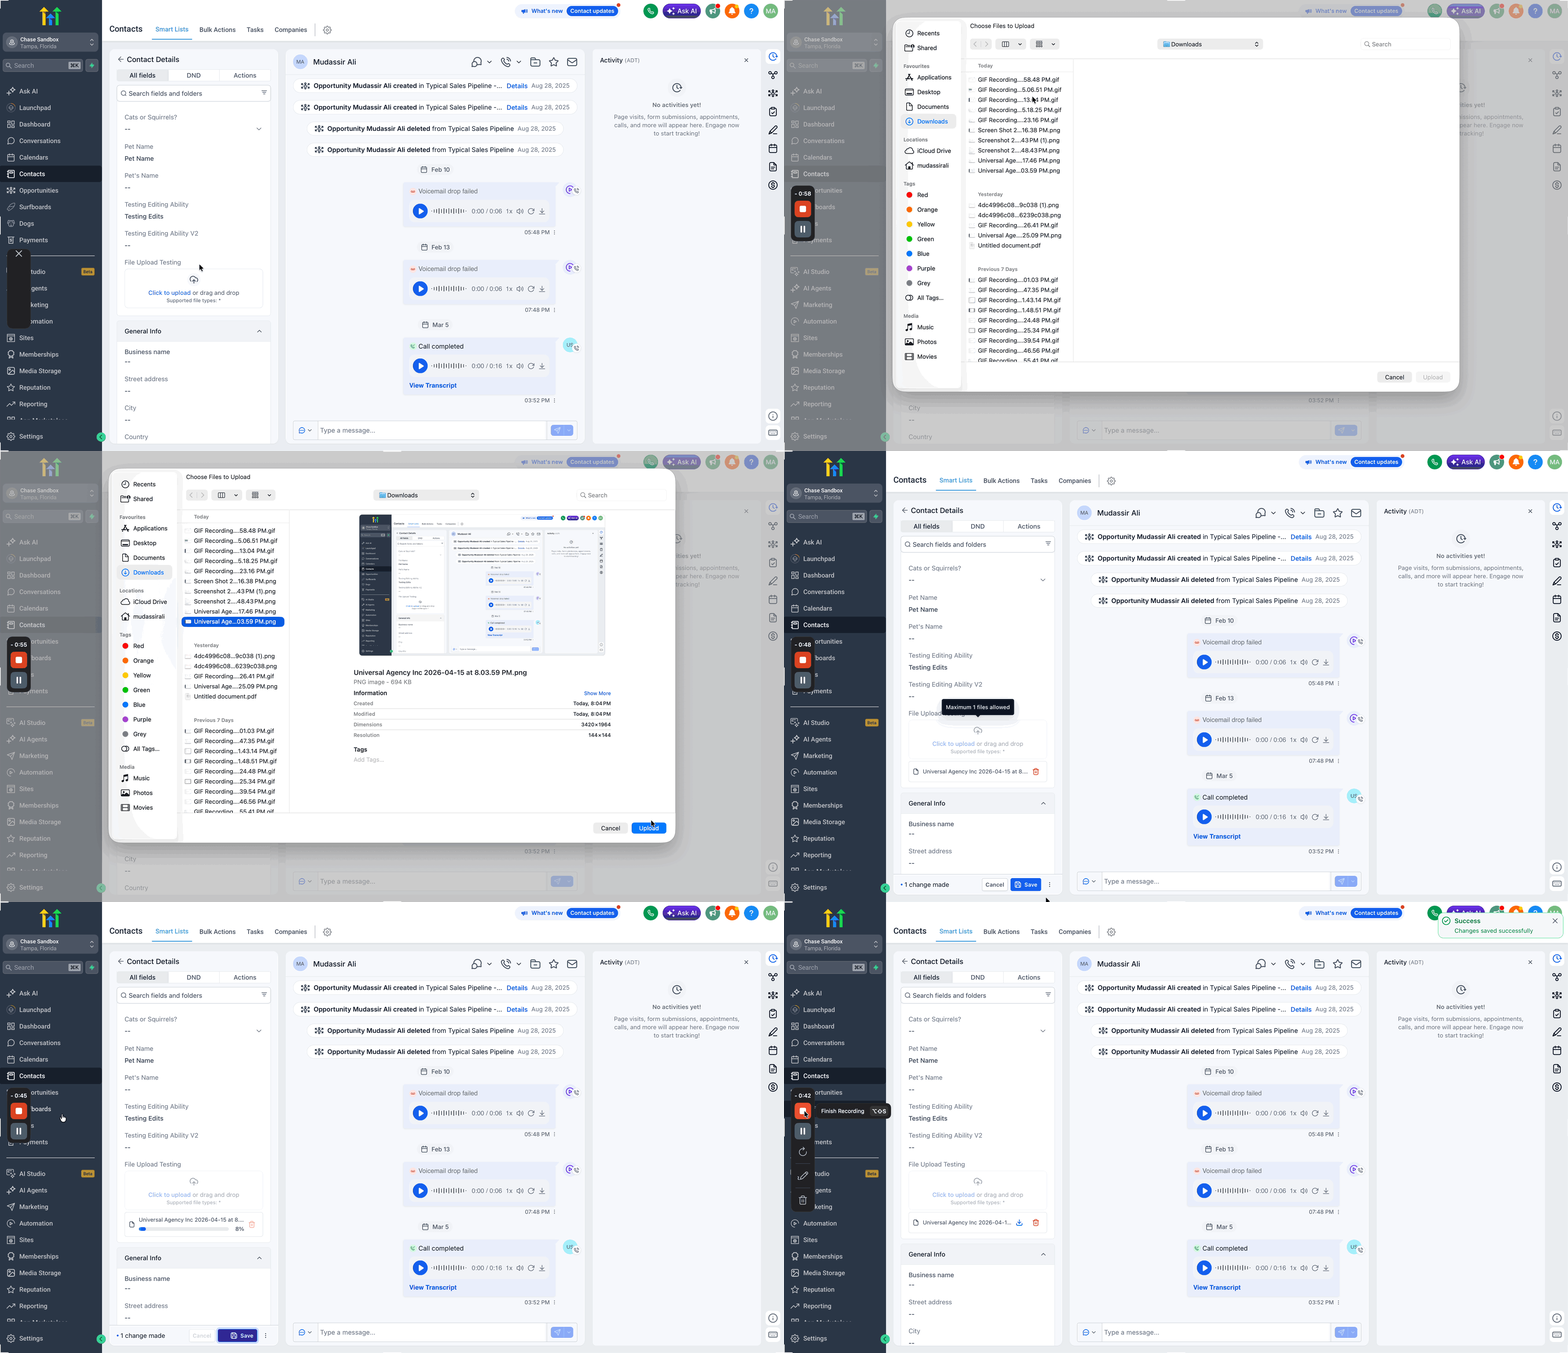
After the file has been uploaded, you can manage it directly from the contact profile. To view an uploaded file, select the file link within the custom field. You can also delete or replace a file from the field. If a file is accidentally deleted and an Undo option appears, select it to restore the file.
Frequently Asked Questions
Q. What file types can I upload? Are video uploads supported?
A. Videos are not supported. Supported document and image formats include PDF, DOCX, PNG, JPG, CSV, PPTX, and XLSX.
Q. What is the maximum file size?
A. Each file can be up to 250 MB.
Q. Do I need to create a custom field before uploading a file to a contact?
A. Yes, for the workflow described in this article. To store a file in the contact's Custom Fields section, first create a custom field using the File Upload field type. Once created, the field becomes available on the contact record for uploading and managing files.
Q. Can I delete or replace an uploaded file?
A. Yes. Files stored in a File Upload custom field can be deleted or replaced from the contact record.
Q. Can I upload multiple files?
A. When creating the File Upload custom field, configure the Allow Multiple Files setting according to how many files you want the field to accept.
Q. What should I do if a file fails to upload?
A. If a file fails to upload:
- Confirm that the file meets the supported file type and size requirements.
- Check your internet connection.
- Refresh the page and try the upload again.
Related Articles
Was this article helpful?
That’s Great!
Thank you for your feedback
Sorry! We couldn't be helpful
Thank you for your feedback
Feedback sent
We appreciate your effort and will try to fix the article