The Image Element in Email Builder allows you to easily add and customise images within your email templates. With support for multiple image sources, sizing options, and alignment controls, this element helps you create visually engaging and professional-looking emails that capture attention and improve engagement.
TABLE OF CONTENTS
- What is the Image Element in HighLevel Email Builder?
- Key Benefits of the Image Element
- How To Setup the Image Element
- Frequently Asked Questions
What is the Image Element in HighLevel Email Builder?
The Image Element is a drag-and-drop block in Email Builder that lets you insert images directly into your email layout. You can upload new images, use URLs, or pull from your existing file library.
It supports customization options such as resizing, alignment, and linking, allowing you to use images for branding, product showcases, or visual storytelling. The element ensures that your images render correctly across all major email clients and devices.
Note: To optimise load times and maintain email deliverability, use compressed images (under 1MB) in formats like JPG or PNG.
Key Benefits of the Image Element
Adding the Image Element to your email design offers several key advantages:
Quickly insert high-quality images using simple drag-and-drop functionality.
Customise width, height, and alignment for balanced layouts.
Ensure consistent image display across both desktop and mobile devices.
Maintain a polished, branded look with logos, banners, and visuals.
How To Setup the Image Element
Follow these steps to add and configure the Image Element in your email template:
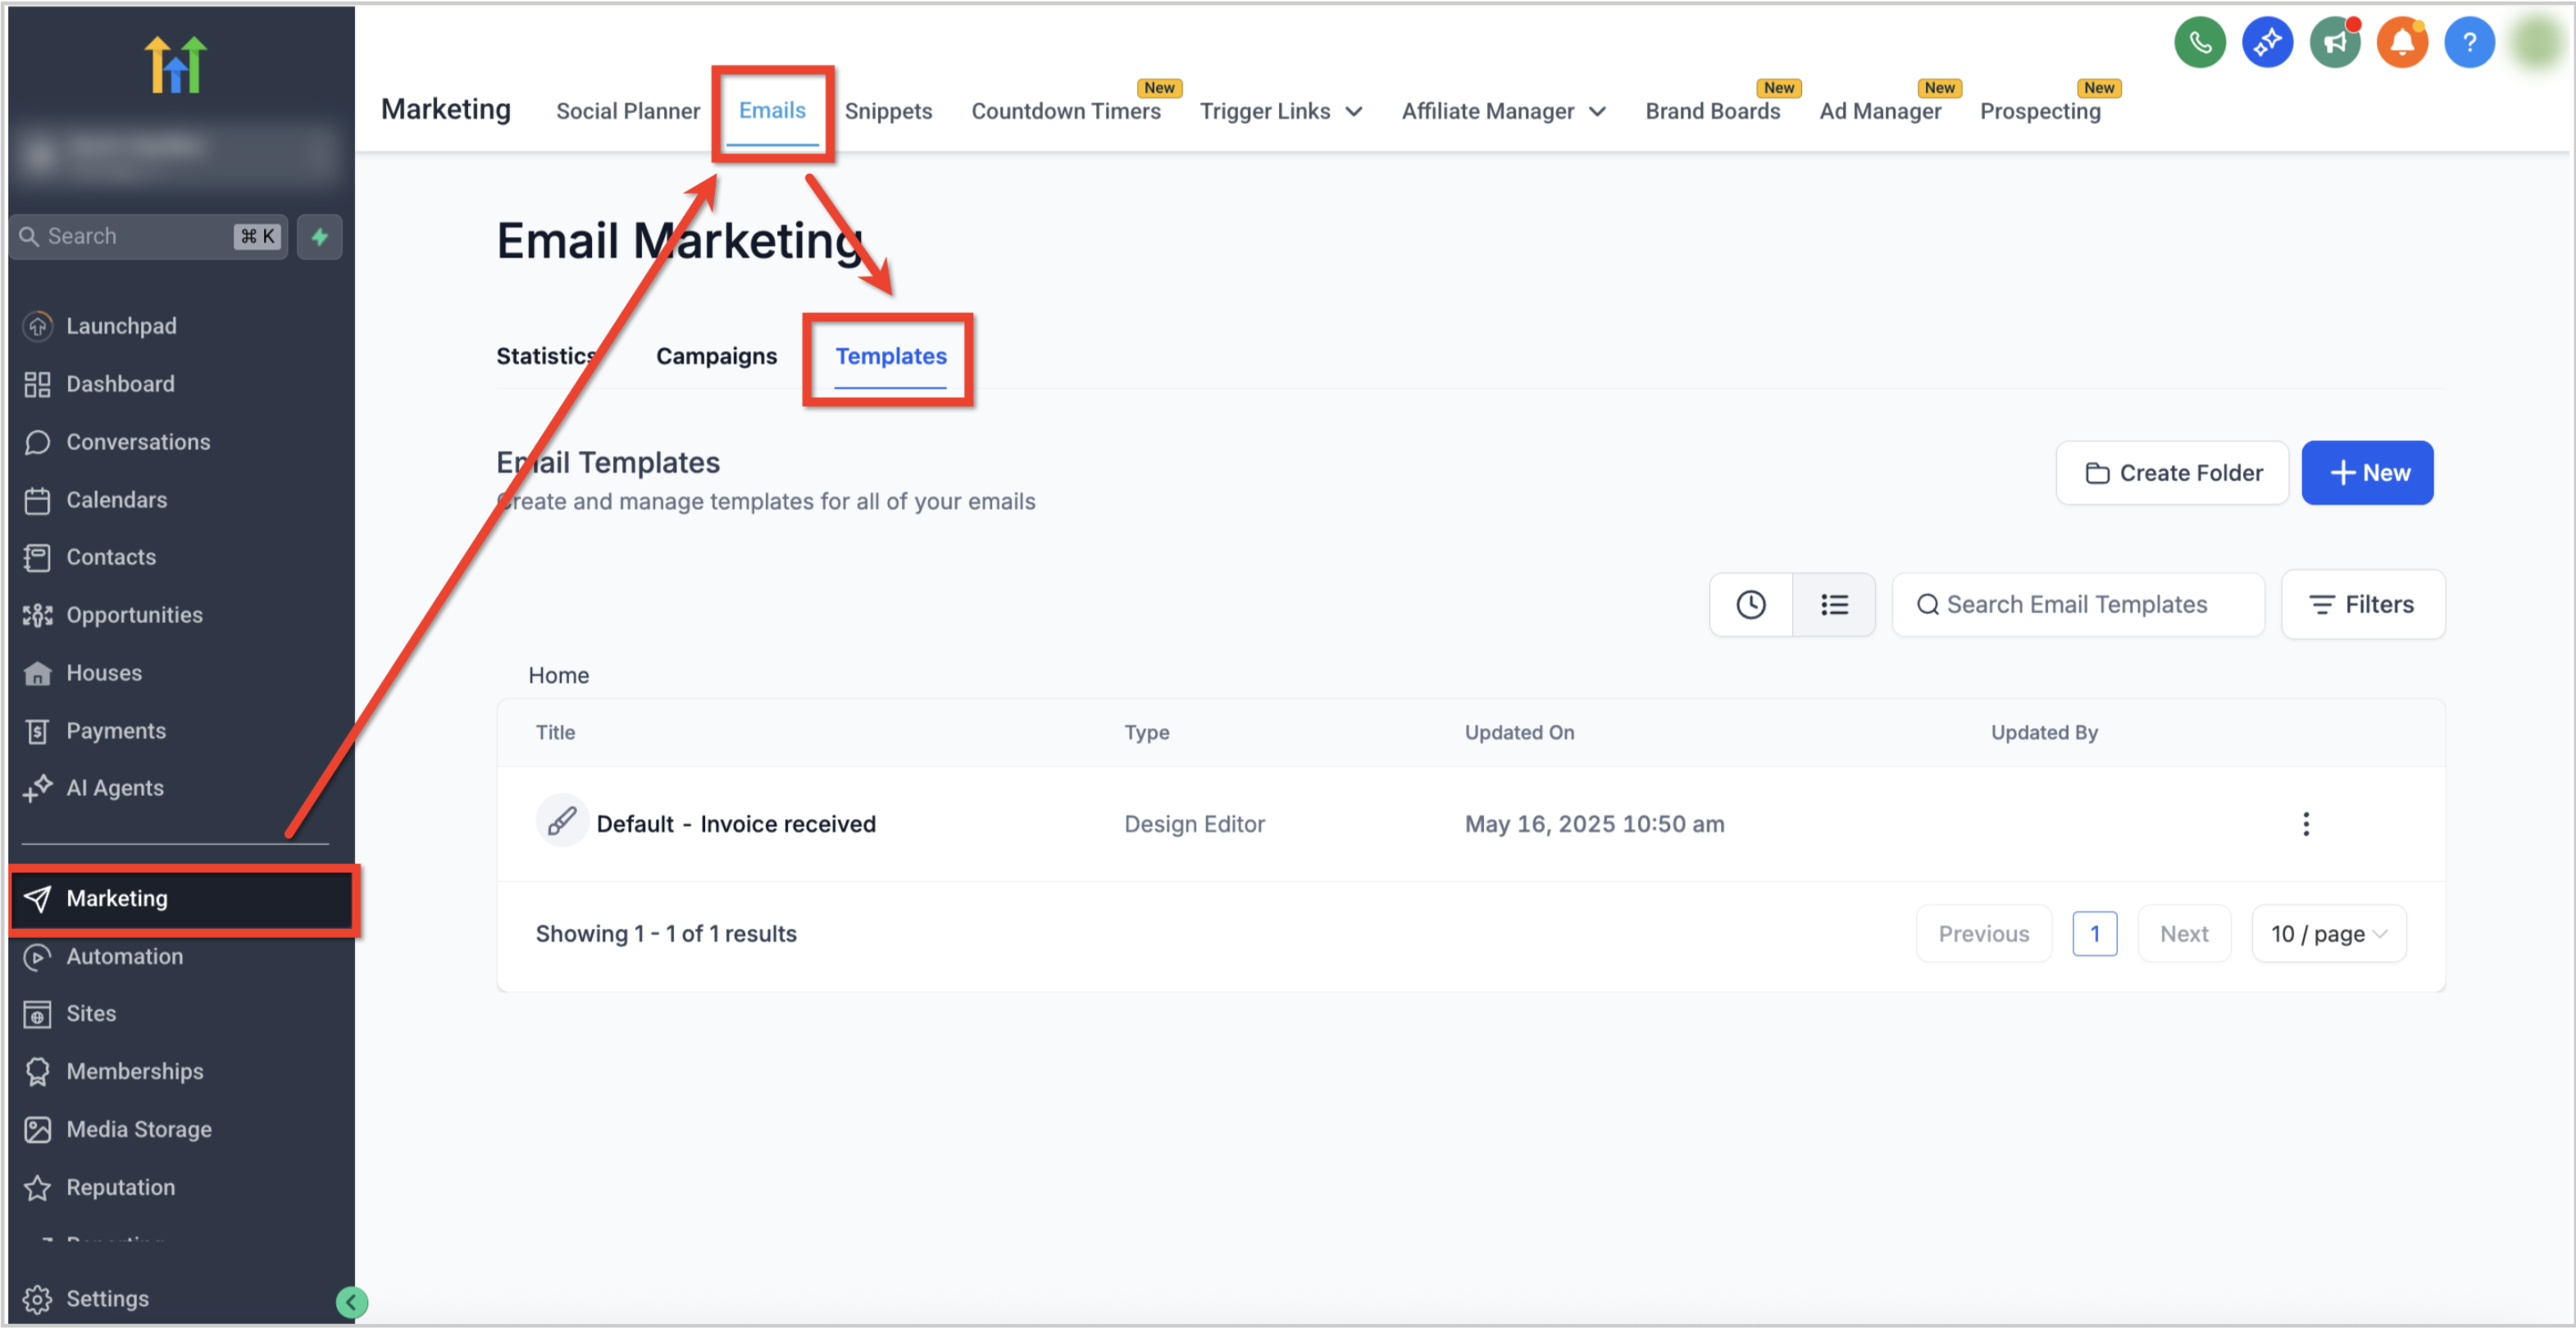
Navigate to Marketing → Emails → Templates from your sub-account dashboard.
Open an existing template or click the + New button to create one.

In the Email Builder, click the Add Elements (+) icon in the left sidebar.

Locate the Image Element under the Elements section.
Drag and drop the Image Element into your desired position within the email layout.
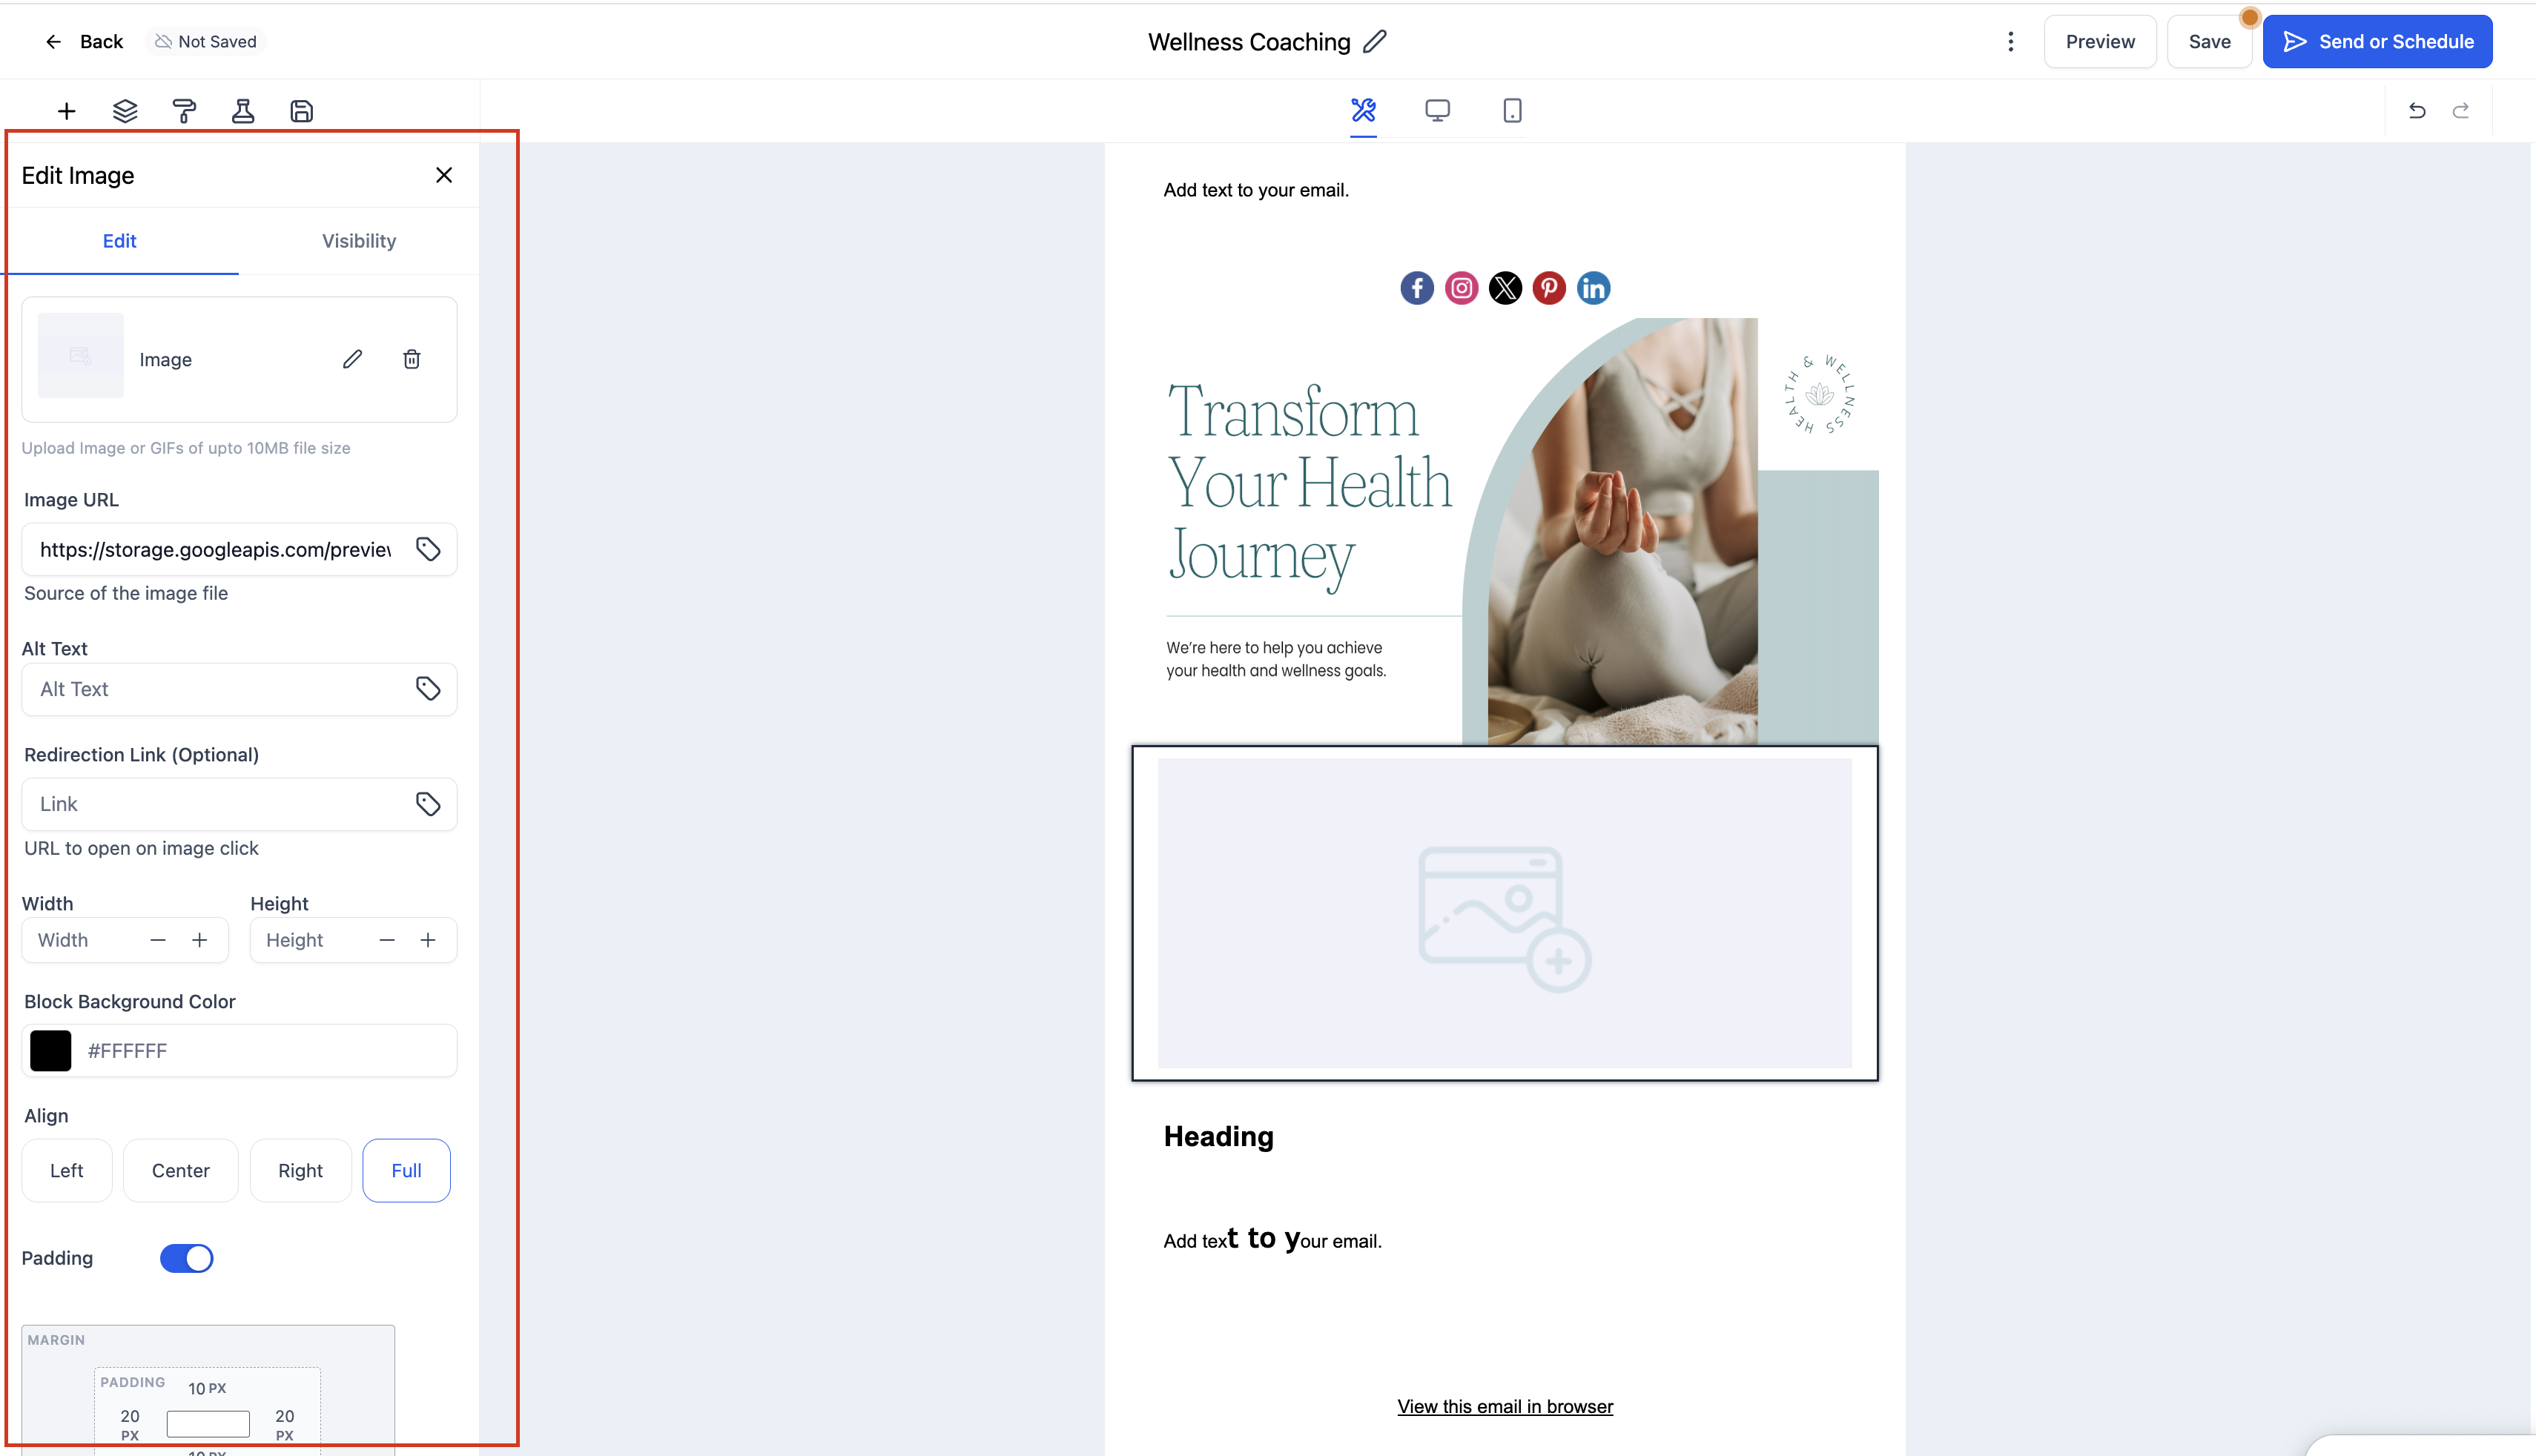
Click on the Image Element to open the Edit tab on the left panel. Here you can:
Upload an Image: Choose an image from your computer.
Use an Image URL: Paste a direct link to an externally hosted image.
Adjust Width & Height: Define custom dimensions or use automatic scaling.
Add a Link: Make your image clickable by adding a destination URL.
Set Alignment: Align the image to the left, center, or right.
Add Padding: Control spacing around the image for better design balance.
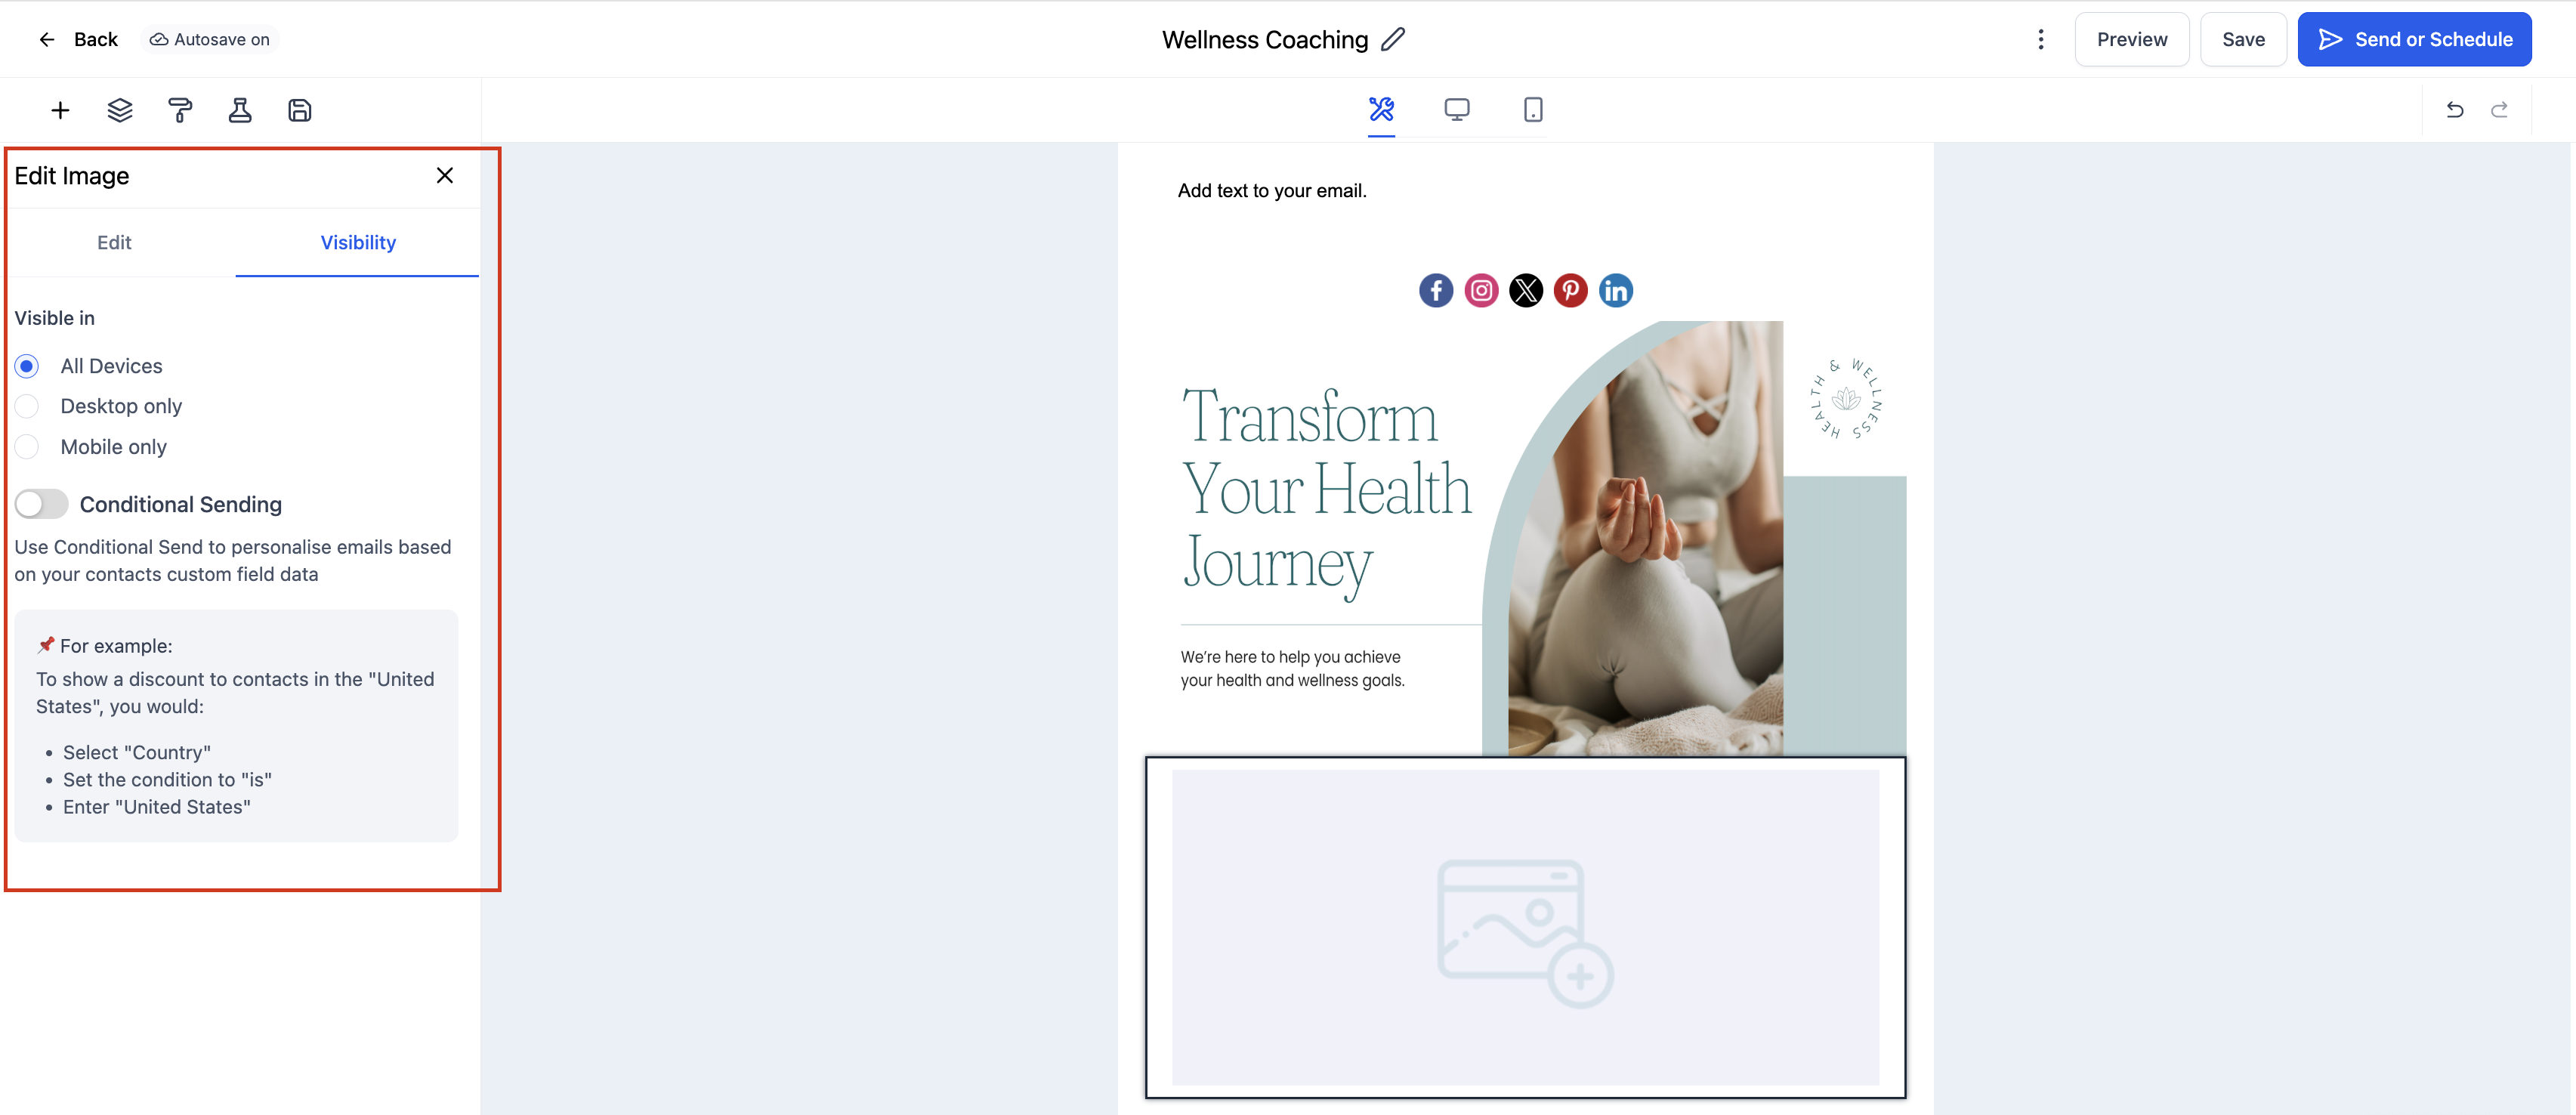
(Optional) Click the Visibility tab to manage Device-Based Visibility or Conditional Sending options.
Preview your email on both desktop and mobile devices to confirm the image displays as expected.
Frequently Asked Questions
Q: Which image file types are supported?
You can upload or link common formats such as JPG, PNG, and GIF.
Q: Can I make an image clickable?
Yes, add a hyperlink in the Redirection Link field to make the image interactive.
Q: Can I use an external image URL?
Yes, simply paste a valid image URL into the Image URL field. Make sure the image is publicly accessible.
Q: Do Spacers affect email deliverability or loading speed?
No, Spacers are lightweight and do not impact deliverability or loading times.
Q: How can I delete an image?
Simply click on the Image Element and use the delete/trash icon to remove it from your layout.
Was this article helpful?
That’s Great!
Thank you for your feedback
Sorry! We couldn't be helpful
Thank you for your feedback
Feedback sent
We appreciate your effort and will try to fix the article