This article explains how to use layout margin and text spacing controls in HighLevel’s Email Builder. These settings give you more flexibility when designing emails, helping you create clean, consistent, and visually balanced email layouts without needing extra padding blocks or custom HTML.
TABLE OF CONTENTS
- What Are Layout Margins and Text Spacing Controls in the Email Builder?
- Key Benefits of Margin and Text Spacing Controls for Emails
- How to Adjust Layout Margins in the Email Builder
- How to Customize Text Spacing for Email Headings and Paragraphs
- Frequently Asked Questions
What Are Layout Margins and Text Spacing Controls in the Email Builder?
In HighLevel’s Email Builder, layout margins control the space between content blocks, while text spacing controls let you customize spacing above and below different text elements (like headings and paragraphs). These tools allow you to fine-tune email formatting for a polished, professional look without relying on workarounds.
Key Benefits of Margin and Text Spacing Controls for Emails
These new settings make it easier to build better-looking emails with less effort—directly inside the drag-and-drop builder.
• Set vertical spacing between sections, rows, and content blocks.
• Control top and bottom spacing for headings (H1–H4) and paragraph text.
• Improve readability and overall layout balance in your emails.
• Ensure consistency across email campaigns and templates.
• Reduce the need for spacer elements or custom code.
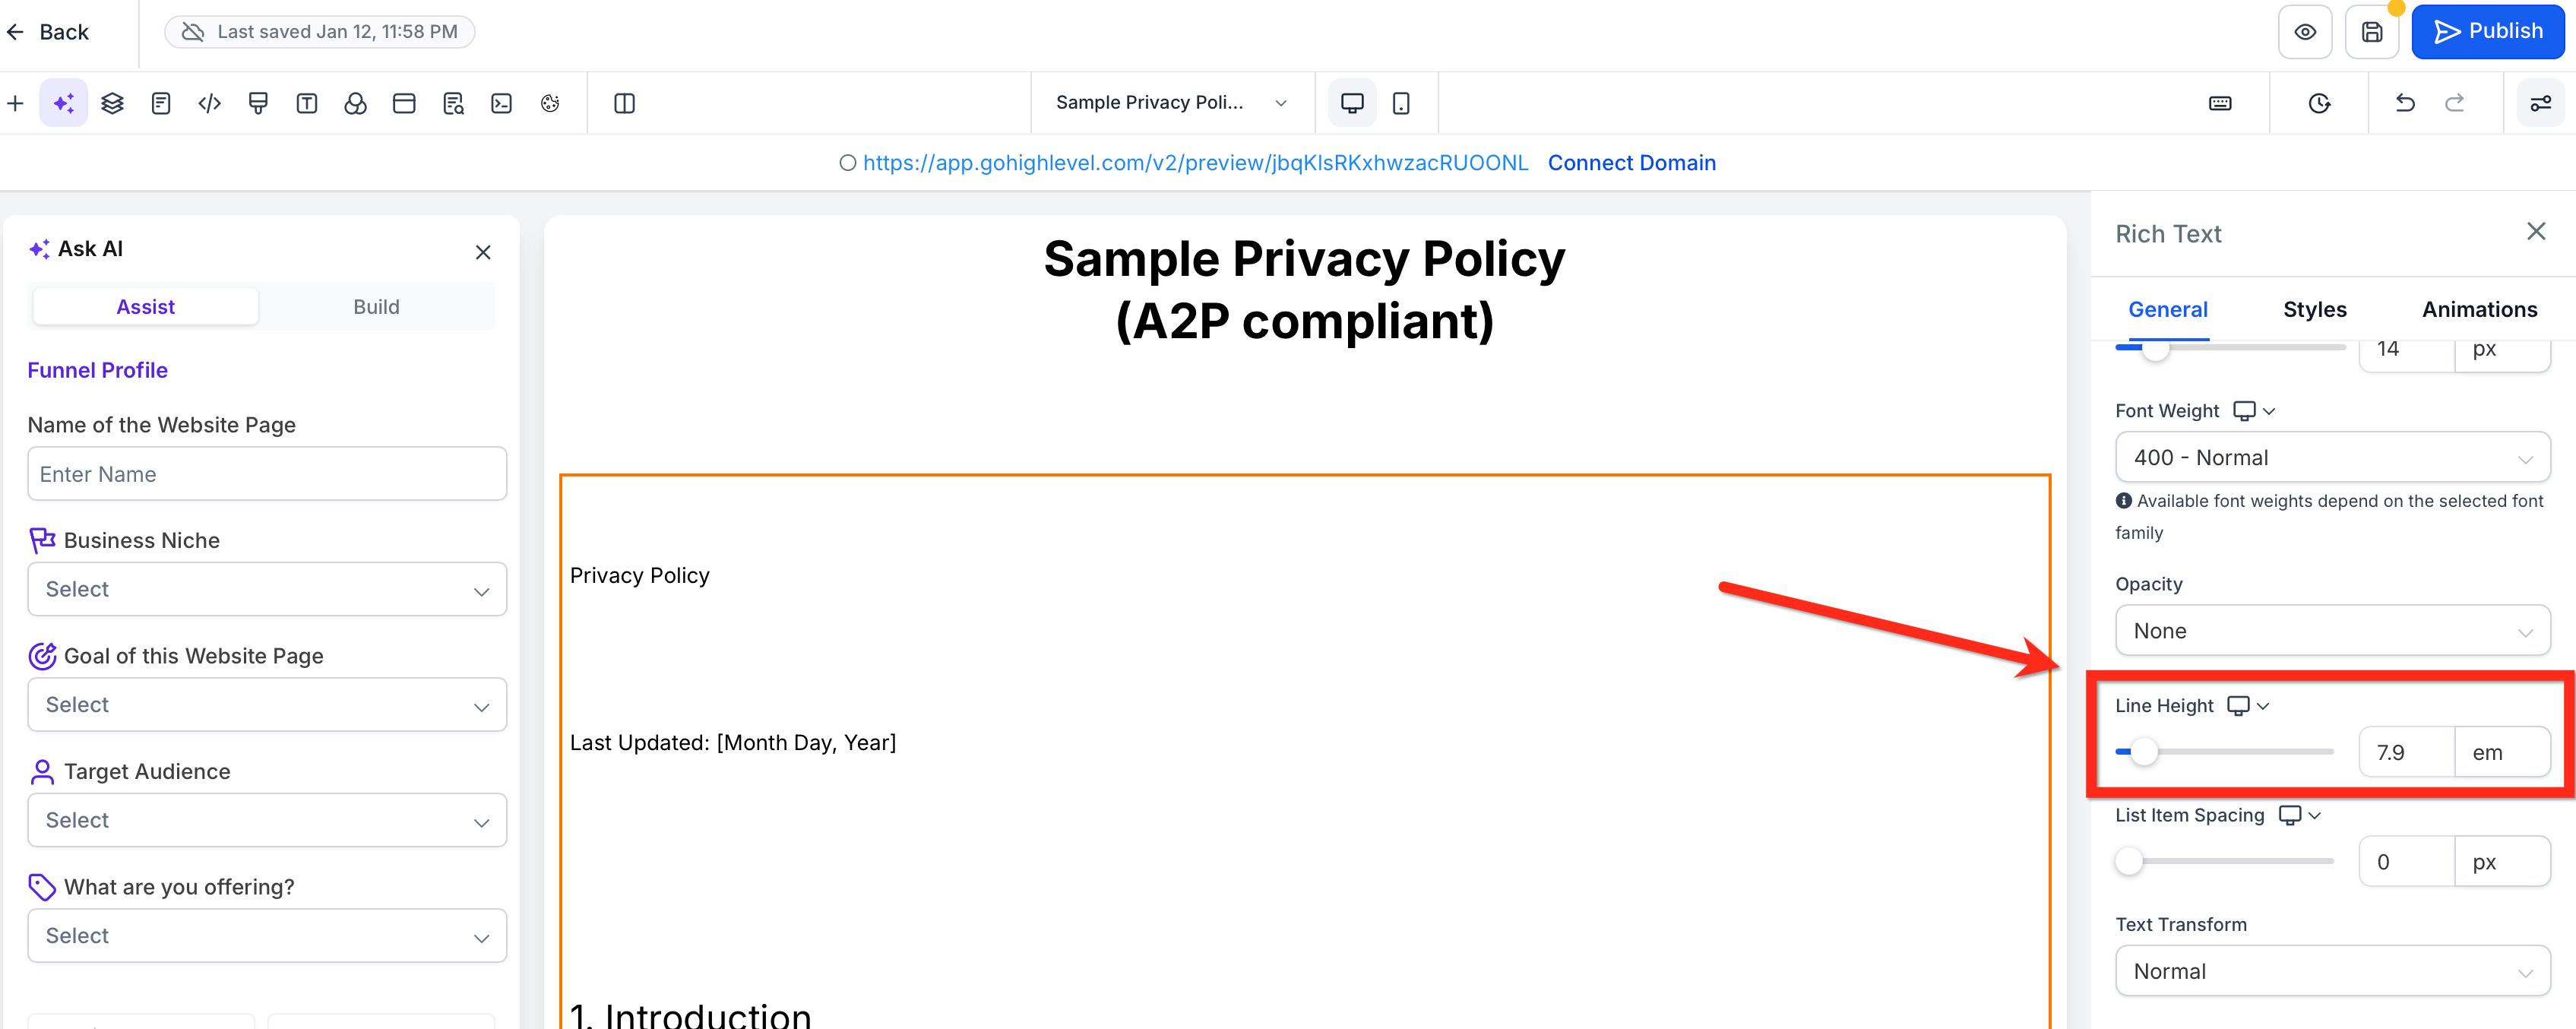
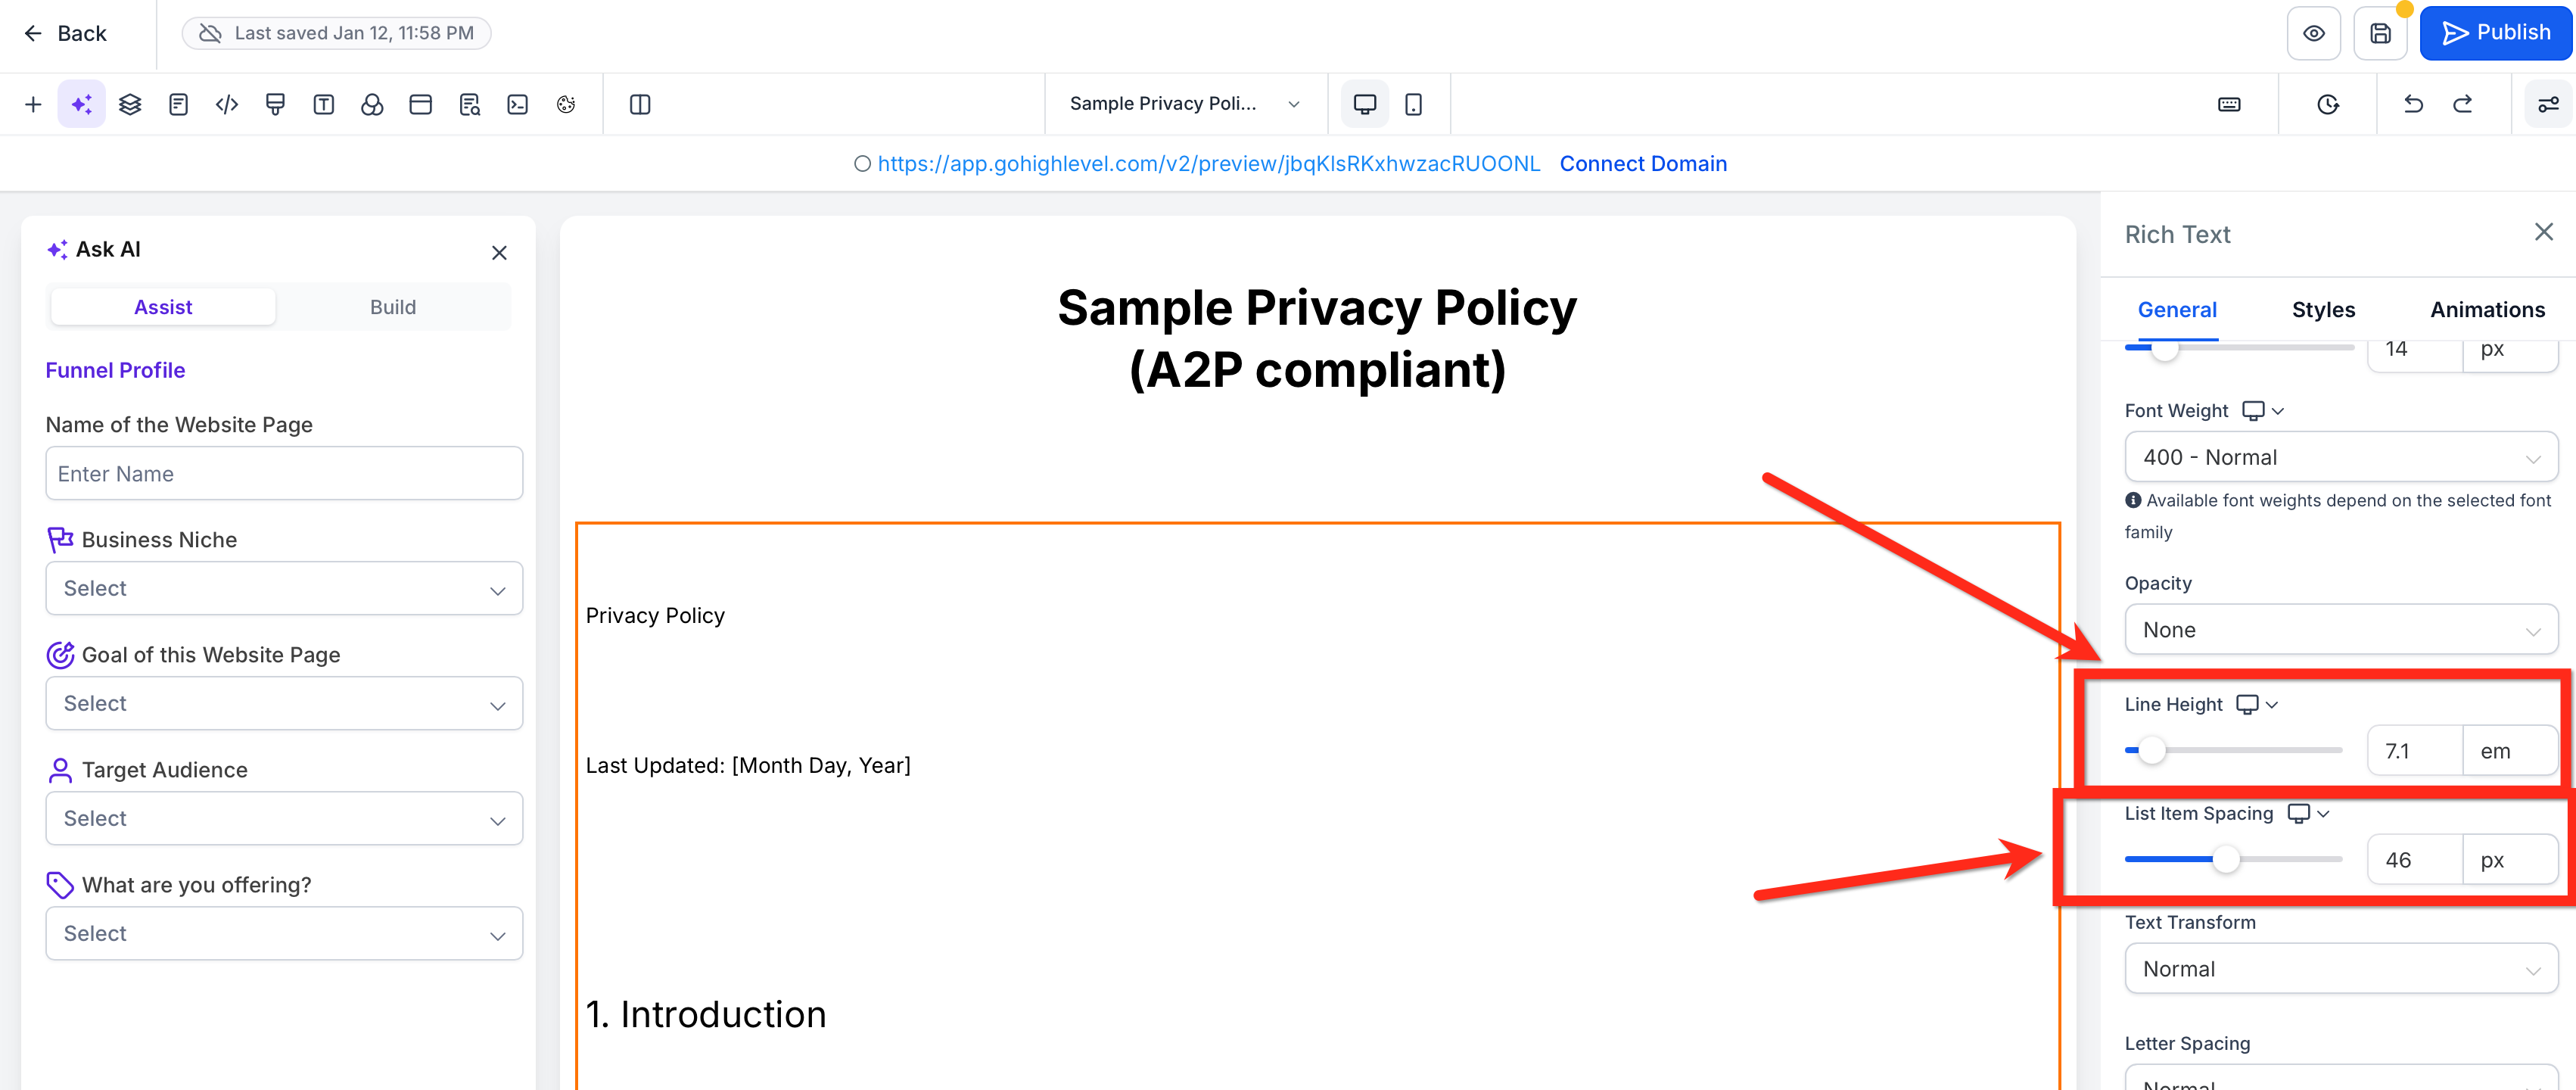
List Item Spacing
Adds vertical spacing between list items inside eligible elements. Use it to improve scan speed and create consistent rhythm in long bullet or numbered lists.
Where to find it
Page Builder → select Rich Text or Bullet List → Style panel → List Item Spacing (next to Line Height).
Behavior
- Affects spacing between items only; it does not change the line height within an item.
- Works with bullet and numbered lists created in supported elements.
List Item Spacing vs. Line Height
Choose the right control for the job to avoid unintended layout changes.
- List Item Spacing: Adjusts the gap between list items.
- Line Height: Controls vertical spacing within lines of the same item or paragraph.
- Use together: Increase Line Height for dense text and List Item Spacing to separate items.
How to Adjust Layout Margins in the Email Builder
Layout margins help you define the space between blocks and sections in your email layout.
1. Open the Email Builder from the Marketing → Emails tab.
2. Click on a layout block (e.g., row, section, or column) in the email.
3. In the settings panel on the left, scroll to the Margin section.
4. Adjust the Top and Bottom margins using the slider or by entering a specific value (in px).
5. The margin changes will preview in real time.
6. Click Save to preserve your changes.
How to Customize Text Spacing for Email Headings and Paragraphs
Text spacing controls allow you to define spacing around text tags (e.g., H1, H2, Paragraph) to maintain consistent typography throughout your email content.
- Open the Email Builder from the Marketing → Emails tab.
- From the top left buttons Click on Appearance → Typography Settings.
- Enable or edit the spacing for each text tag:
Top Spacing (adds space above the tag)
Bottom Spacing (adds space below the tag) - Enter your desired spacing (e.g., 10px, 1rem).
- Click Save to apply changes to all emails using that tag style.

Frequently Asked Questions
Q: Are layout margins only available for certain blocks in the Email Builder?
You can adjust margins for most layout elements including rows, sections, and columns.
Q: Will typography spacing changes affect all emails?
Yes. Changes to Email Typography Settings will apply globally to emails that use those specific heading or paragraph tags.
Q: Can I preview spacing changes before sending the email?
Yes. Spacing changes are reflected in the Email Builder preview in real time.
Q: Is it better to use margins or spacers for vertical spacing?
Margins are now the preferred method for spacing since they provide precise control and reduce reliance on extra elements.
Q: Can I apply different spacing settings for desktop and mobile?
No, spacing settings apply universally across devices in the current version of the Email Builder.
Related Articles
• How to Use the HighLevel Email Builder
• Creating Email Templates in HighLevel
Next Steps
• Update your global Email Typography Settings for consistent heading and paragraph spacing across campaigns.
• Review existing email templates and use layout margins to clean up any awkward spacing.
• Create reusable email sections with refined spacing to speed up future email design.
Was this article helpful?
That’s Great!
Thank you for your feedback
Sorry! We couldn't be helpful
Thank you for your feedback
Feedback sent
We appreciate your effort and will try to fix the article