This article explains how to manually create a booking in Rentals. It walks through every field in the Create Booking form, how to add listings, customers, and payments, and highlights all special cases where in-app bookings override normal business or listing rules.
TABLE OF CONTENTS
Overview of Creating a Booking
The Create Booking flow allows admins to manually create bookings for customers directly from the Appointments or Calendar view. Admin-created bookings provide complete flexibility — enabling bookings outside configured business or listing constraints.
This means you can:
Create bookings outside business operating hours.
Set any start and end time, even if the time selector is disabled.
Create bookings for any duration, regardless of fixed durations defined on listings.
Bypass minimum and maximum booking durations, minimum scheduling notice, and maximum advance window.
Still respect pre-buffer and post-buffer time slots when checking availability.
Example: If a listing’s default rental time is 9 AM–11 PM and the time selector is disabled, you can still create a booking from 7 AM–1 PM. Similarly, if fixed durations are 4 hours or 1 day, you can still book it for 2 hours or 2 days manually.
This gives admins flexibility for exceptions while maintaining operational safety.
Key Benefits of Creating a Booking
Speed to Schedule: Create directly from Appointments or Calendar to handle requests quickly.
Flexible: Admins can set custom start/end even when listings use fixed durations or disabled time selectors.
Protection Against Conflicts: Buffers and inventory are always enforced to prevent overbooking.
Accurate Pricing & Deposits: Payment Summary reflects configured pricing rules and any security deposit so totals are clear before saving.
Multi‑Listing Support: Add multiple listings—each with its own times and quantities—in a single booking to streamline complex orders.
Immediate Team Visibility: Saved bookings appear right away in Appointments and Calendar for operational coordination.
How to Create a New Booking?
There are two ways to create a booking:
Option 1 — From the Appointments View
Navigate to Calendars → Appointment List View.

Select Rentals from the dropdown.

Click + Create Booking in the top-right corner.

The New Booking screen will open.

Option 2 — From the Calendar View
Go to Calendars → Calendar View.

Select Rentals from the dropdown.

Click + New in the top-right corner of the calendar.

The New Booking screen will appear.
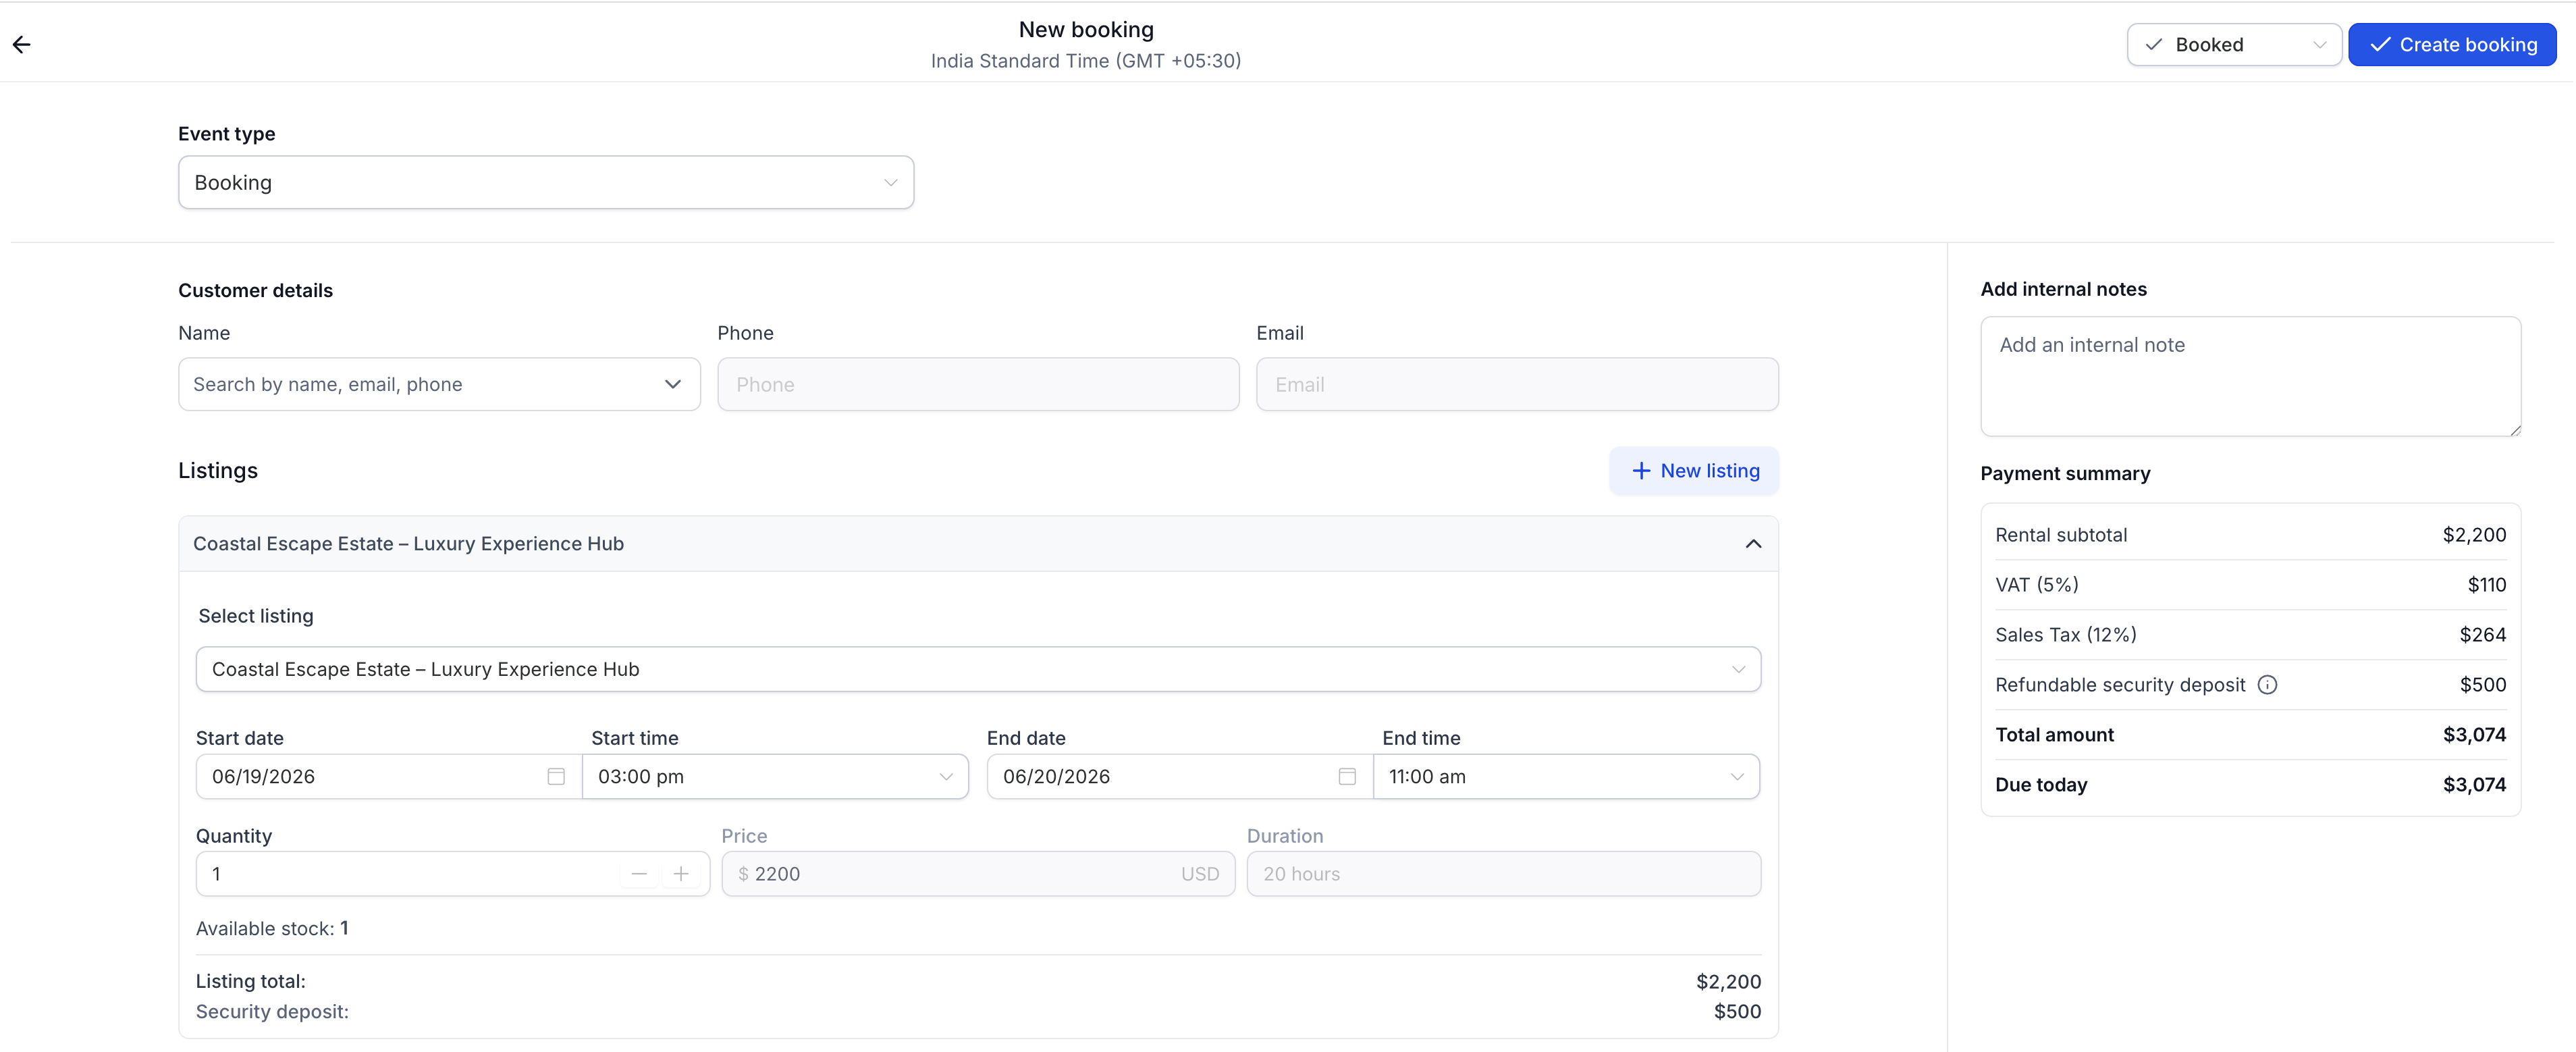
Sections of the Create Booking Form
The booking form includes the following sections:
Customer Details
Listings
Internal Note
Payment Summary
Set Booking Status
Each section is detailed below.
Tip: If you need to take a listing off the calendar (for example, maintenance or internal use), create a Blocked slot event. Blocked slots reduce availability like a booking, but they are not tied to a customer booking or order.
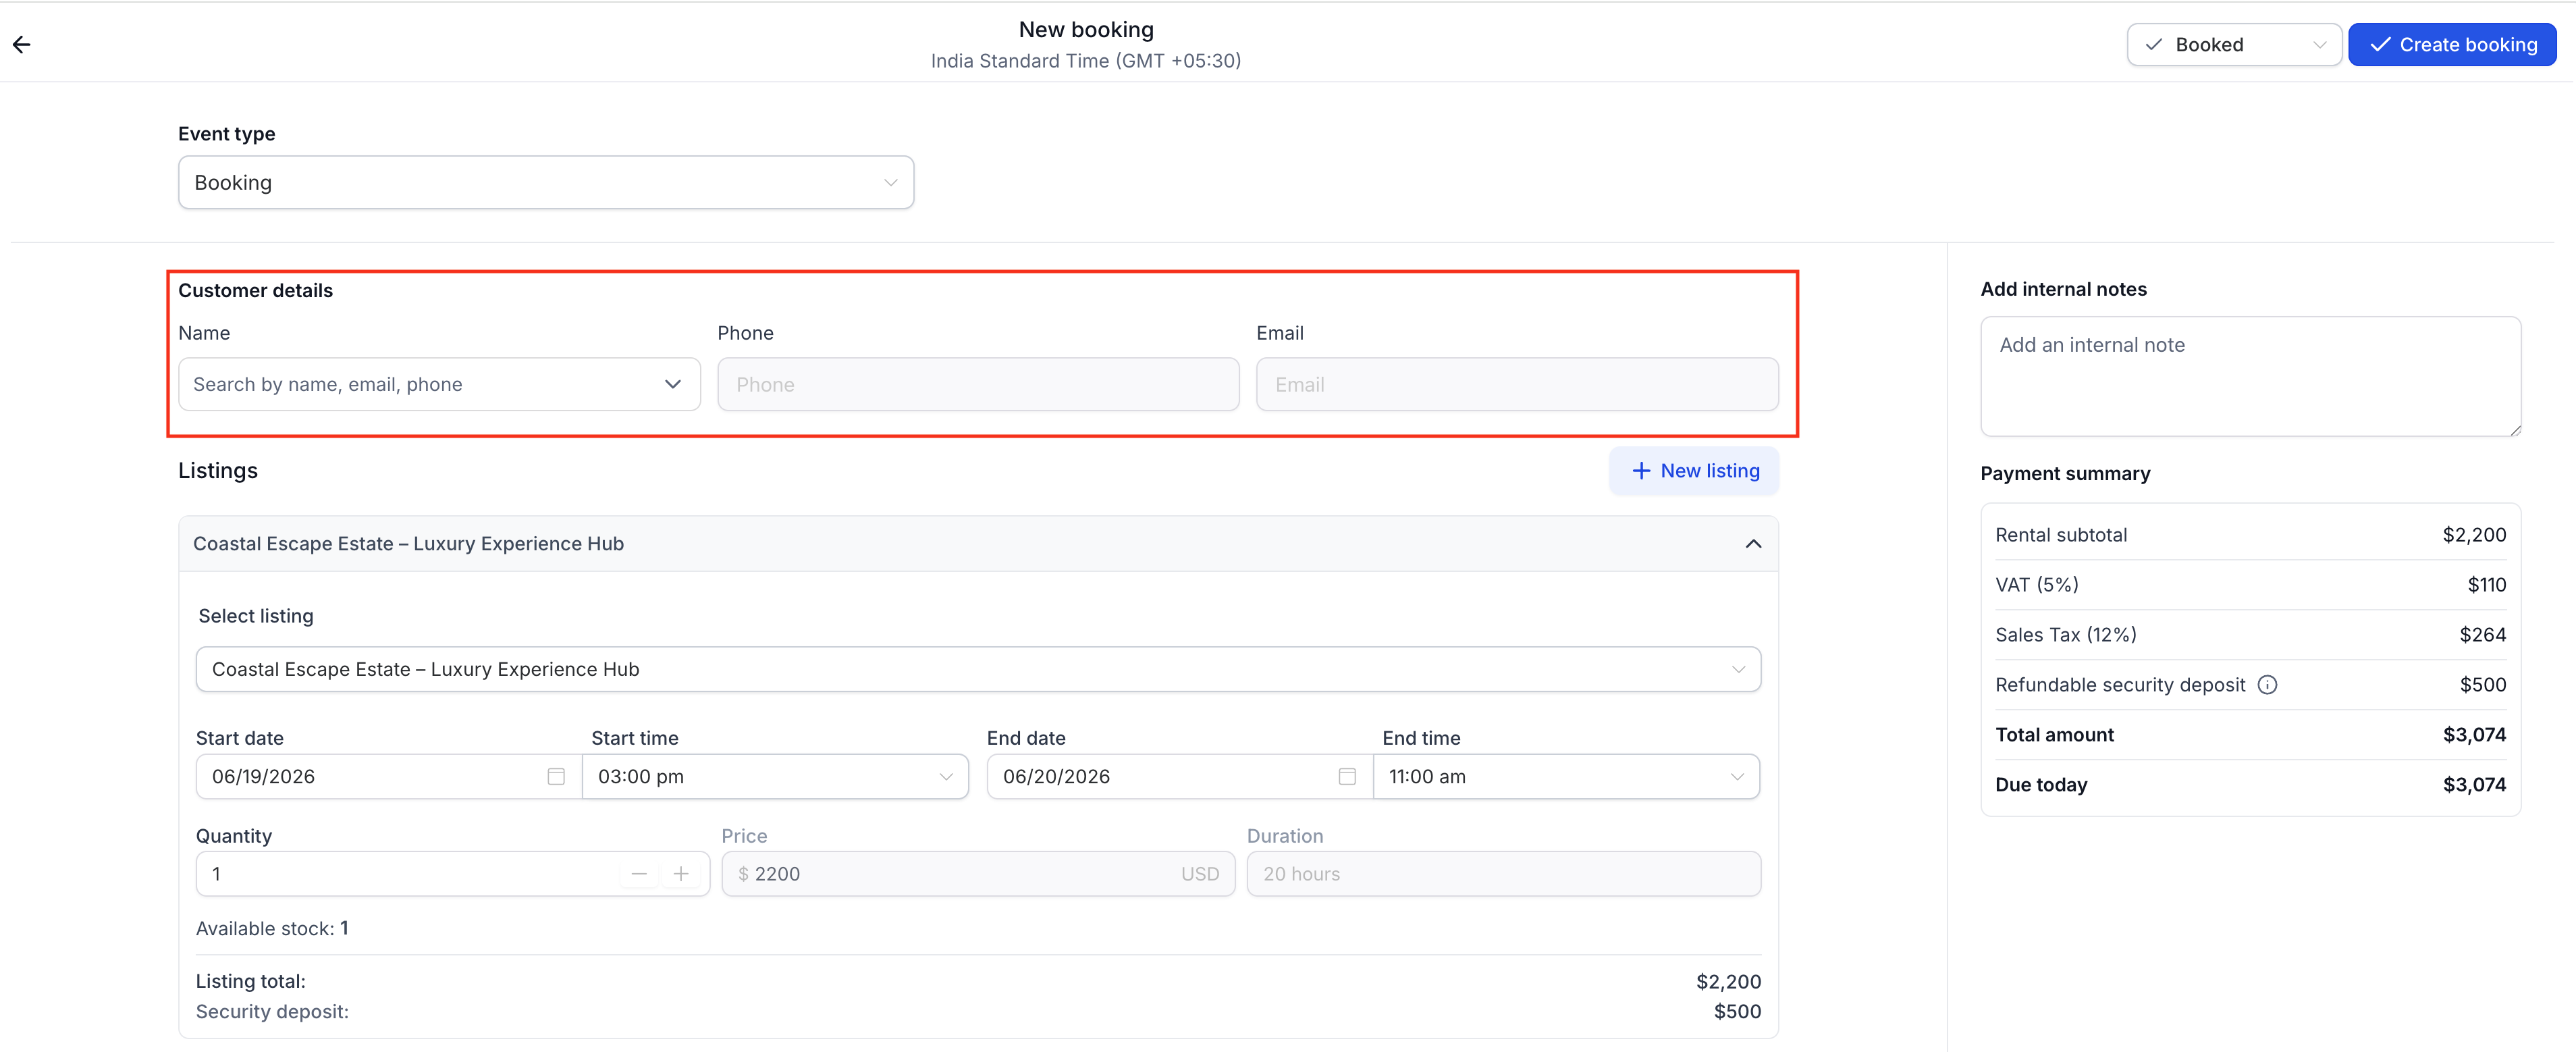
Learn more: Blocked Slots for Rental ListingsCustomer Details
Enter or select the customer making the booking.
Fields:
- Select Contact – Search existing contacts or create a new one
- If no record exists, click Add New Contact to create one instantly.
- If no record exists, click Add New Contact to create one instantly.
- Phone & Email– Automatically fetched from the selected contact.
Tip: Always confirm contact details to ensure reminders and payment confirmations reach the right person.
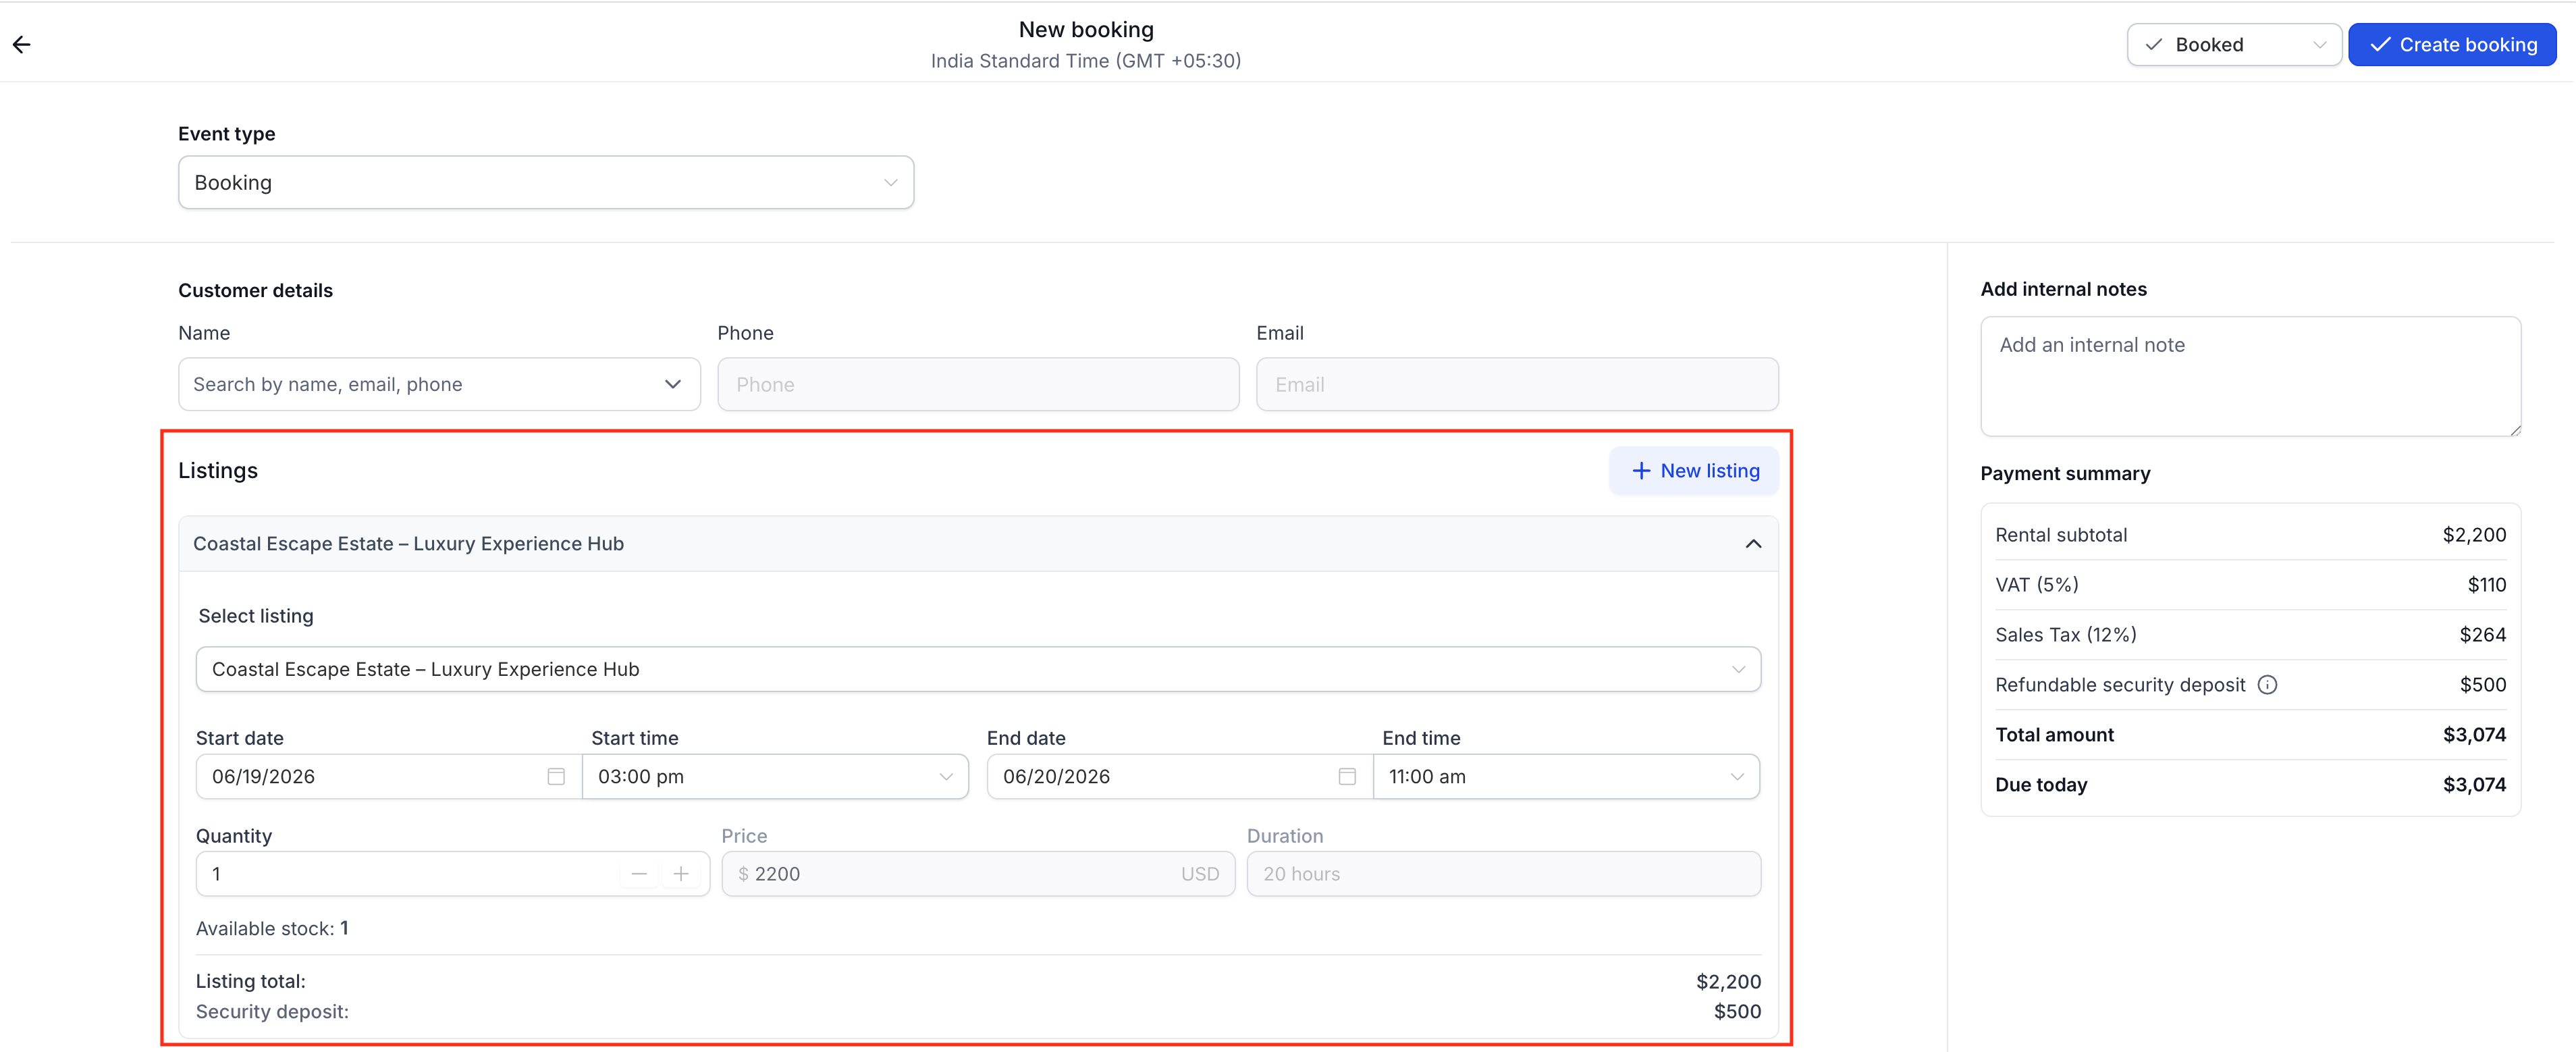
Listings Section
This is where you select the listing(s) being booked.
Steps to Add a Listing:
Choose the Listing Name from the dropdown.
Select a Variant (if applicable).
Enter the Quantity – The number of units being booked.
Define Start and End Date/Time.
The time picker appears even if the listing’s time selector is disabled.
You can choose custom times and durations beyond fixed durations or rental hours.
- While updating or adding new listings to the booking, inventory must be available for the time duration for it to be selectable.
- The Duration auto-calculates based on your selection but can be manually adjusted.
The Listing Total updates automatically with pricing rules and discounts.
- The Security Deposit updates automatically if applicable.
Important: Manual bookings ignore minimum/maximum durations, scheduling notice, and booking windows, but respect buffer times so existing reservations aren’t overlapped.
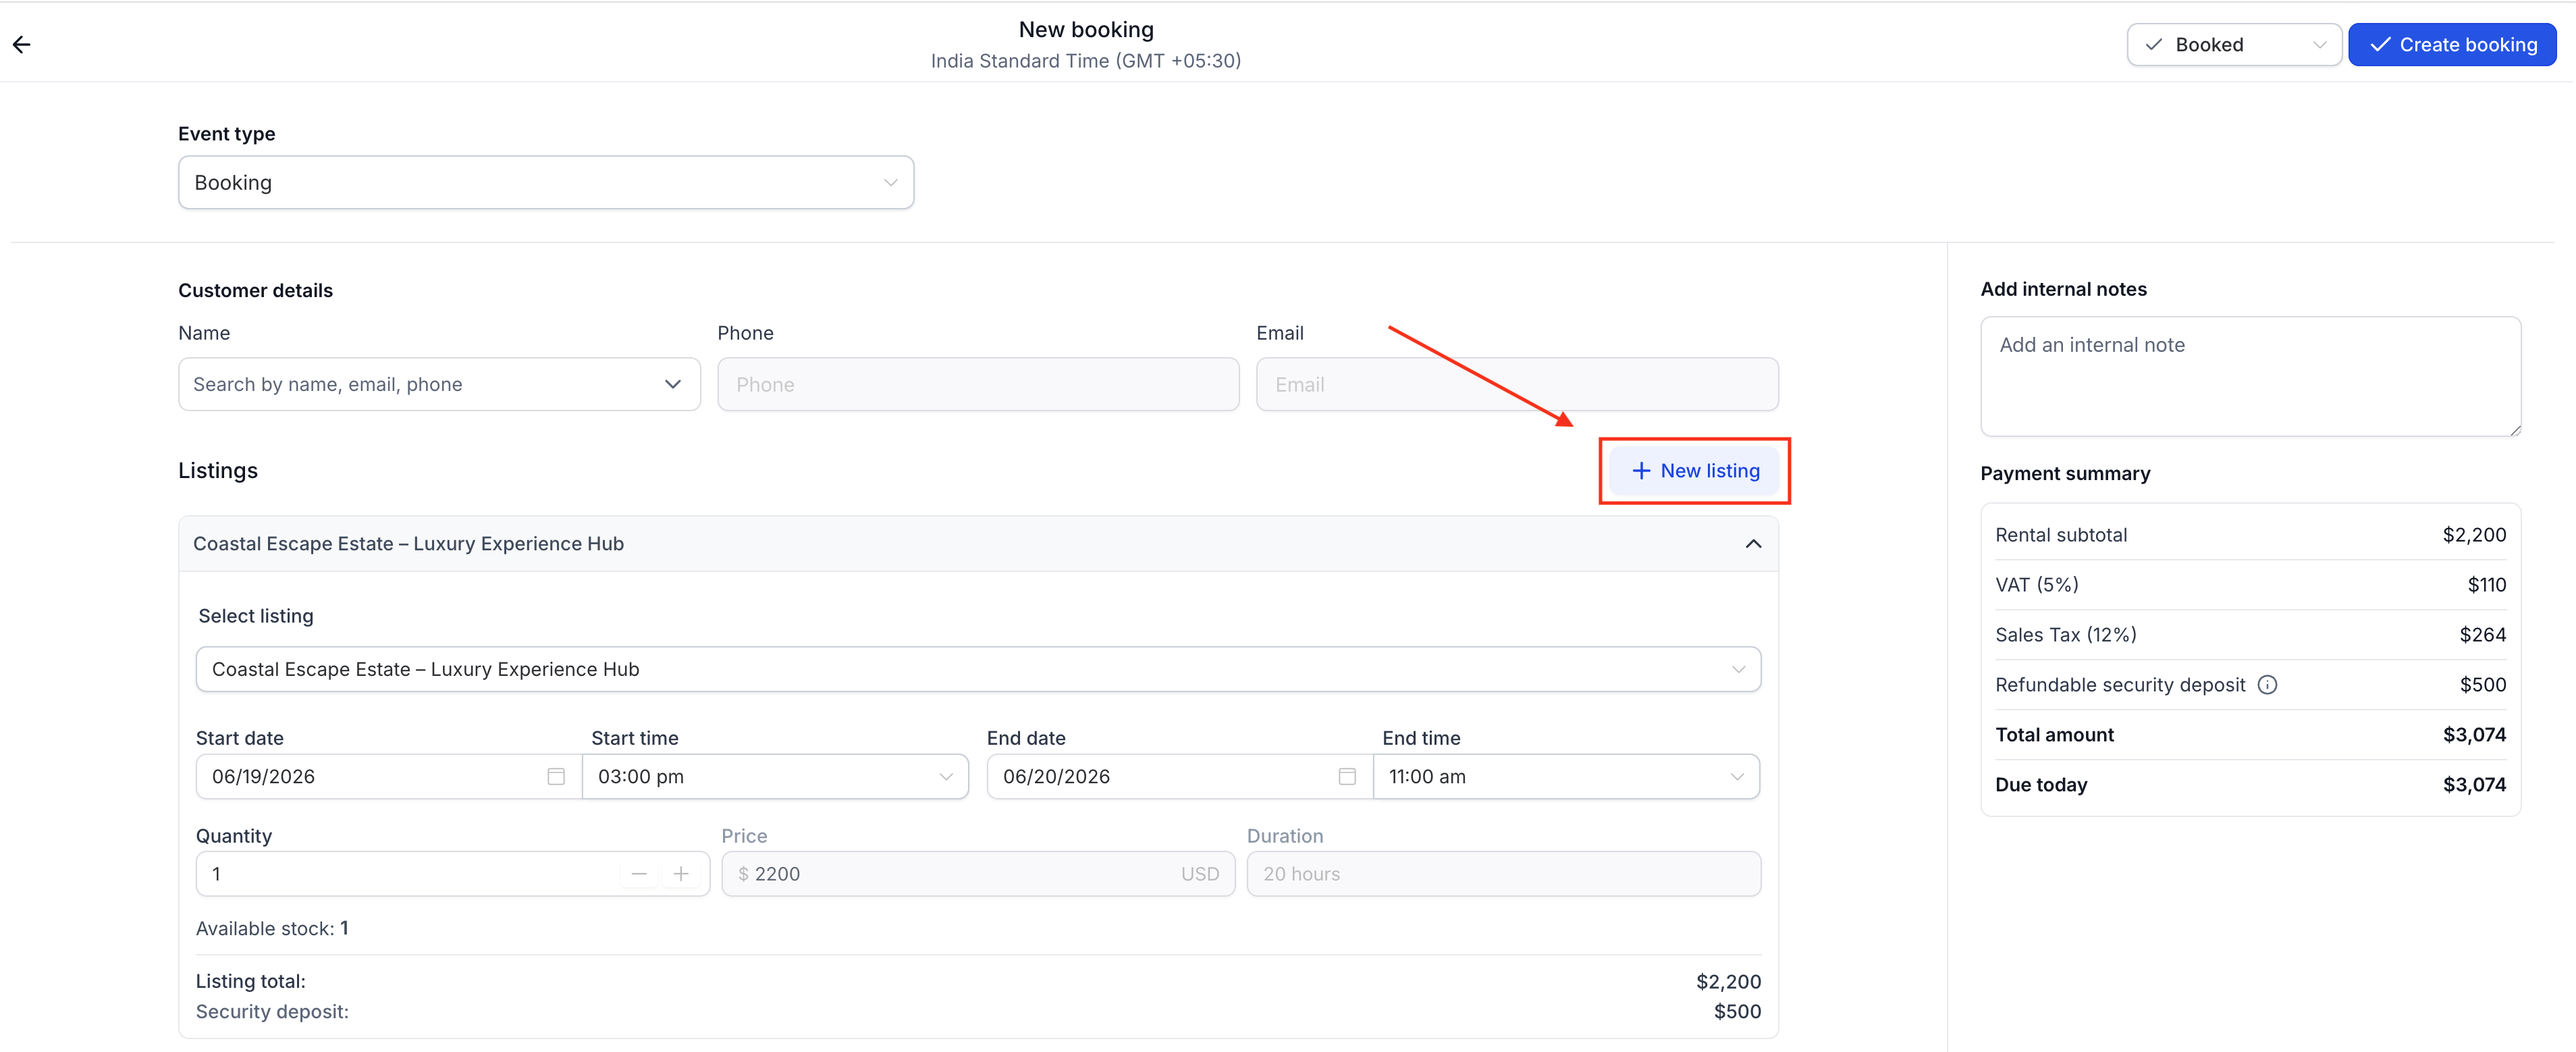
Adding Multiple Listings:
Click + Add Listing again to include multiple items in a single booking.
Each listing can have unique start/end times and quantities.
The combined total updates in the final Payment Summary.
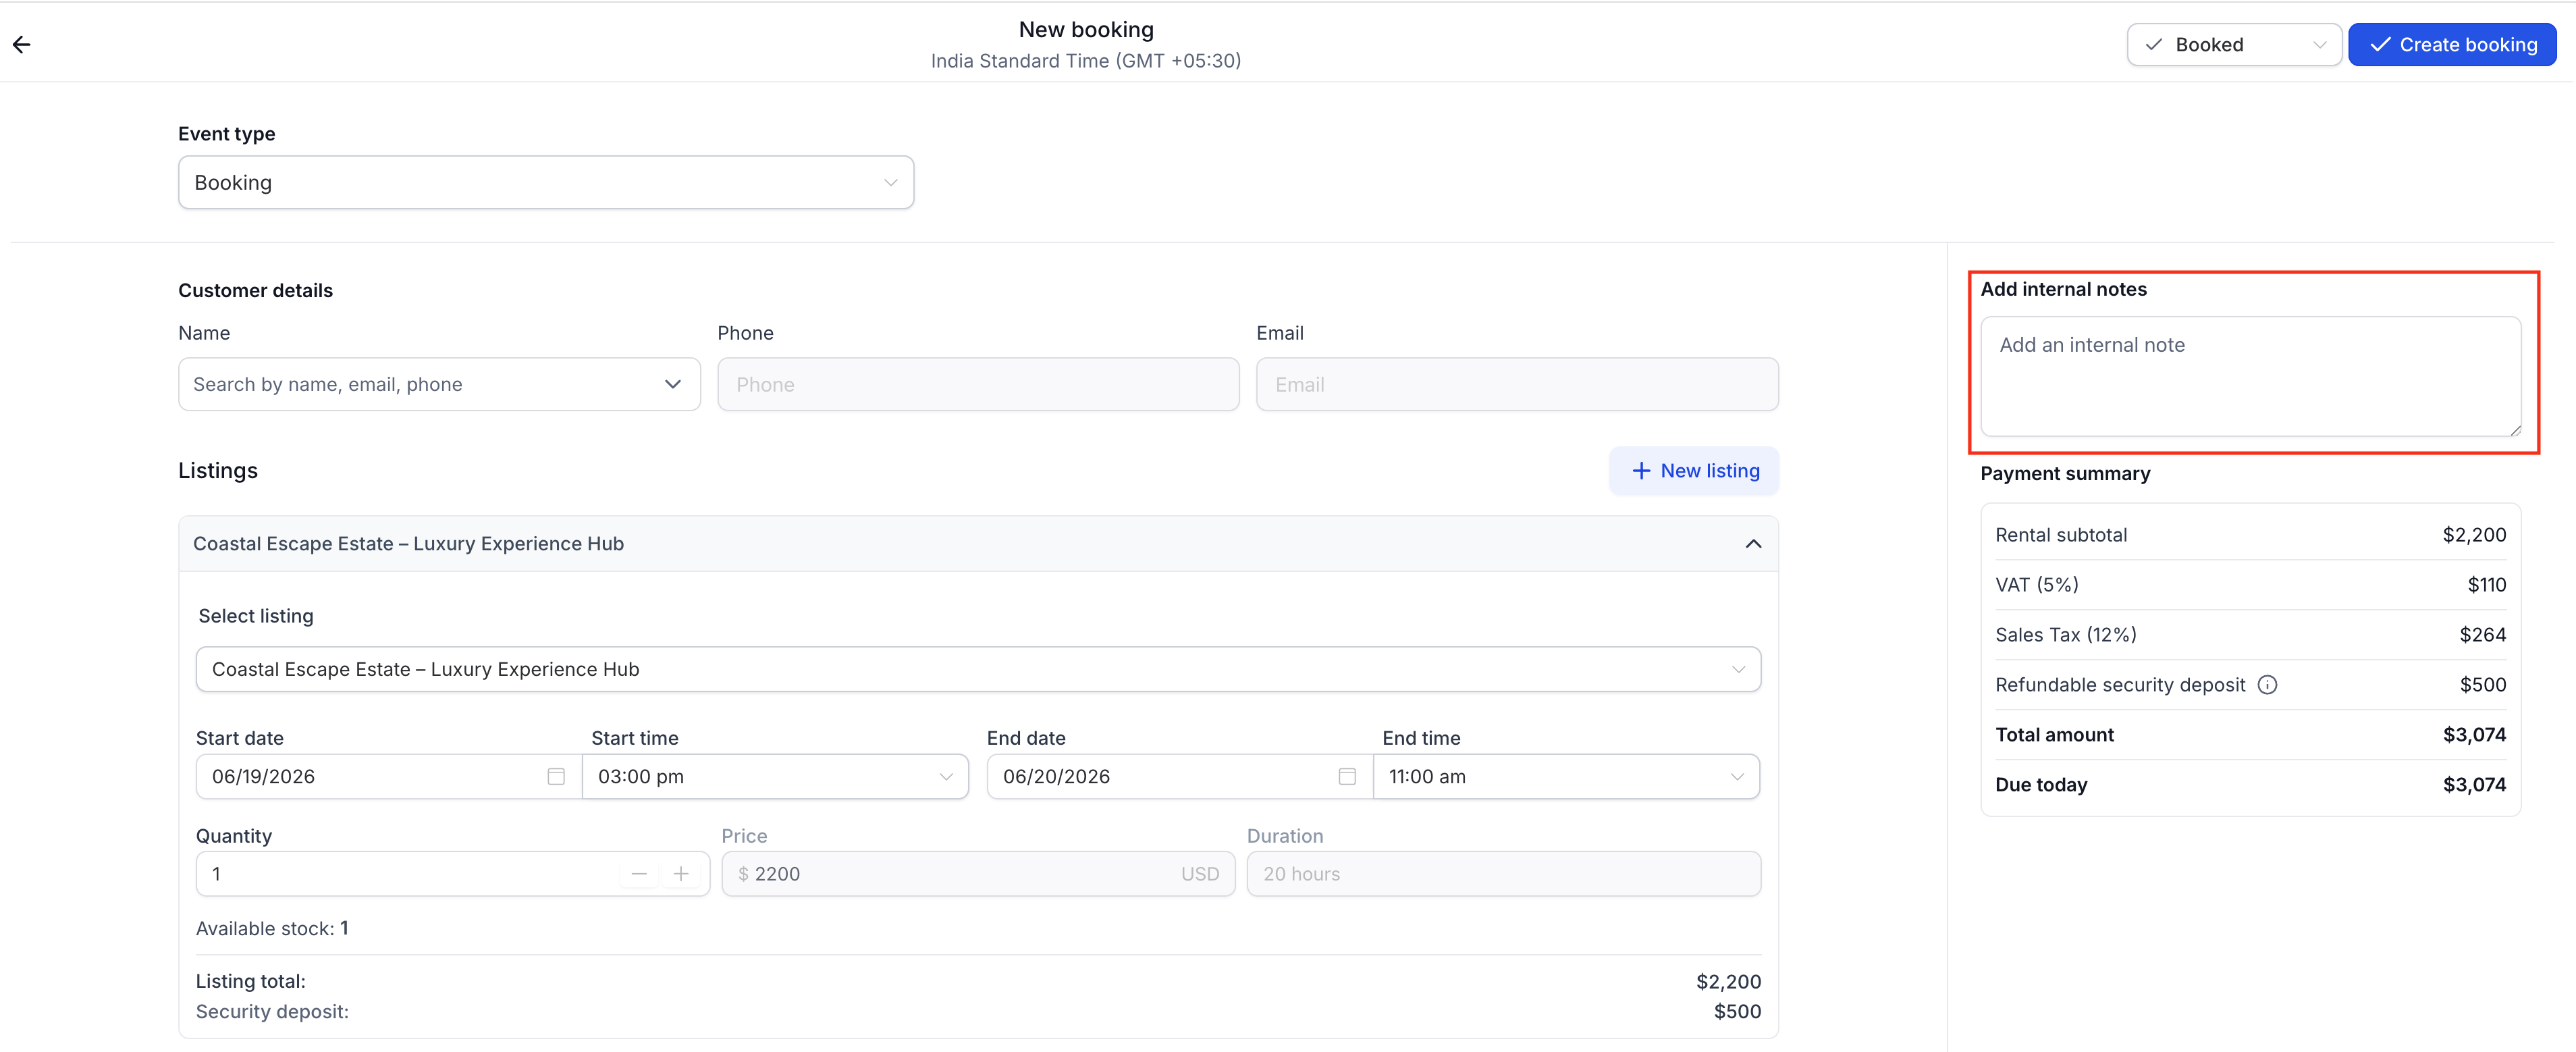
Internal Notes
Use this section to add contextual notes or record operational details.
Add Internal Note: Add instructions, customer requests, or internal reminders.
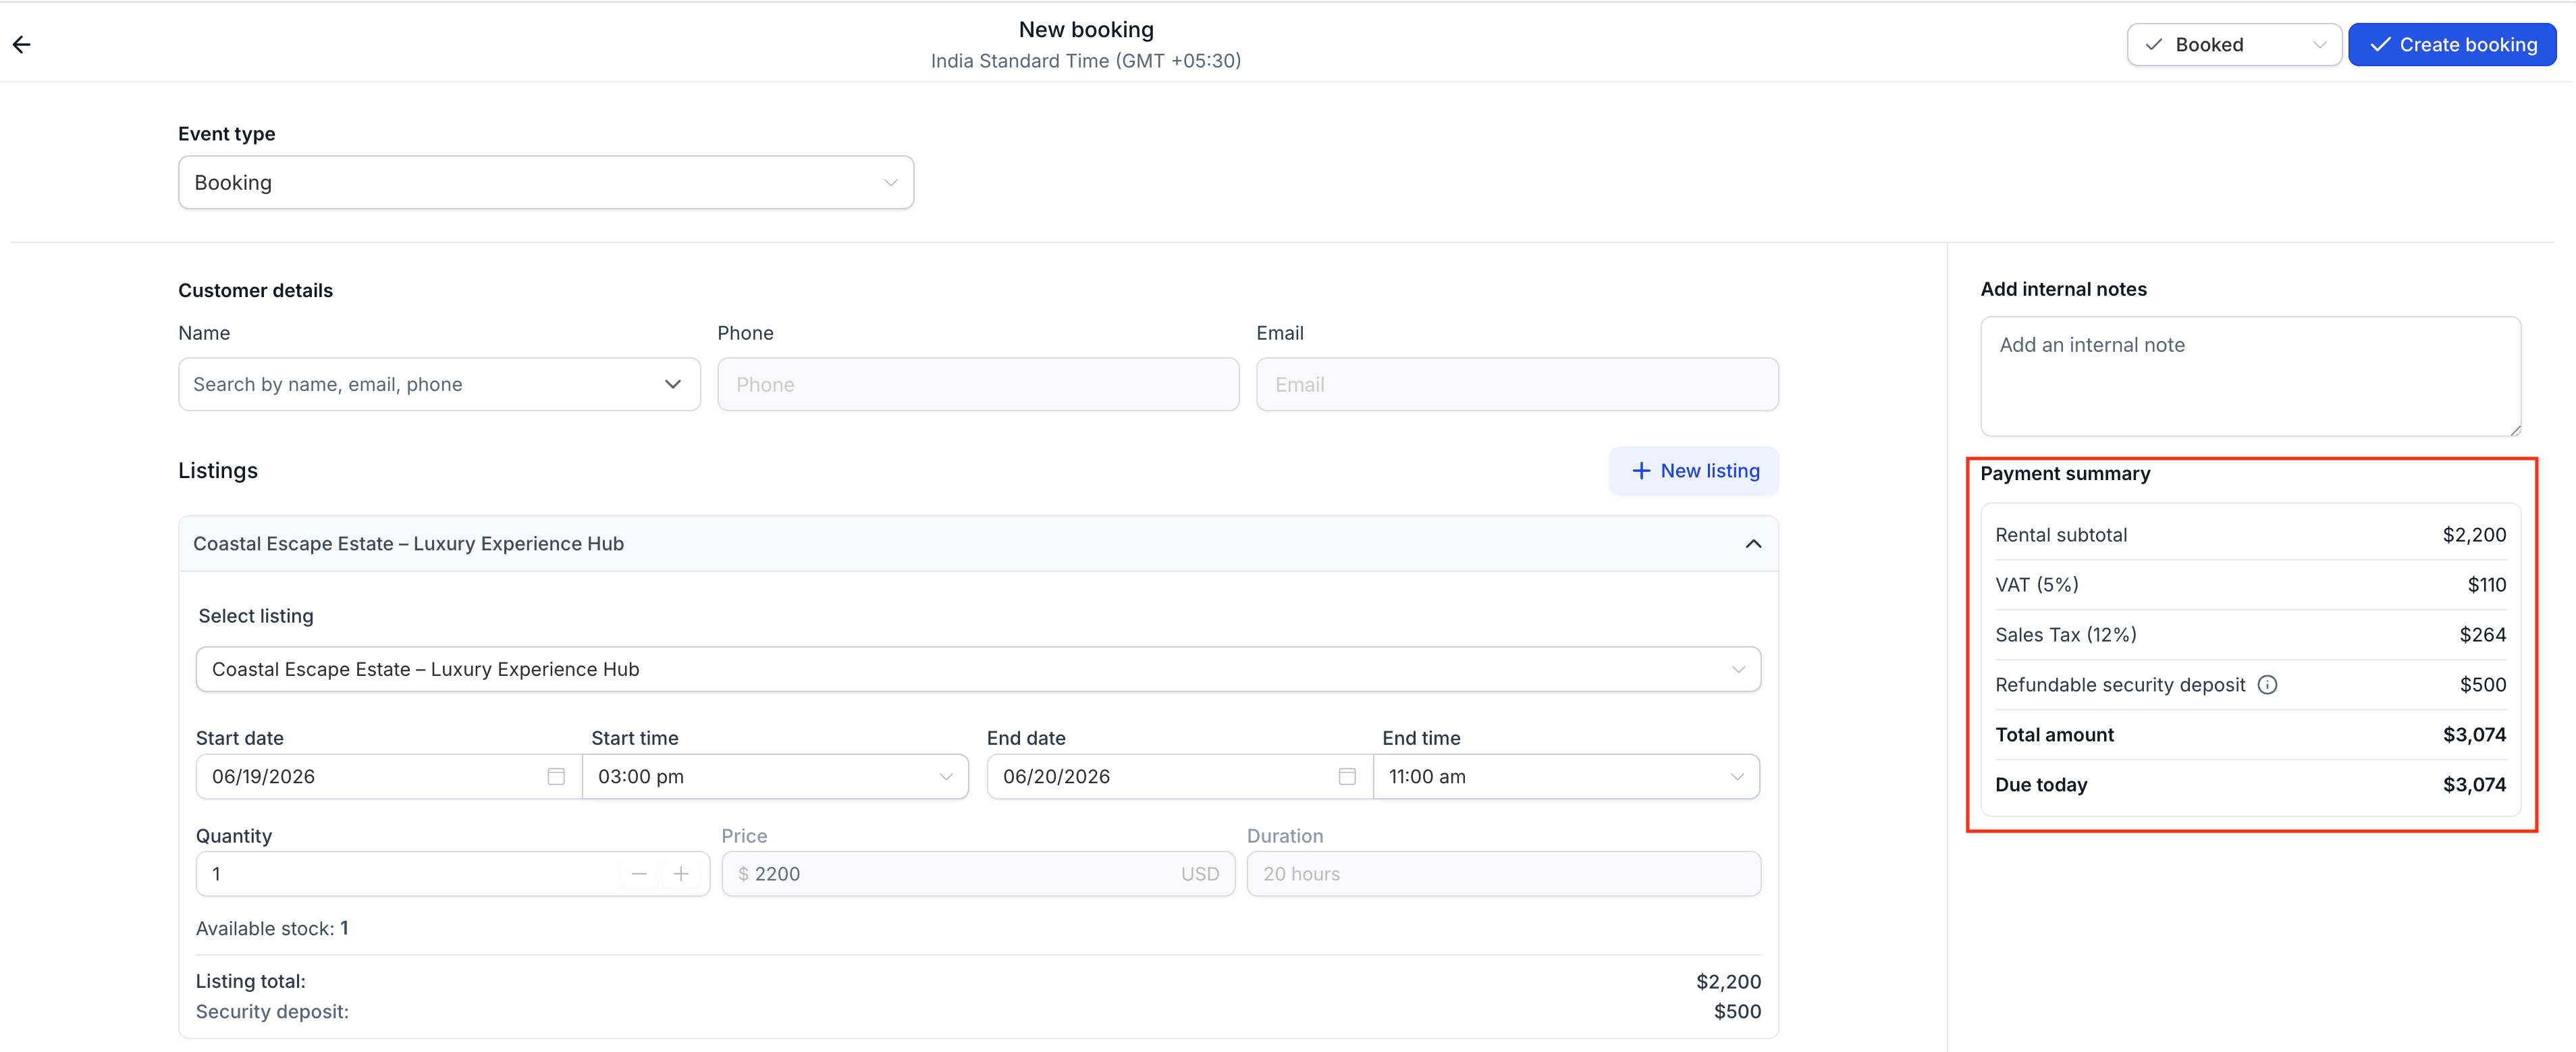
Payment Summary
The payment summary consolidates all costs in the booking.
Displayed Fields:
Rental Subtotal – The combined value of all listings.
Security Deposit – Total security deposit applicable for the booking. This can be a part of the total amount to be collected upfront or an intimation of what can be charged incase of damages/violation of terms later (incase security deposit mode is set to card on file).
Total Amount - Final amount to be collected including any security deposit(s) and other charges as applicable.
Due Today – Remaining amount to be collected.
Note: Incase security deposit is set to Card on File, the Total Amount in the payment summary excludes the amount for Security Deposit, however; it can be collected later and is not considered as an amount due until charged explicitly.
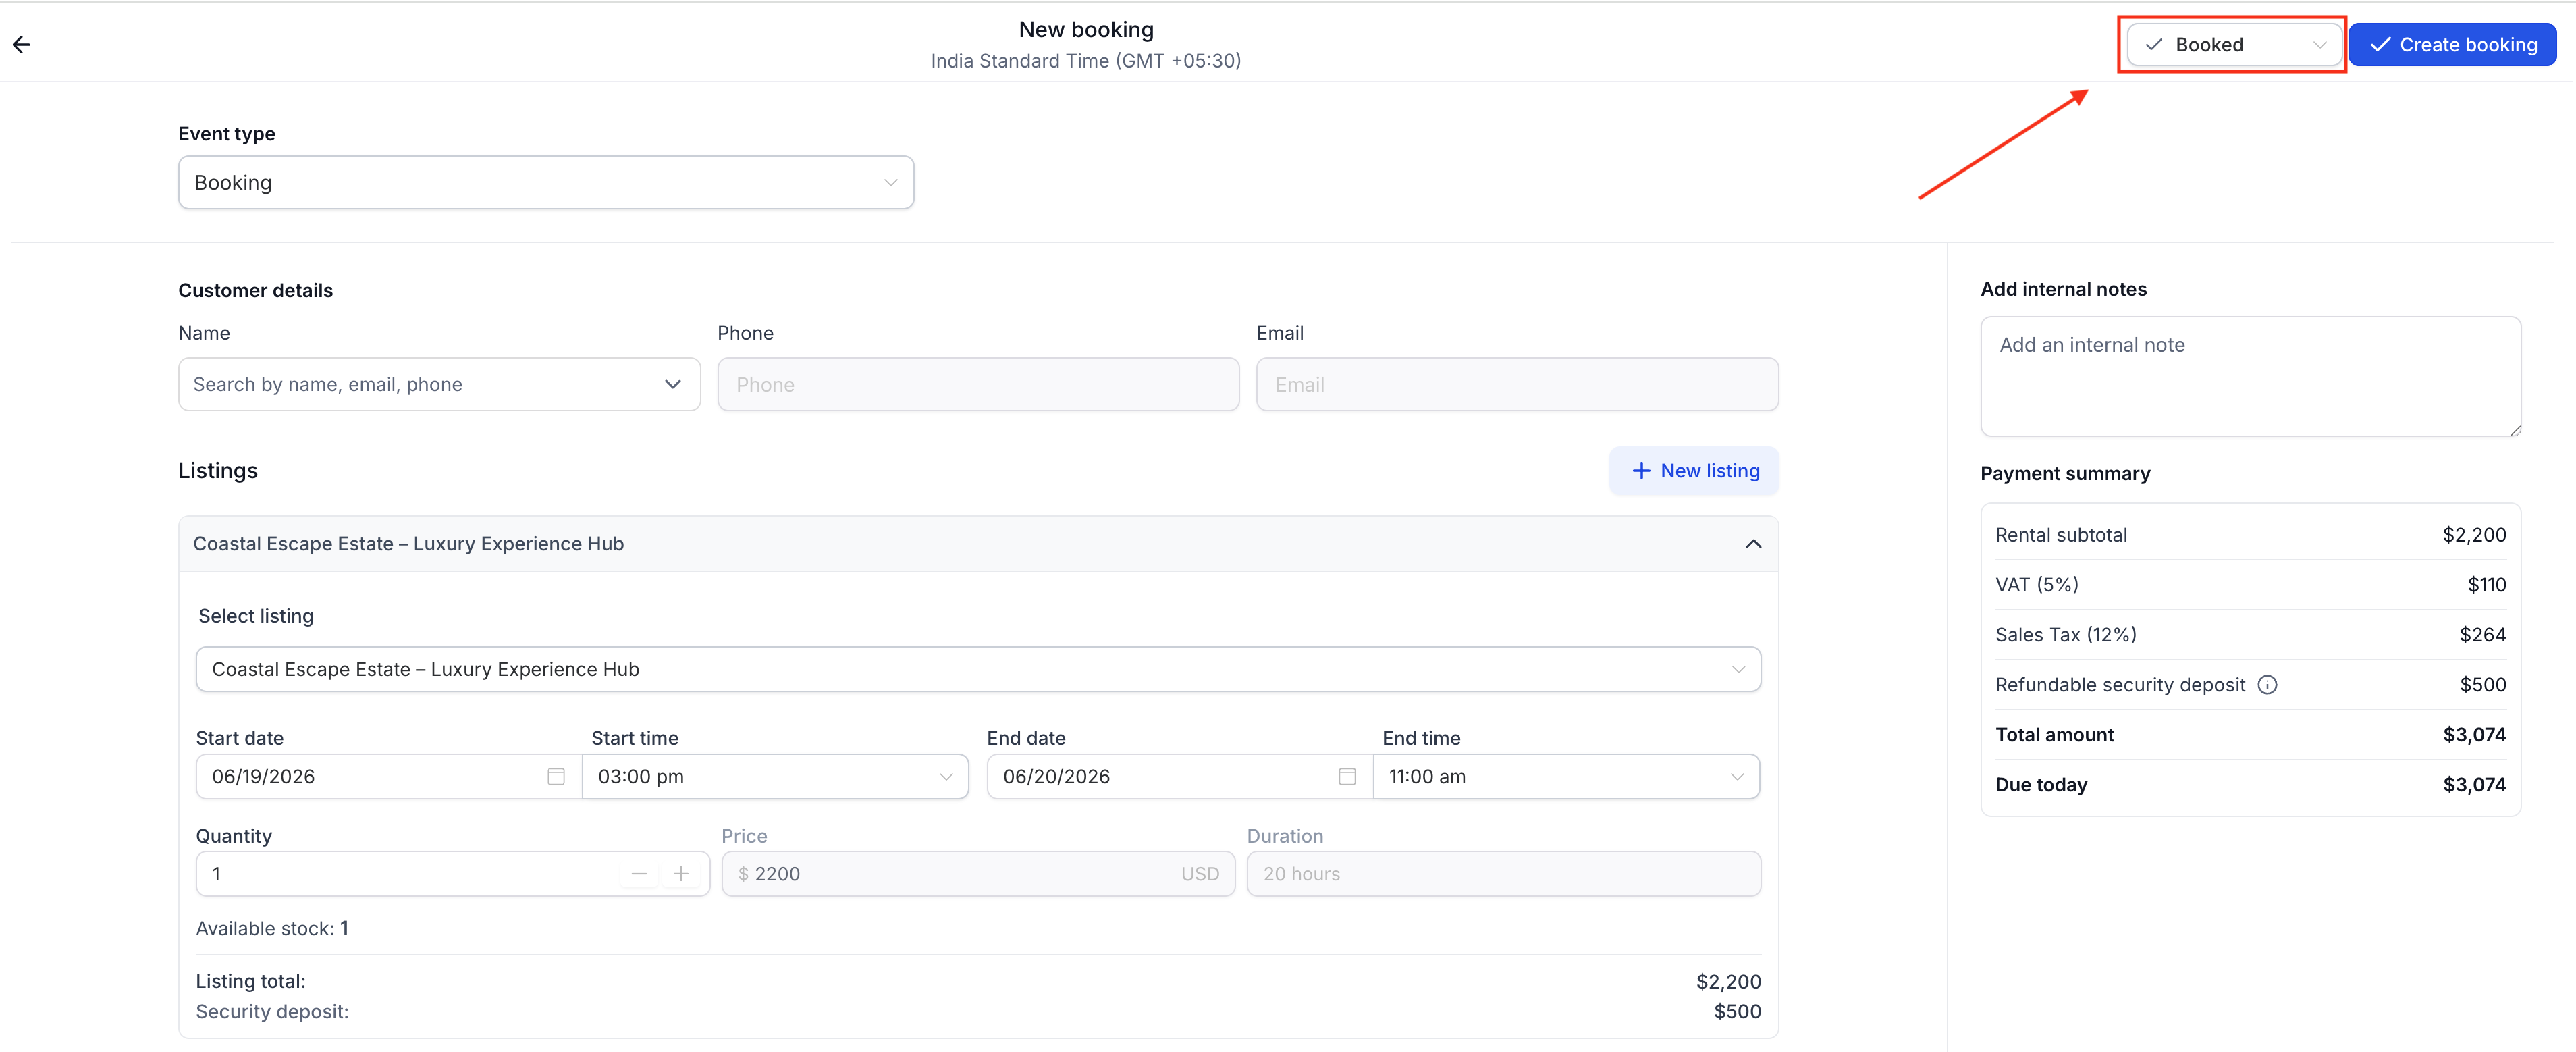
Set Booking Status
Before saving, you can choose the initial status for the booking:
Unconfirmed – The booking is recorded but not yet confirmed; useful for tentative rentals.
Booked – The booking is confirmed immediately
This flexibility helps admins manage provisional holds or manually confirmed bookings.
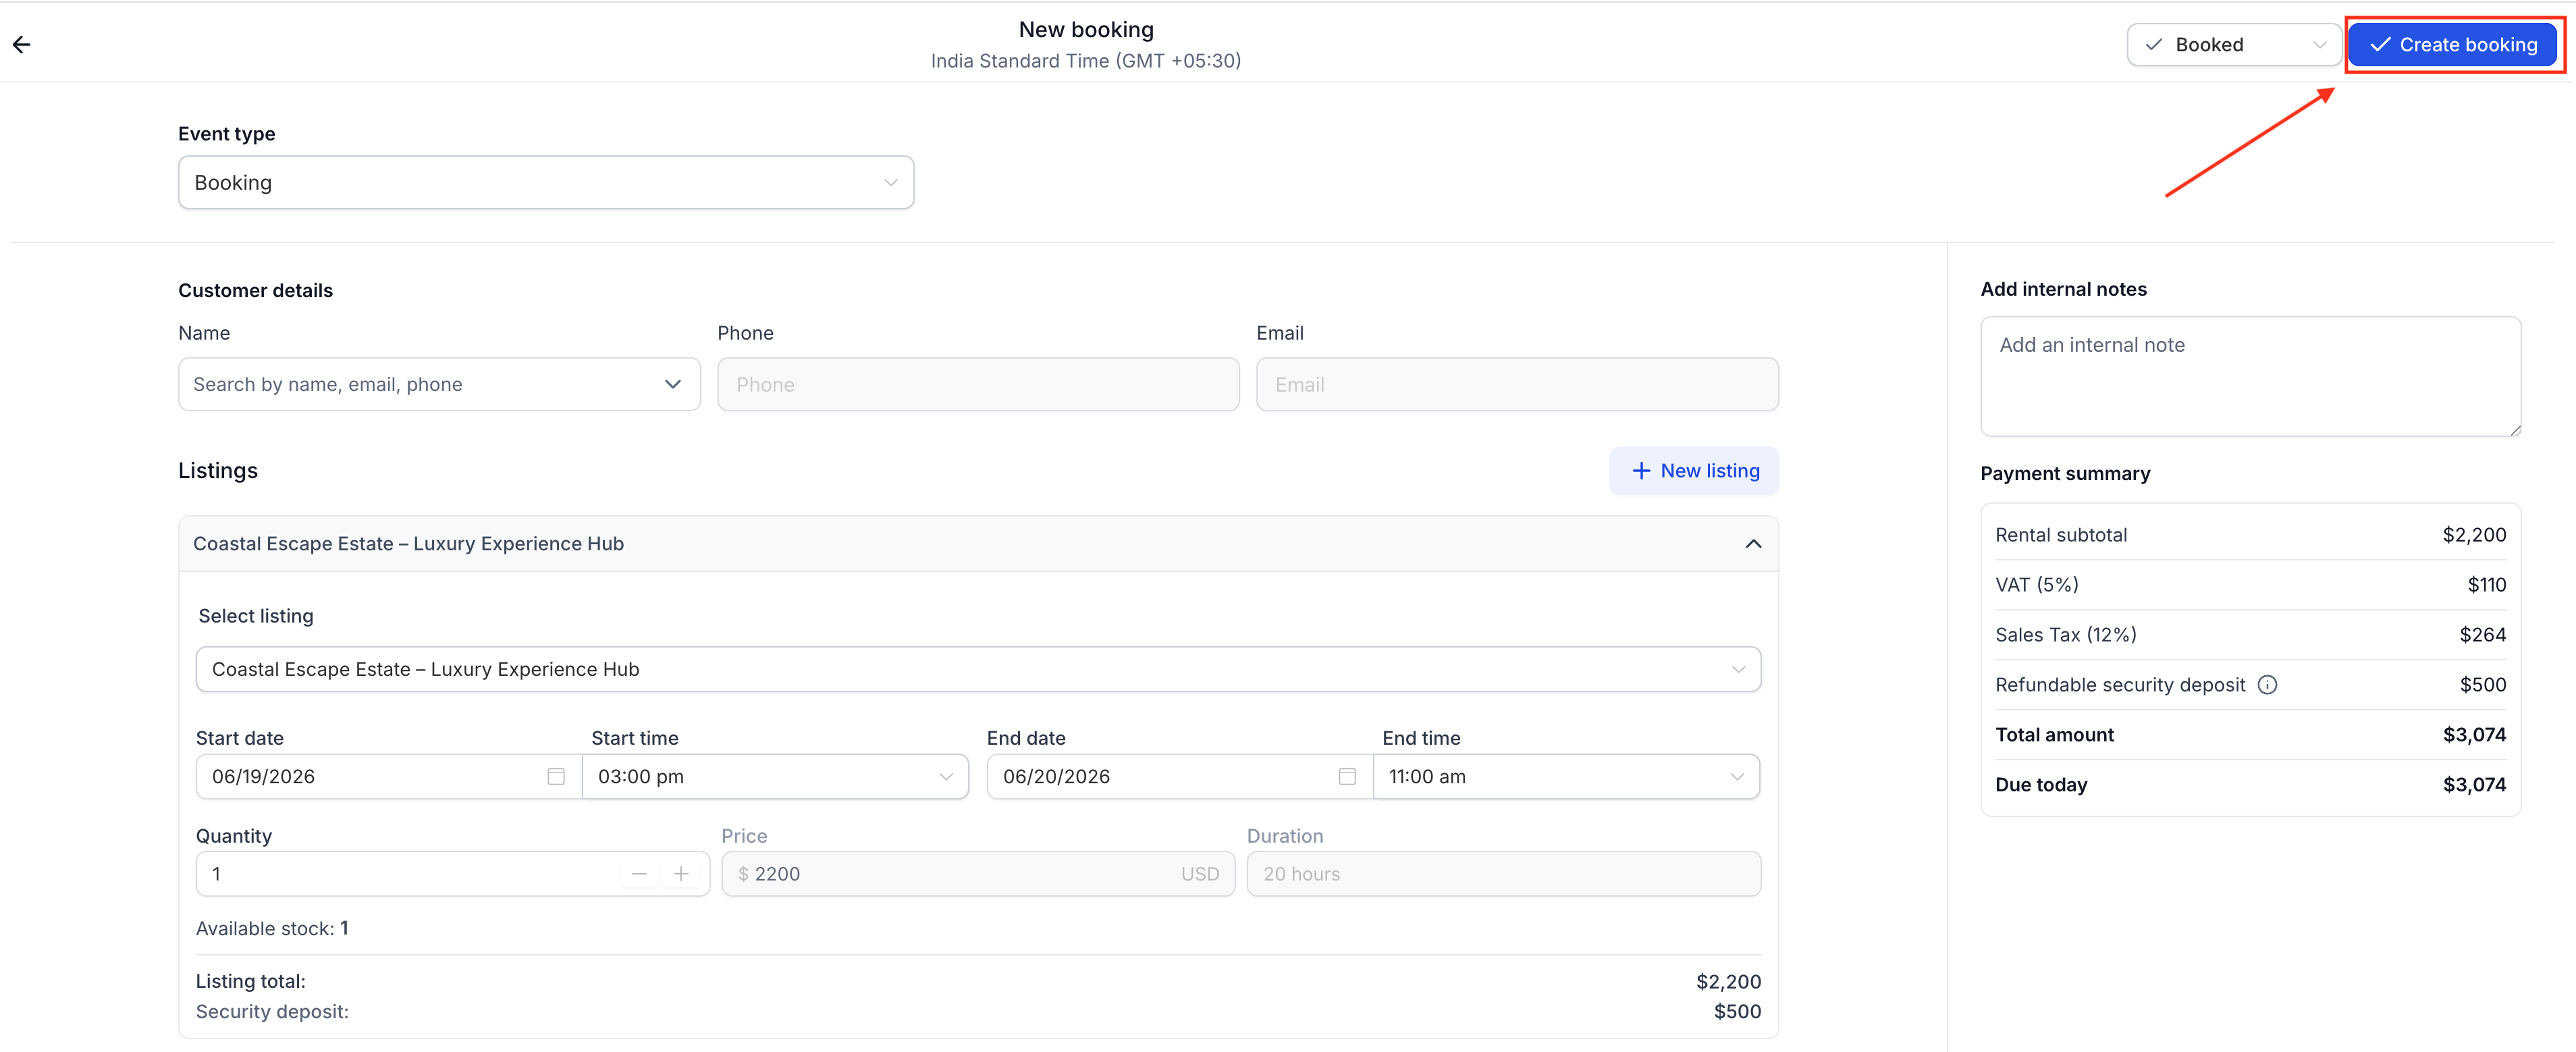
Save and Confirm
Once all fields are complete:
Review customer and listing details.
Click Confirm booking.
The booking appears in the Appointments List View
Frequently Asked Questions
Q: Can I create a booking without taking payment right now?
Yes. Save without payment, then open Edit Booking later to collect full balance or deposit.
Q: Why isn’t the deposit appearing in Payment Summary?
Check Global Settings to ensure deposits are enabled and that the variant’s deposit isn’t set to $0.
Q: What happens if my time overlaps a buffer or inventory isn’t available?
You’ll see an error or disabled save. Adjust times to respect buffers or reduce booking to available inventory.
Q: How are multi‑listing bookings priced and shown?
Each listing becomes a separate row with its own pricing and payment state; the booking may show Partially Paid until all rows are paid.
Related Articles
Was this article helpful?
That’s Great!
Thank you for your feedback
Sorry! We couldn't be helpful
Thank you for your feedback
Feedback sent
We appreciate your effort and will try to fix the article