Learn how Dynamic Countdown Timers use email triggers, how Duration and Ends at Time work together, how timezone adaptation changes the countdown, and how to configure, place, and test a timer.
A Dynamic Timer triggered by Email Opened is triggered once per contact. Reopening the same email does not restart the countdown; subsequent opens show the remaining time from the original trigger.
What Is a Dynamic Countdown Timer?
A Dynamic Countdown Timer creates a contact-specific deadline based on the selected email trigger. Use a Dynamic Timer when each contact should receive a personalized countdown instead of sharing one fixed expiration date.
Dynamic Timers are especially useful for evergreen promotions, follow-up campaigns, and other experiences where the available time should begin from an individual contact's email activity.
Dynamic Timer Triggers
The trigger determines when HighLevel begins calculating a contact's personalized countdown.
Duration and Ends at Time
Duration controls how long the countdown runs. The Set End Time control enables the Ends at Time behavior, which aligns expiration with a selected time of day.
Duration Only
Disable Set End Time when you want the timer to expire strictly after the configured duration.
Example: With a 2-hour duration and an Email Opened trigger:
- A contact opening the email at 2:00 PM expires at 4:00 PM.
- A contact opening it at 5:00 PM expires at 7:00 PM.
Duration With Ends at Time
Enable Set End Time when the countdown should align with a selected clock time rather than ending solely according to the exact trigger timestamp.
Example configuration:
- Trigger: Email Opened
- Duration: 2 hours
- Ends at Time: 11:00 PM
If the configured duration cannot be completed before the selected end time, the timer rolls to the next applicable occurrence of that end time.
Timezone Adaptation for Dynamic Timers
Enable Adapt to Contact Time Zone when the timer should adjust to the viewer's local timezone.
- Emails: Use the contact's timezone when available.
- Funnels and websites: Use the visitor's IP-detected timezone.
- Fallback: If timezone data is unavailable, HighLevel uses the timezone selected during timer setup.
For complete timezone behavior, see Timezone Adaptation in Countdown Timers.
How To Set Up a Dynamic Countdown Timer
Configure the trigger, duration, expiration, timezone, and destination links before adding the timer to a campaign.
Create the Timer
- Navigate to Marketing → Countdown Timers.
- Click + New.
- Choose the countdown timer design you want to use and continue to the timer settings.
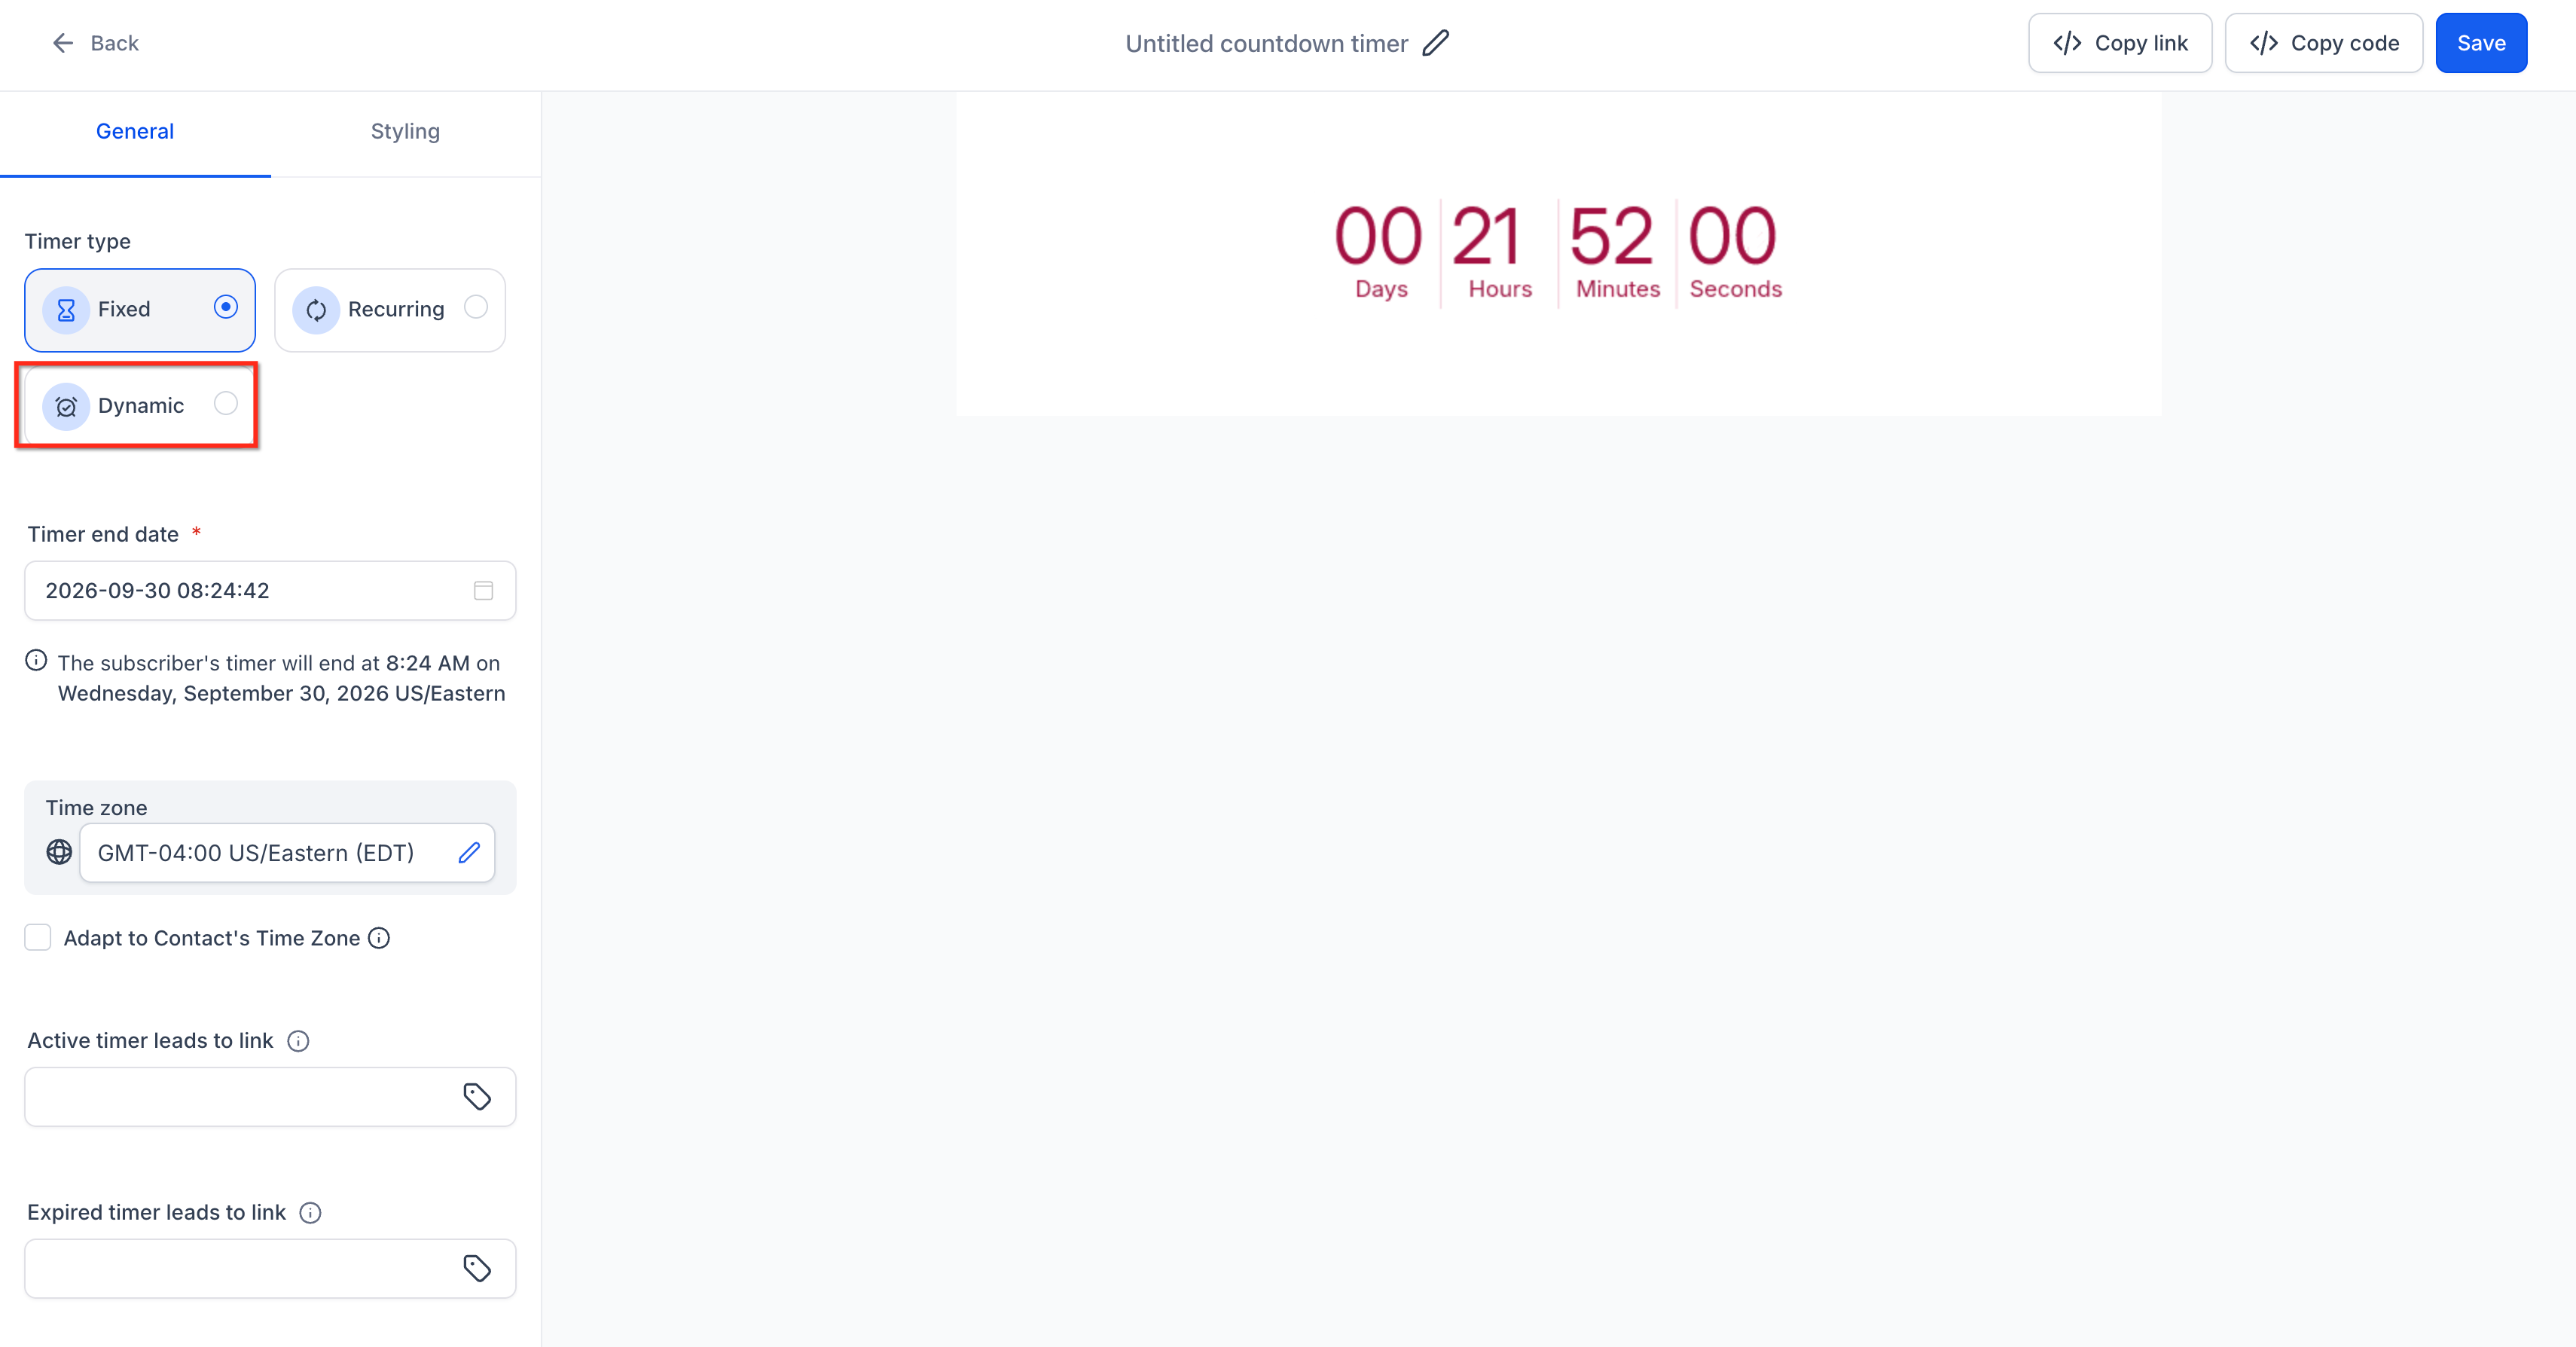
- Select Dynamic as the Timer Type.

Configure Timing and Timezone
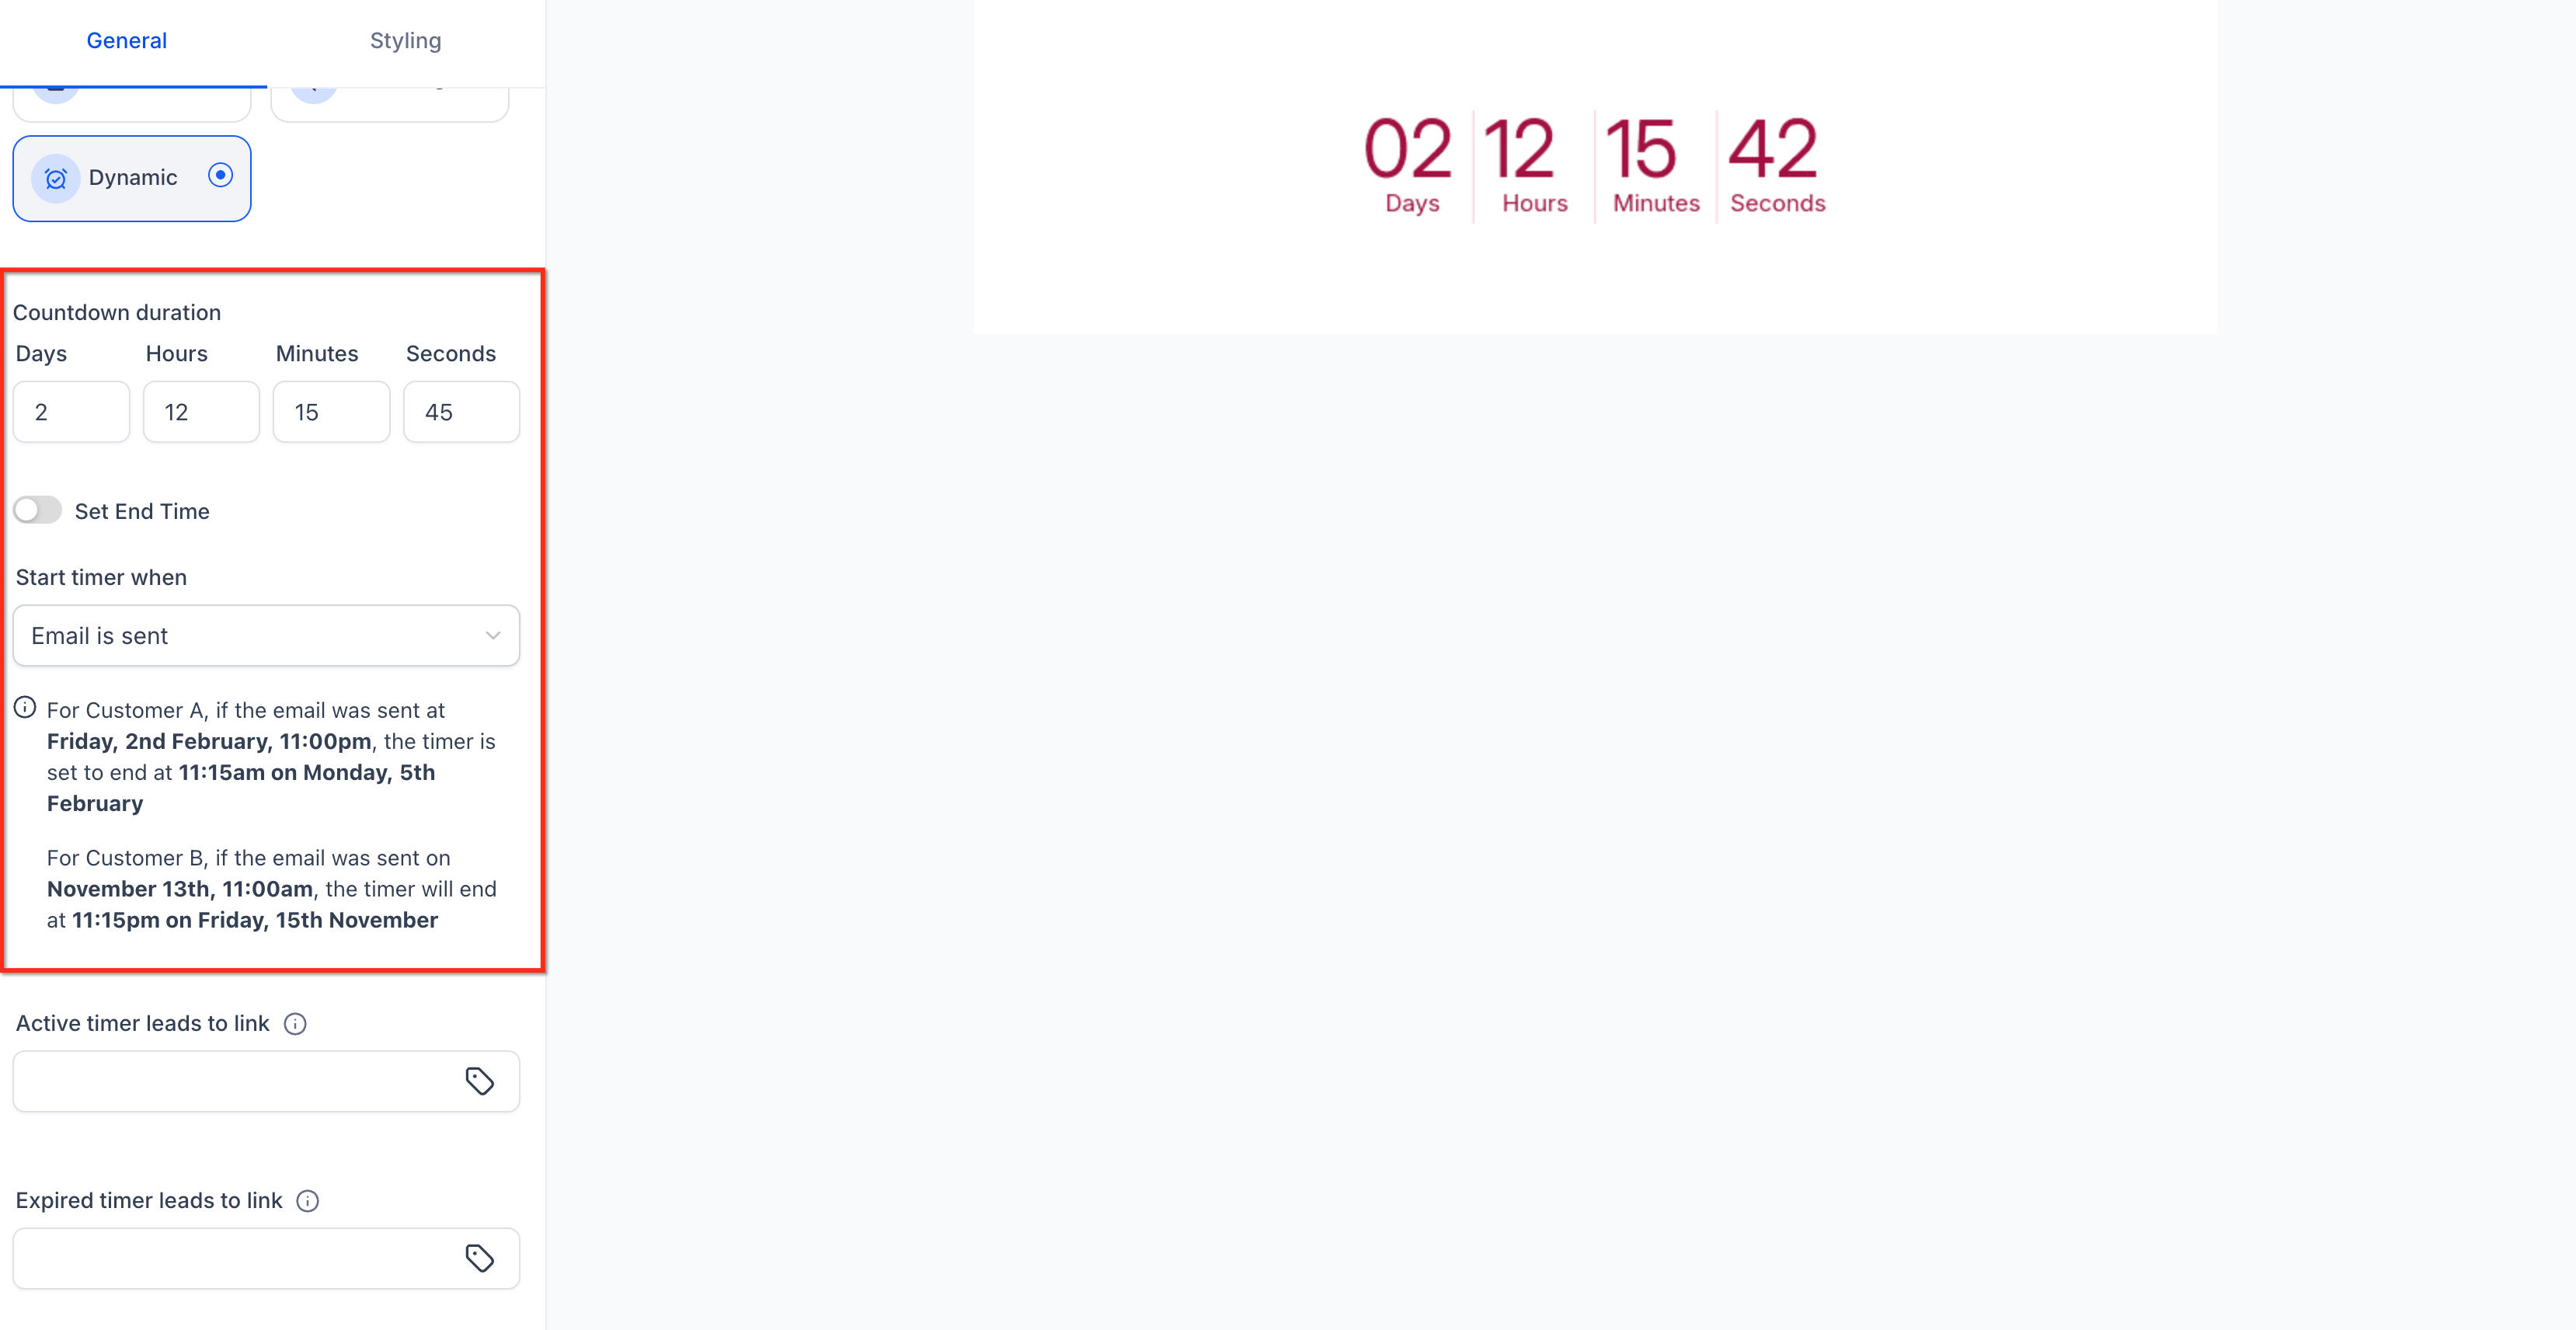
- Select the appropriate trigger:
- Email Sent: Begin the countdown when the email is sent.
- Email Opened: Begin the countdown when the contact first opens the email.
- Set the Duration for the countdown.
- Configure the end-time behavior:
- Disable Set End Time if the timer should expire after the configured duration.
- Enable Set End Time if the countdown should align with a selected clock time.
- Select the appropriate Time Zone.
- Enable Adapt to Contact Time Zone if you want the timer to adjust based on the viewer's timezone.
Configure Links and Design
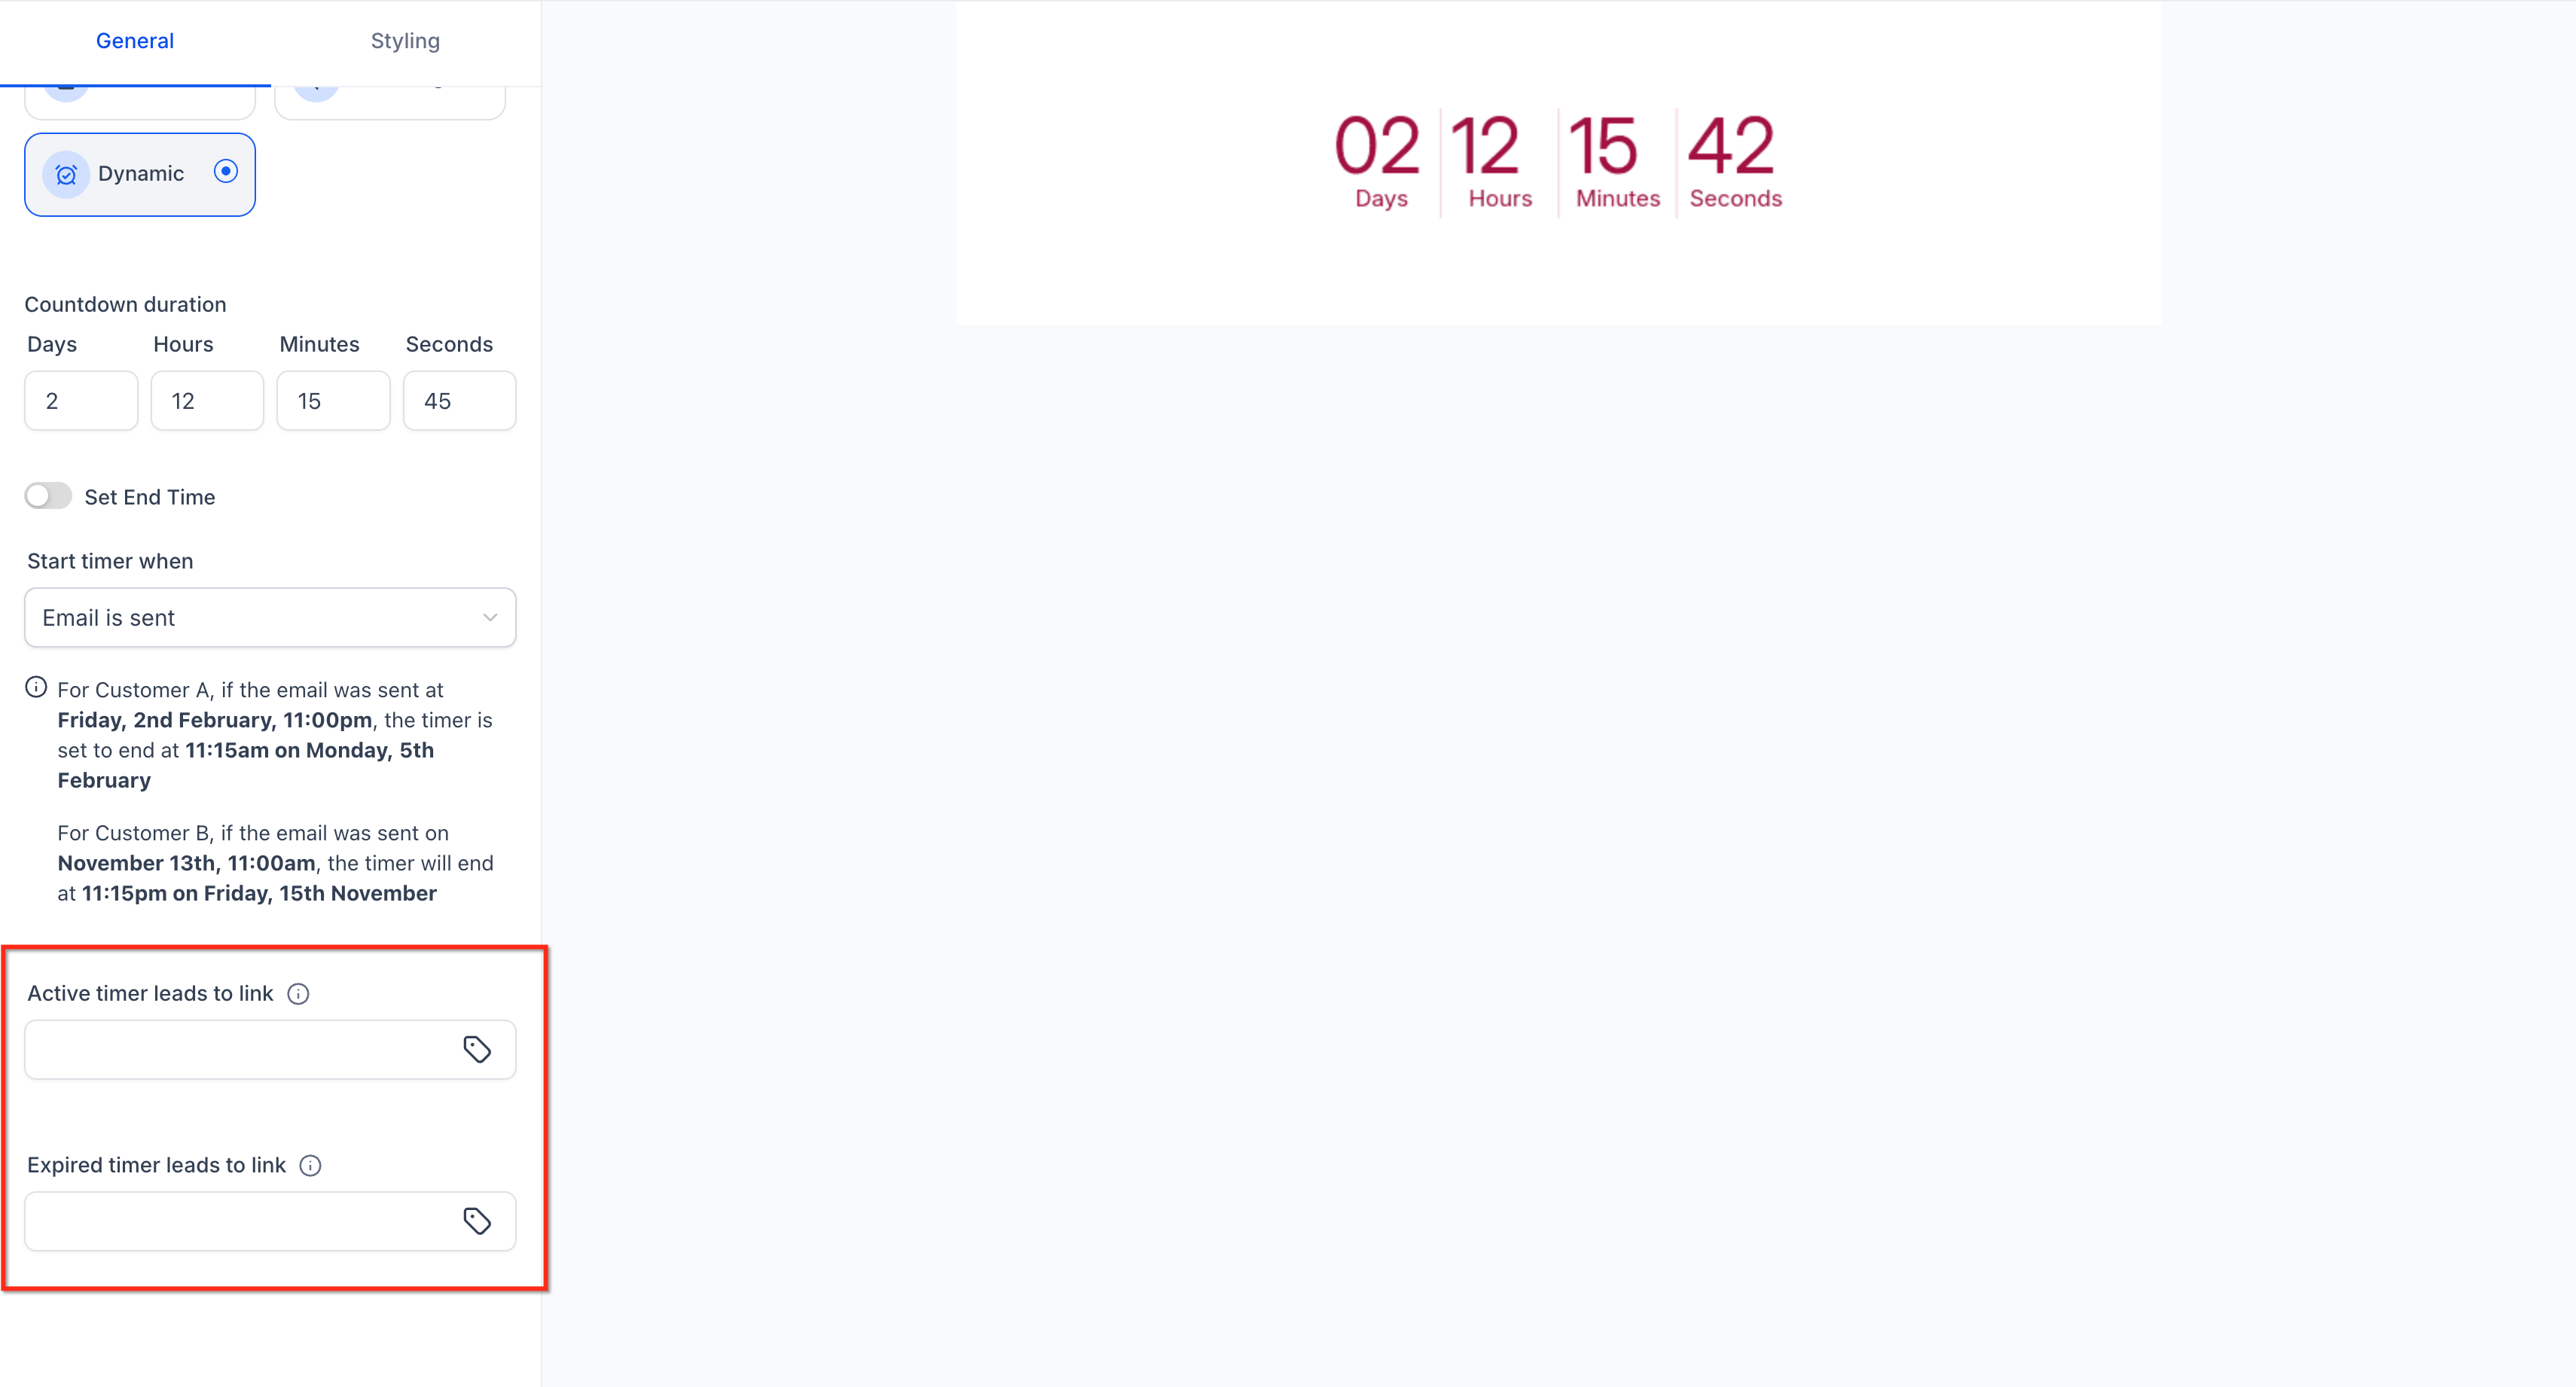
- Configure the Active Link for contacts while the timer is active and the Expired Link for contacts after the timer expires.
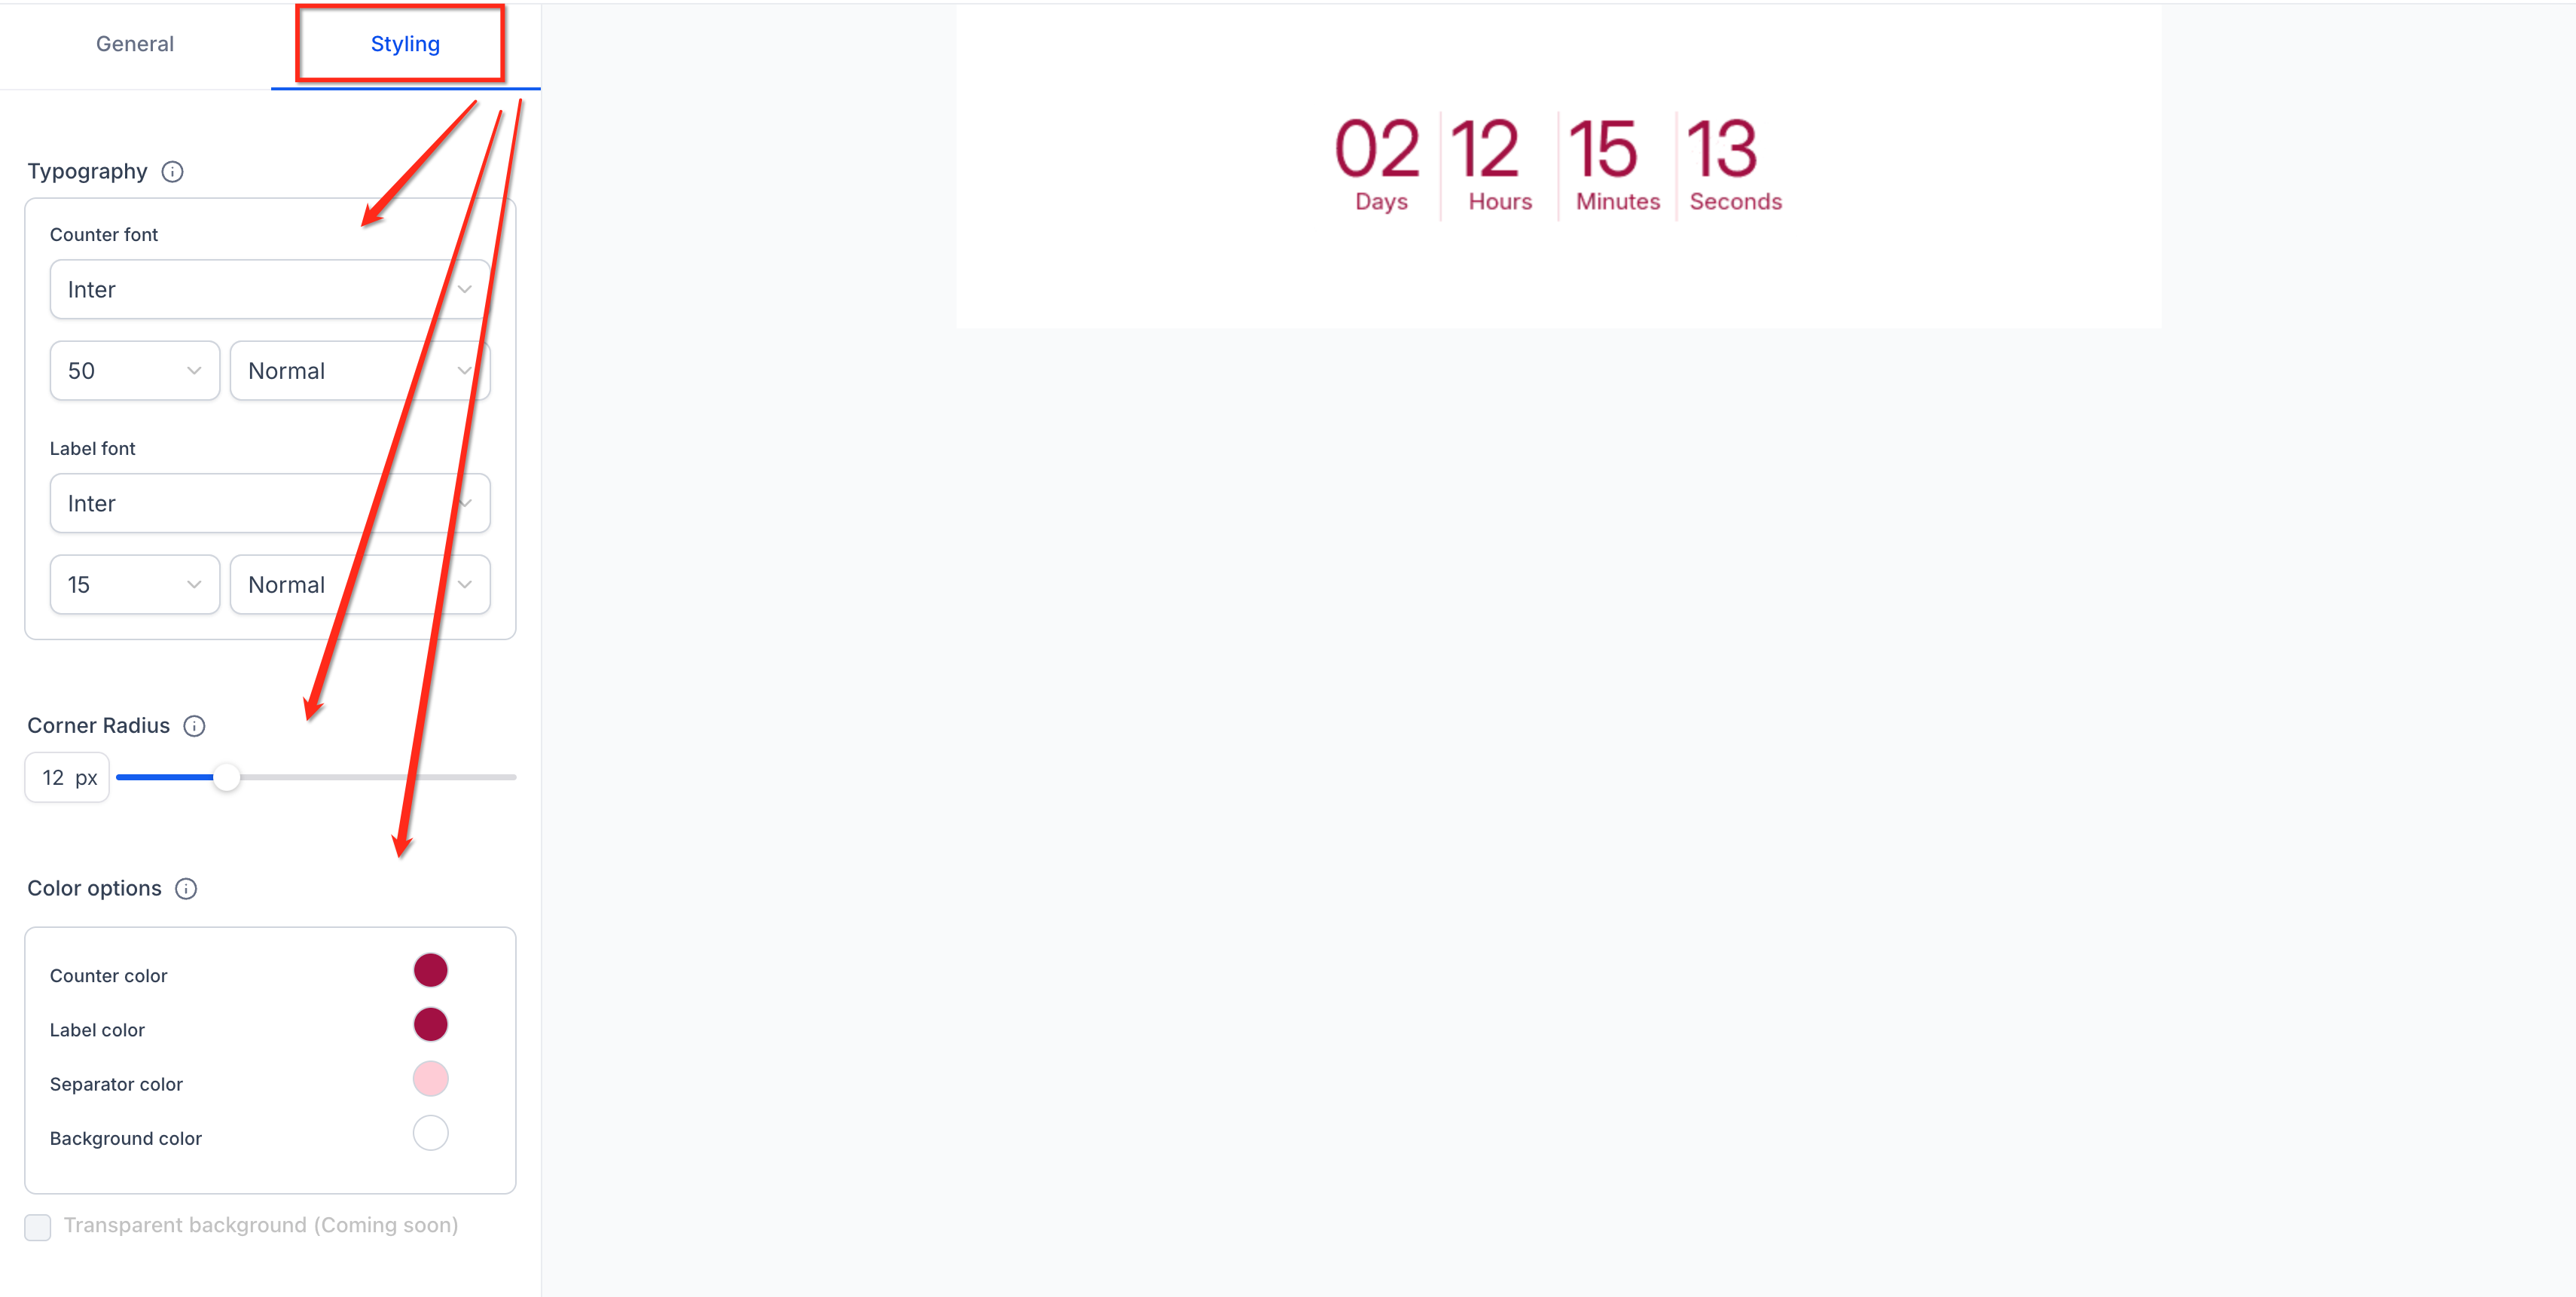
- Customize the timer's appearance using the available design settings.
Save, Place, and Test
- Give the timer a descriptive name and save it.
- Add the saved timer to the appropriate email, funnel, or website where supported. See the Related Articles for placement and synchronization instructions.
- Test the timer before publishing or sending the campaign. Confirm the trigger, duration, end-time behavior, timezone, and destination links work as expected.
Important Dynamic Timer Behavior
Review these behaviors before reusing or synchronizing a Dynamic Timer.
- One-time trigger per contact: Once an Email Opened timer is triggered for a contact, reopening the same email does not restart it. Subsequent opens display the remaining time from the original trigger.
- Same campaign: When the timer is used across an email and its destination funnel or website, use the corresponding saved timer to keep the countdown experience aligned.
- Different campaign: If the same contact needs a new Dynamic Timer for another campaign, HighLevel recommends cloning the timer before reuse.
Frequently Asked Questions
Was this article helpful?
That’s Great!
Thank you for your feedback
Sorry! We couldn't be helpful
Thank you for your feedback
Feedback sent
We appreciate your effort and will try to fix the article