Conversation Views let you save frequently used conversation filters as reusable, one‑click views in HighLevel. This makes it easy to focus on unassigned, channel‑specific, or high‑priority chats without rebuilding filters. This article shows how to create and share Conversation Views in HighLevel.
TABLE OF CONTENTS
- What is Conversation Views?
- Key Benefits of Conversation Views
- How To Create and Share Conversation Views
- Frequently Asked Questions
- Related Articles
What is Conversation Views?
Conversation Views are saved sets of conversation filters inside the Conversations Inbox. After you define filters (e.g., Assignee, Channel, Tags), you can save them as a named view and switch between them quickly. Views you create are private to you by default; admins can share views with other users.
Key Benefits of Conversation Views
Speed: jump between common filters without rebuilding them each time.
Consistency: enforce shared criteria for monitoring priority or unassigned work.
Focus: keep attention on critical conversations (e.g., specific tags or channels).
Scalability: scale review workflows by letting admins share views to teammates.
How To Create and Share Conversation Views
A clean setup ensures accurate results and easier adoption. Follow these steps to create dependable Views that align with your day‑to‑day review process.
Go to Conversations > Views.
Click + Create View.

Name the view clearly (e.g., Channel - Email).

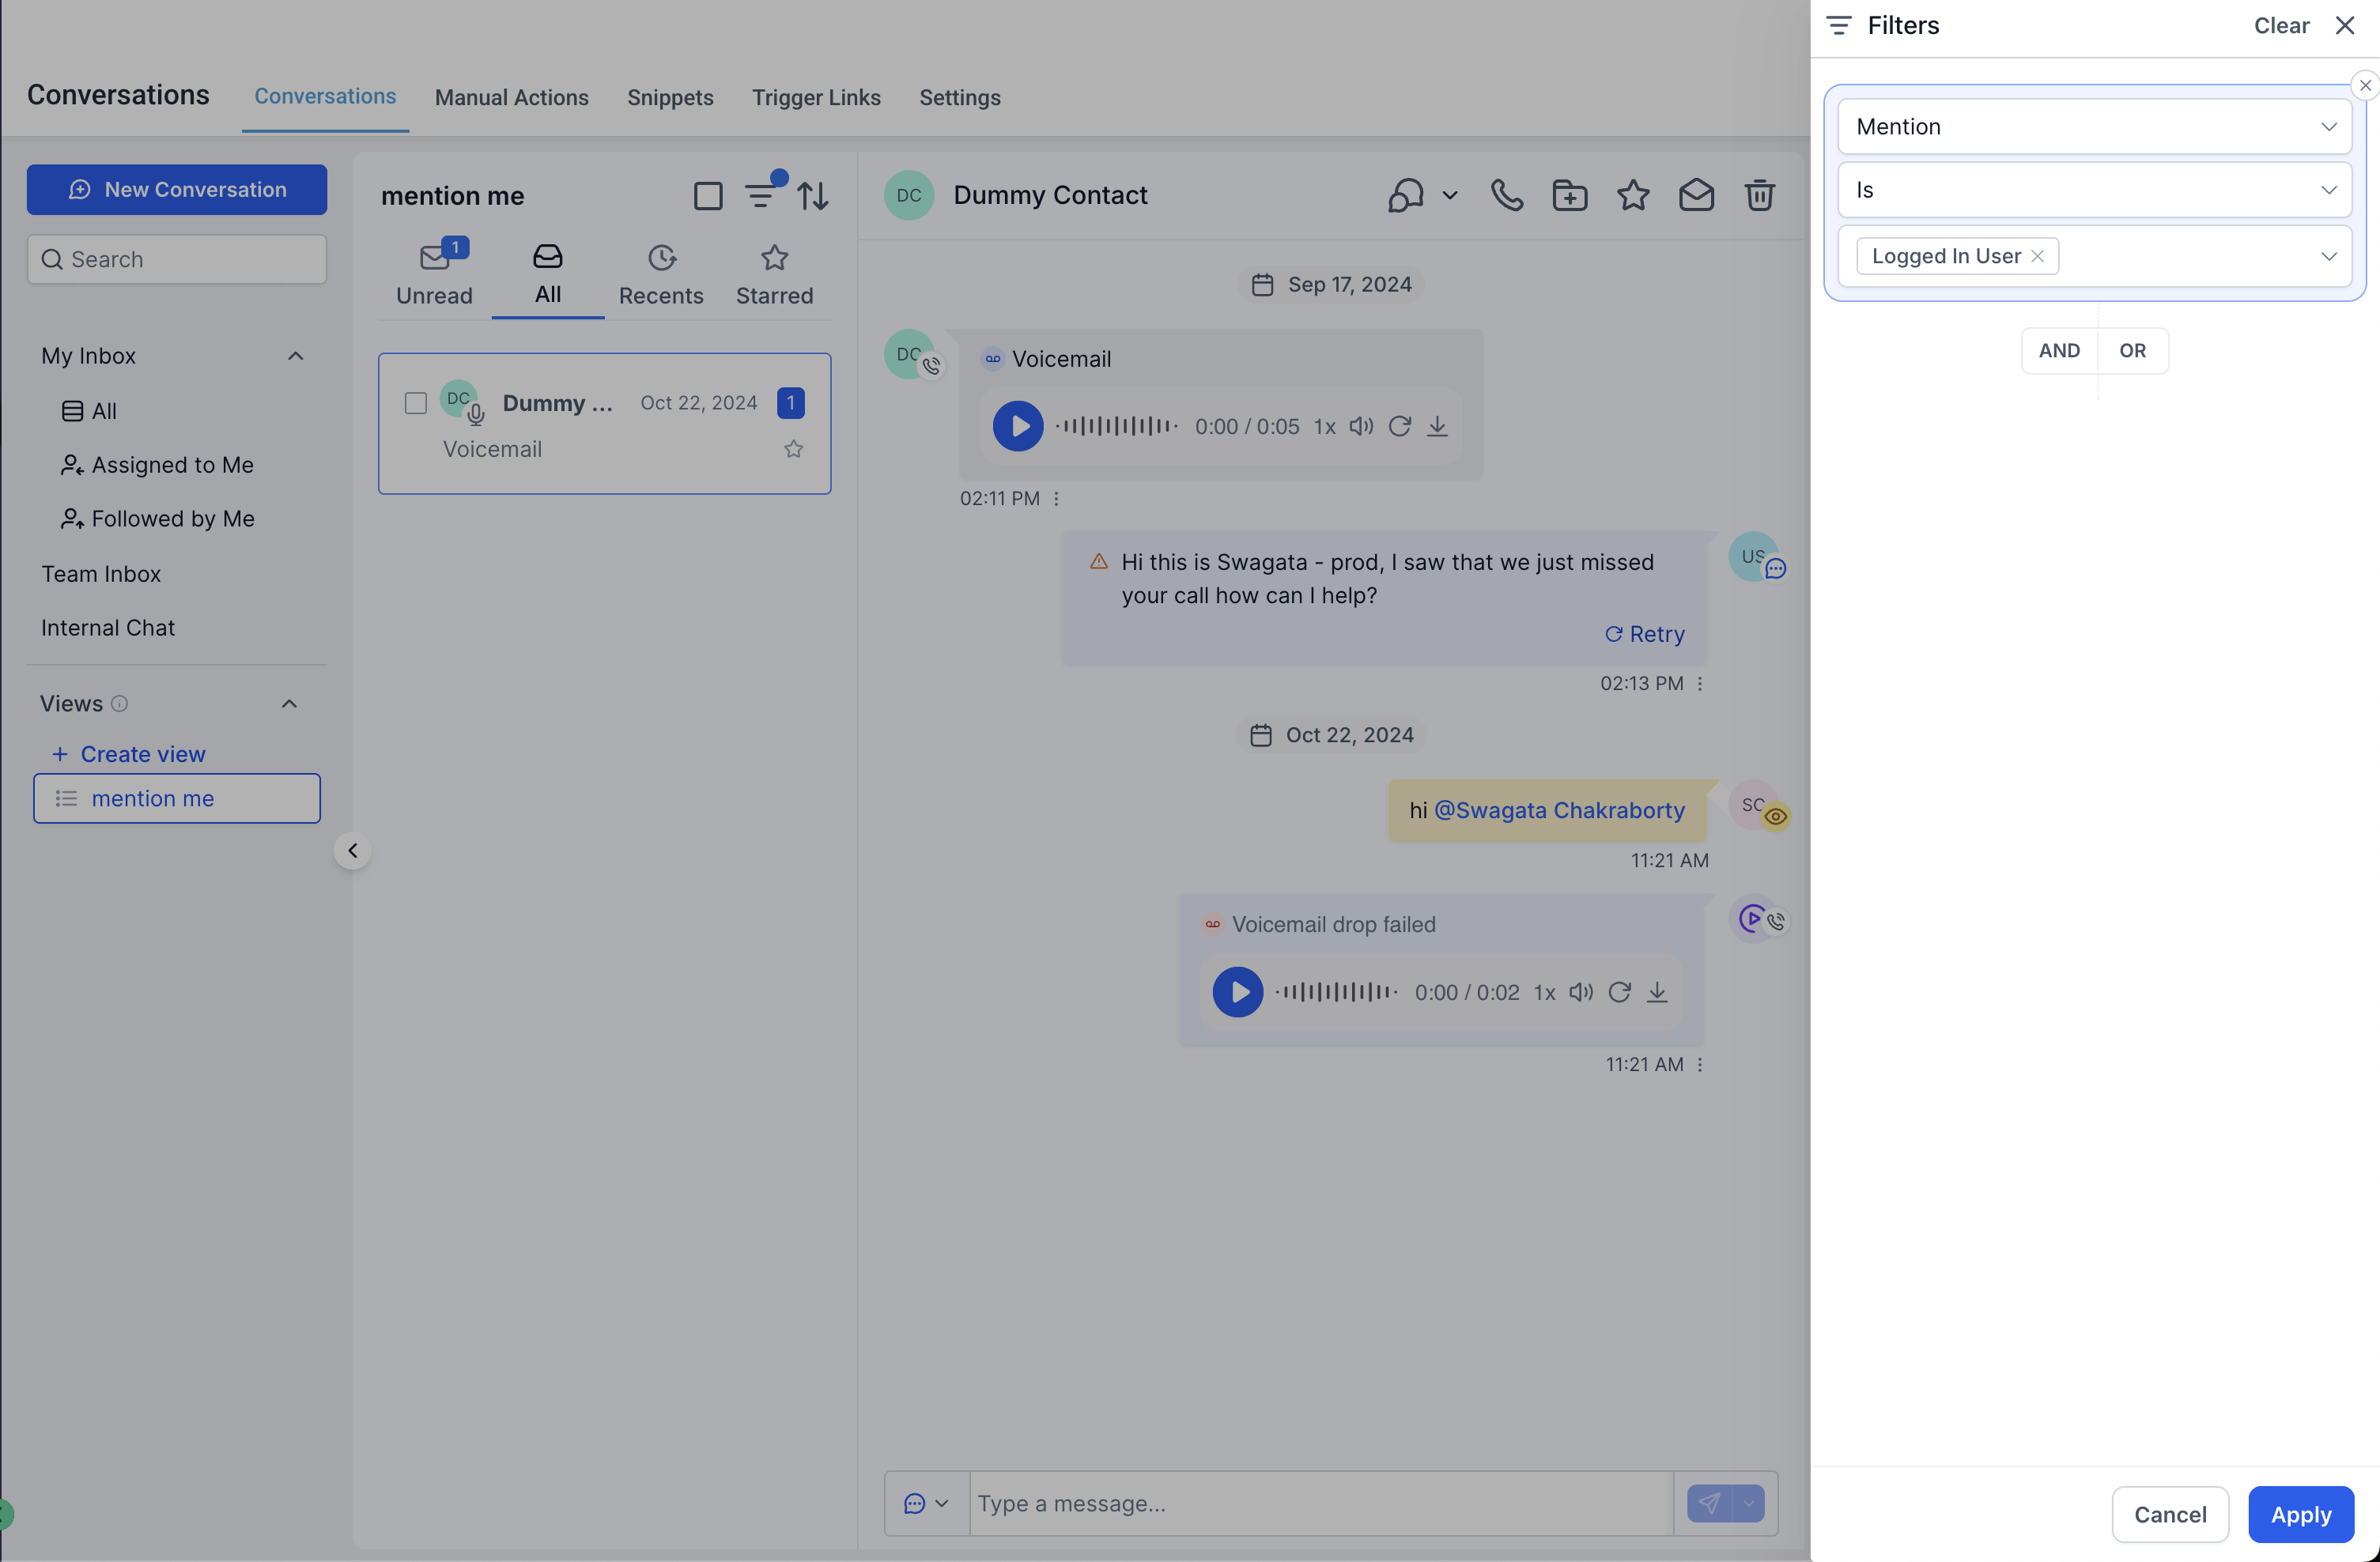
Apply your desired filters (e.g., Last Message Channel > Is > Email). Use “Logged In User” for shareable user-based filters.
When building a Conversation View that your team will share, you can set certain user-based filters to apply dynamically to whoever is currently logged in.
Supported filters:Assigned To
Followers
Mentions

- You can use multiple available filters and combine them using AND/OR logic as well. Some available filter types are:
Assigned.
Follower.
Mention.
Last Message direction. (inbound/outbound)
Last Outbound Message Type. (Manual or Automated)
Last Message Channel (e.g., SMS, Email, Facebook, Instagram, WhatsApp, Webchat)
- Tags (commonly used to surface High Intent or other priority labels)
- SLA. (Response Time)
AND/OR logics to combine multiple conditions.
Click Create View.

The created view now appears under Views for quick access.

Open the view’s menu and choose Share to make it available to other users or Edit or Delete it. (Admins)

Frequently Asked Questions
Q: Are my views visible to other users by default?
No. Views you create are private to you unless an admin shares them.
Q: Do shared views change what a user can access or see?
No. Shared views respect each user’s existing permissions and data visibility.
Q: Is there a limit to how many views I can create or share?
No, there are no limits.
Q: Do Views update automatically as conversations change?
Views update automatically and reflect conversations that match the saved filters. If results look outdated, refresh the page or re‑open the view.
Q: Why do my teammate and I see different counts in the same shared view?
Differences typically come from user permissions or access to certain conversations/channels/tags.
Q: Can an admin stop sharing a view later?
Yes. Admins can open the view menu and unshare or remove recipients.
Related Articles
Was this article helpful?
That’s Great!
Thank you for your feedback
Sorry! We couldn't be helpful
Thank you for your feedback
Feedback sent
We appreciate your effort and will try to fix the article