Control exactly who can see—or change—each sales pipeline, keep sensitive deals private, and give every team member a clutter-free view that matches their role. (Keywords: HighLevel pipeline permissions, manage pipeline access, pipeline visibility control.
IMPORTANT: This feature is currently in Labs. For more, refer to Labs Features - Complete Overview
TABLE OF CONTENTS
- What are Pipeline Permissions?
- Key Benefits of Pipeline Permissions
- Sharing Modes
- Access Levels
- Audit Logs & Safeguards
- Copy Link Sharing
- How to Access Pipeline Permissions
- Sharing Options
- Frequently Asked Questions
What are Pipeline Permissions?
Pipeline Permissions adds role-based access control to the Opportunities > Pipelines area. Admins can decide which users or roles may view, edit, or have no access to each individual pipeline. This granular visibility keeps data secure and lets sales teams focus only on the deals that matter to them.
Key Benefits of Pipeline Permissions
- Protect sensitive revenue data by hiding entire pipelines from unauthorized users.
- Eliminate “pipeline clutter” so reps only work the opportunities relevant to them.
- Maintain CRM consistency—permissions apply across web app, mobile app, and API.
- Meet compliance requirements with a full audit trail of every permission change.
Sharing Modes
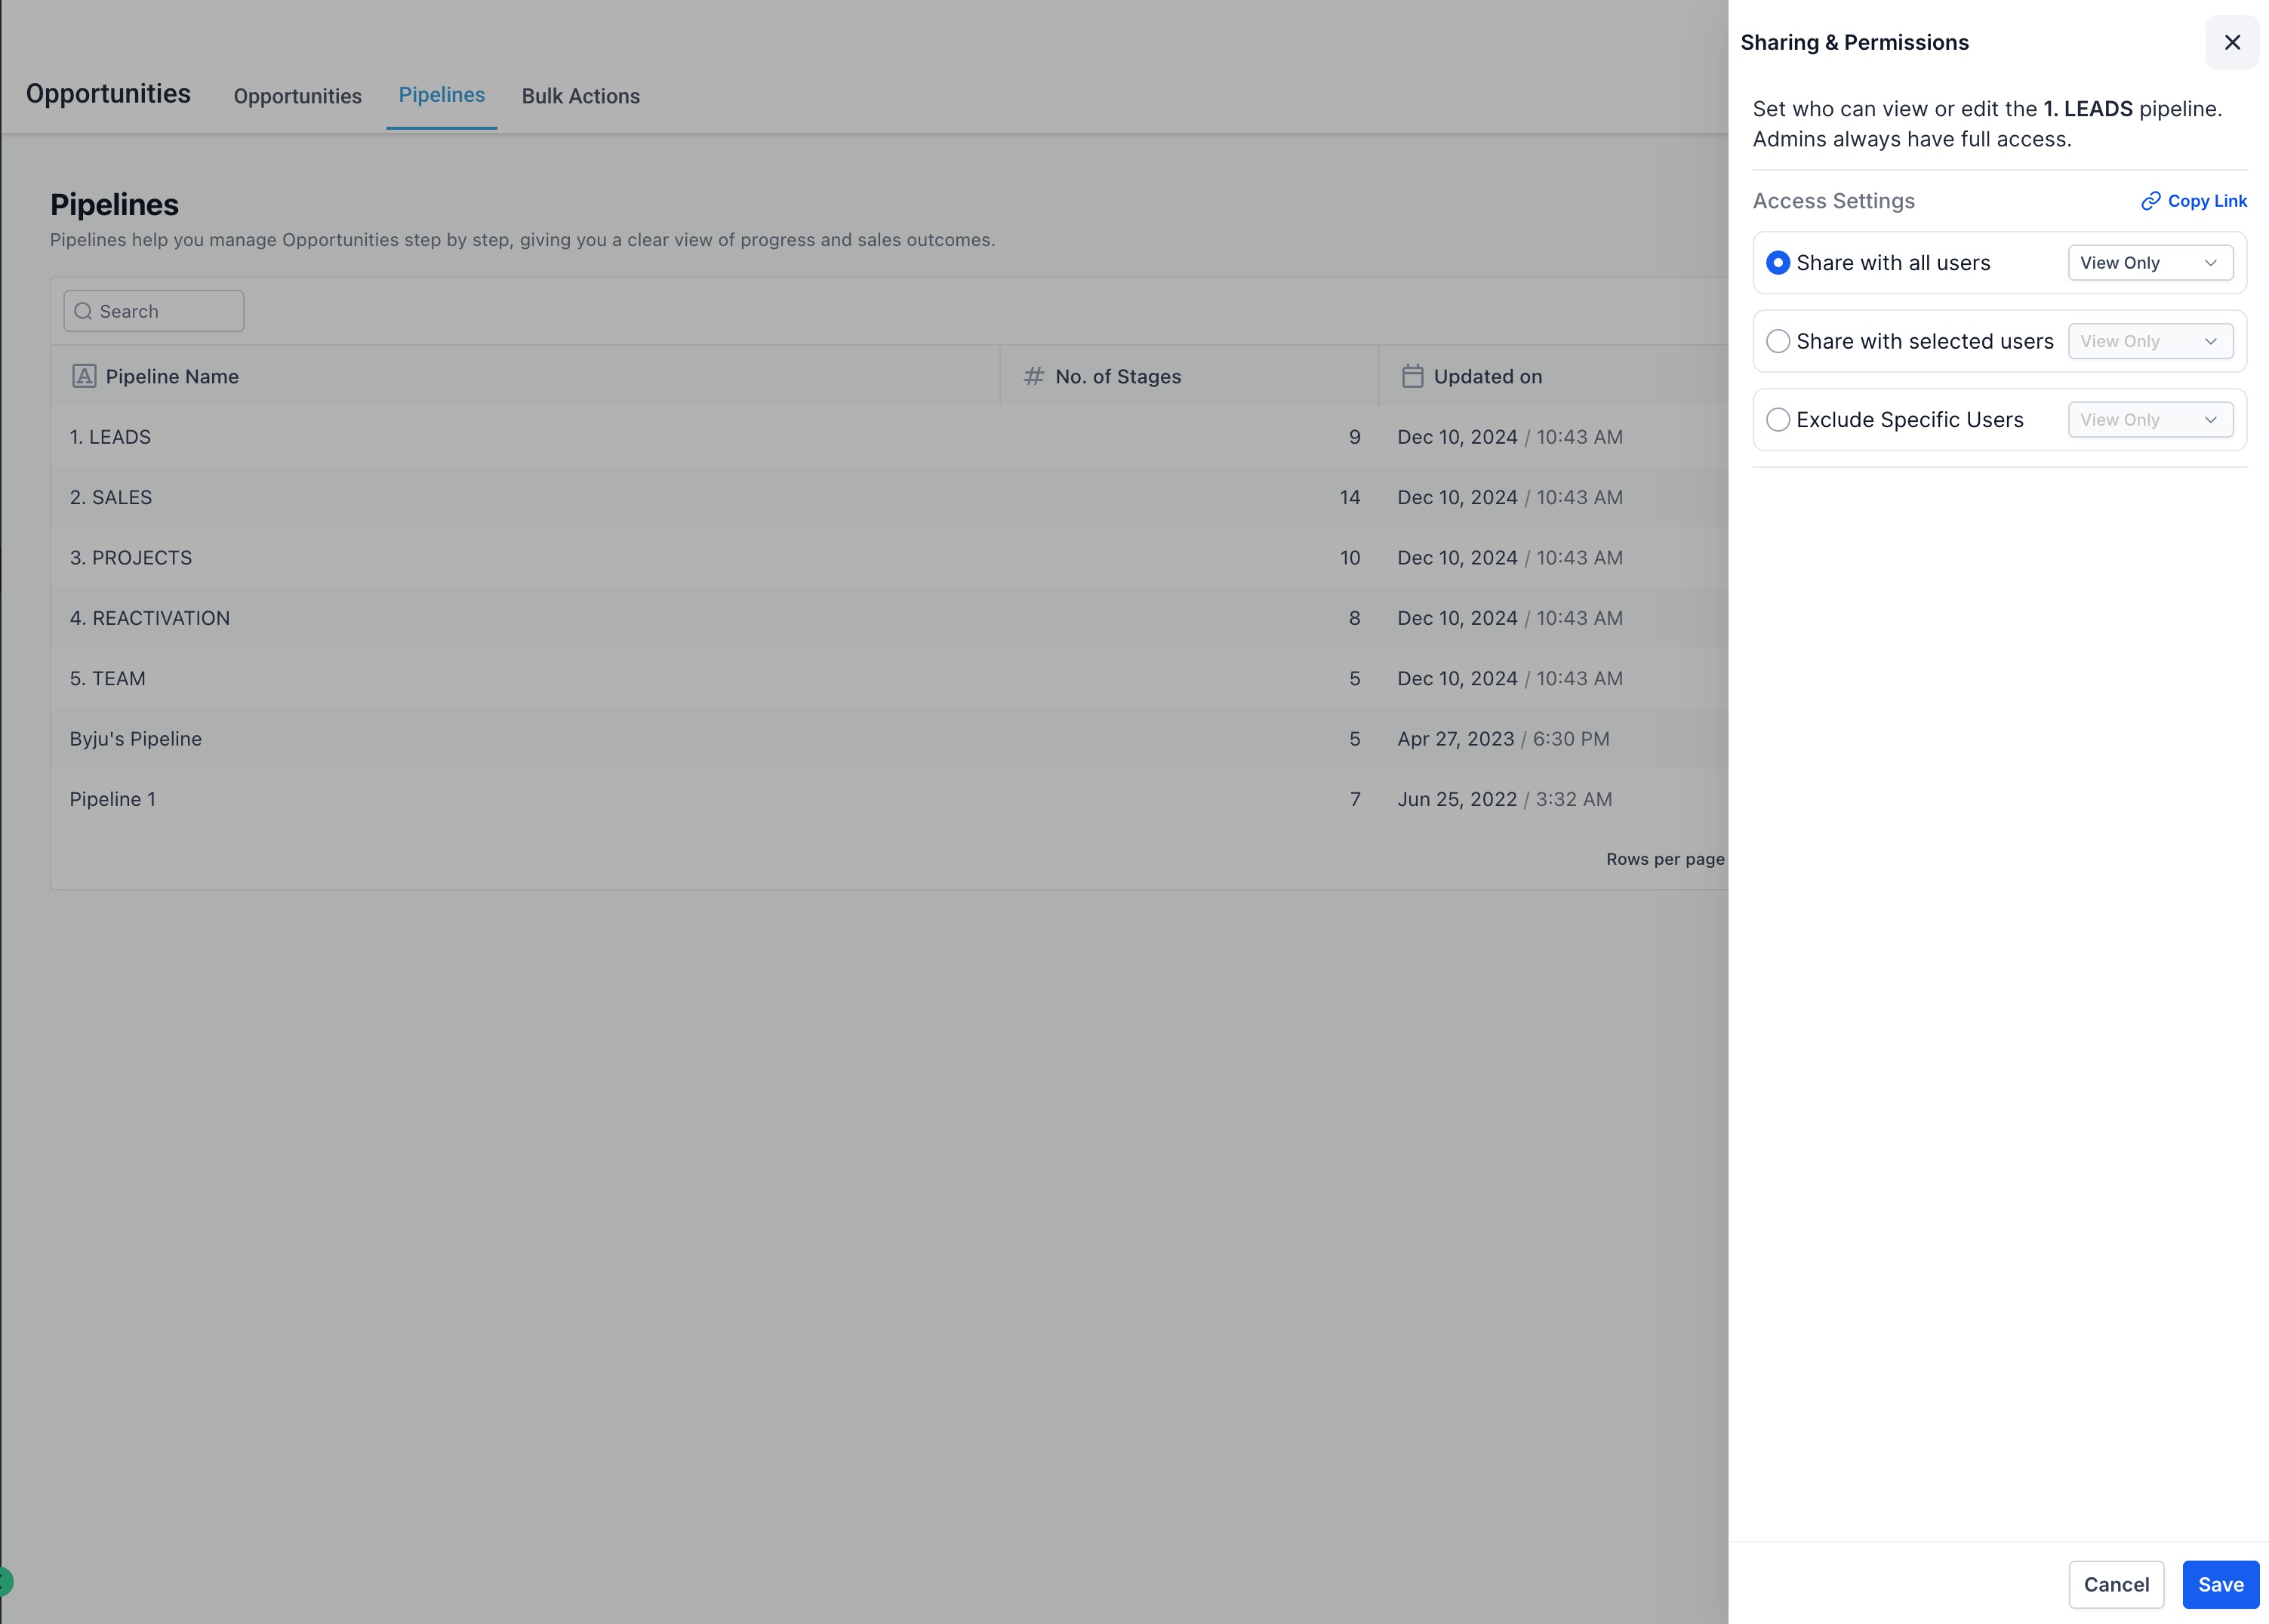
- Use the lock-icon “Manage Permissions” button beside any pipeline to select the best mode.
- Share with all users – grant everyone View Only or Edit access in one click.
- Share with selected users – pick individual users/roles and set View, Edit, or No Access for each.
- Exclude specific users – keep the pipeline global, then remove access for a few exceptions.
Access Levels
- View Only – move and update opportunities, but cannot add/edit/delete stages or pipelines.
- Edit – full control to add, edit, and delete pipeline stages (including the pipeline itself).
- No Access – the pipeline is completely hidden in web, mobile, and API responses.
Audit Logs & Safeguards
Navigate to Settings → Audit Logs and filter by Pipeline Permissions to view who changed what, and when.


Copy Link Sharing

How to Access Pipeline Permissions
Follow these steps the first time you lock down a pipeline.
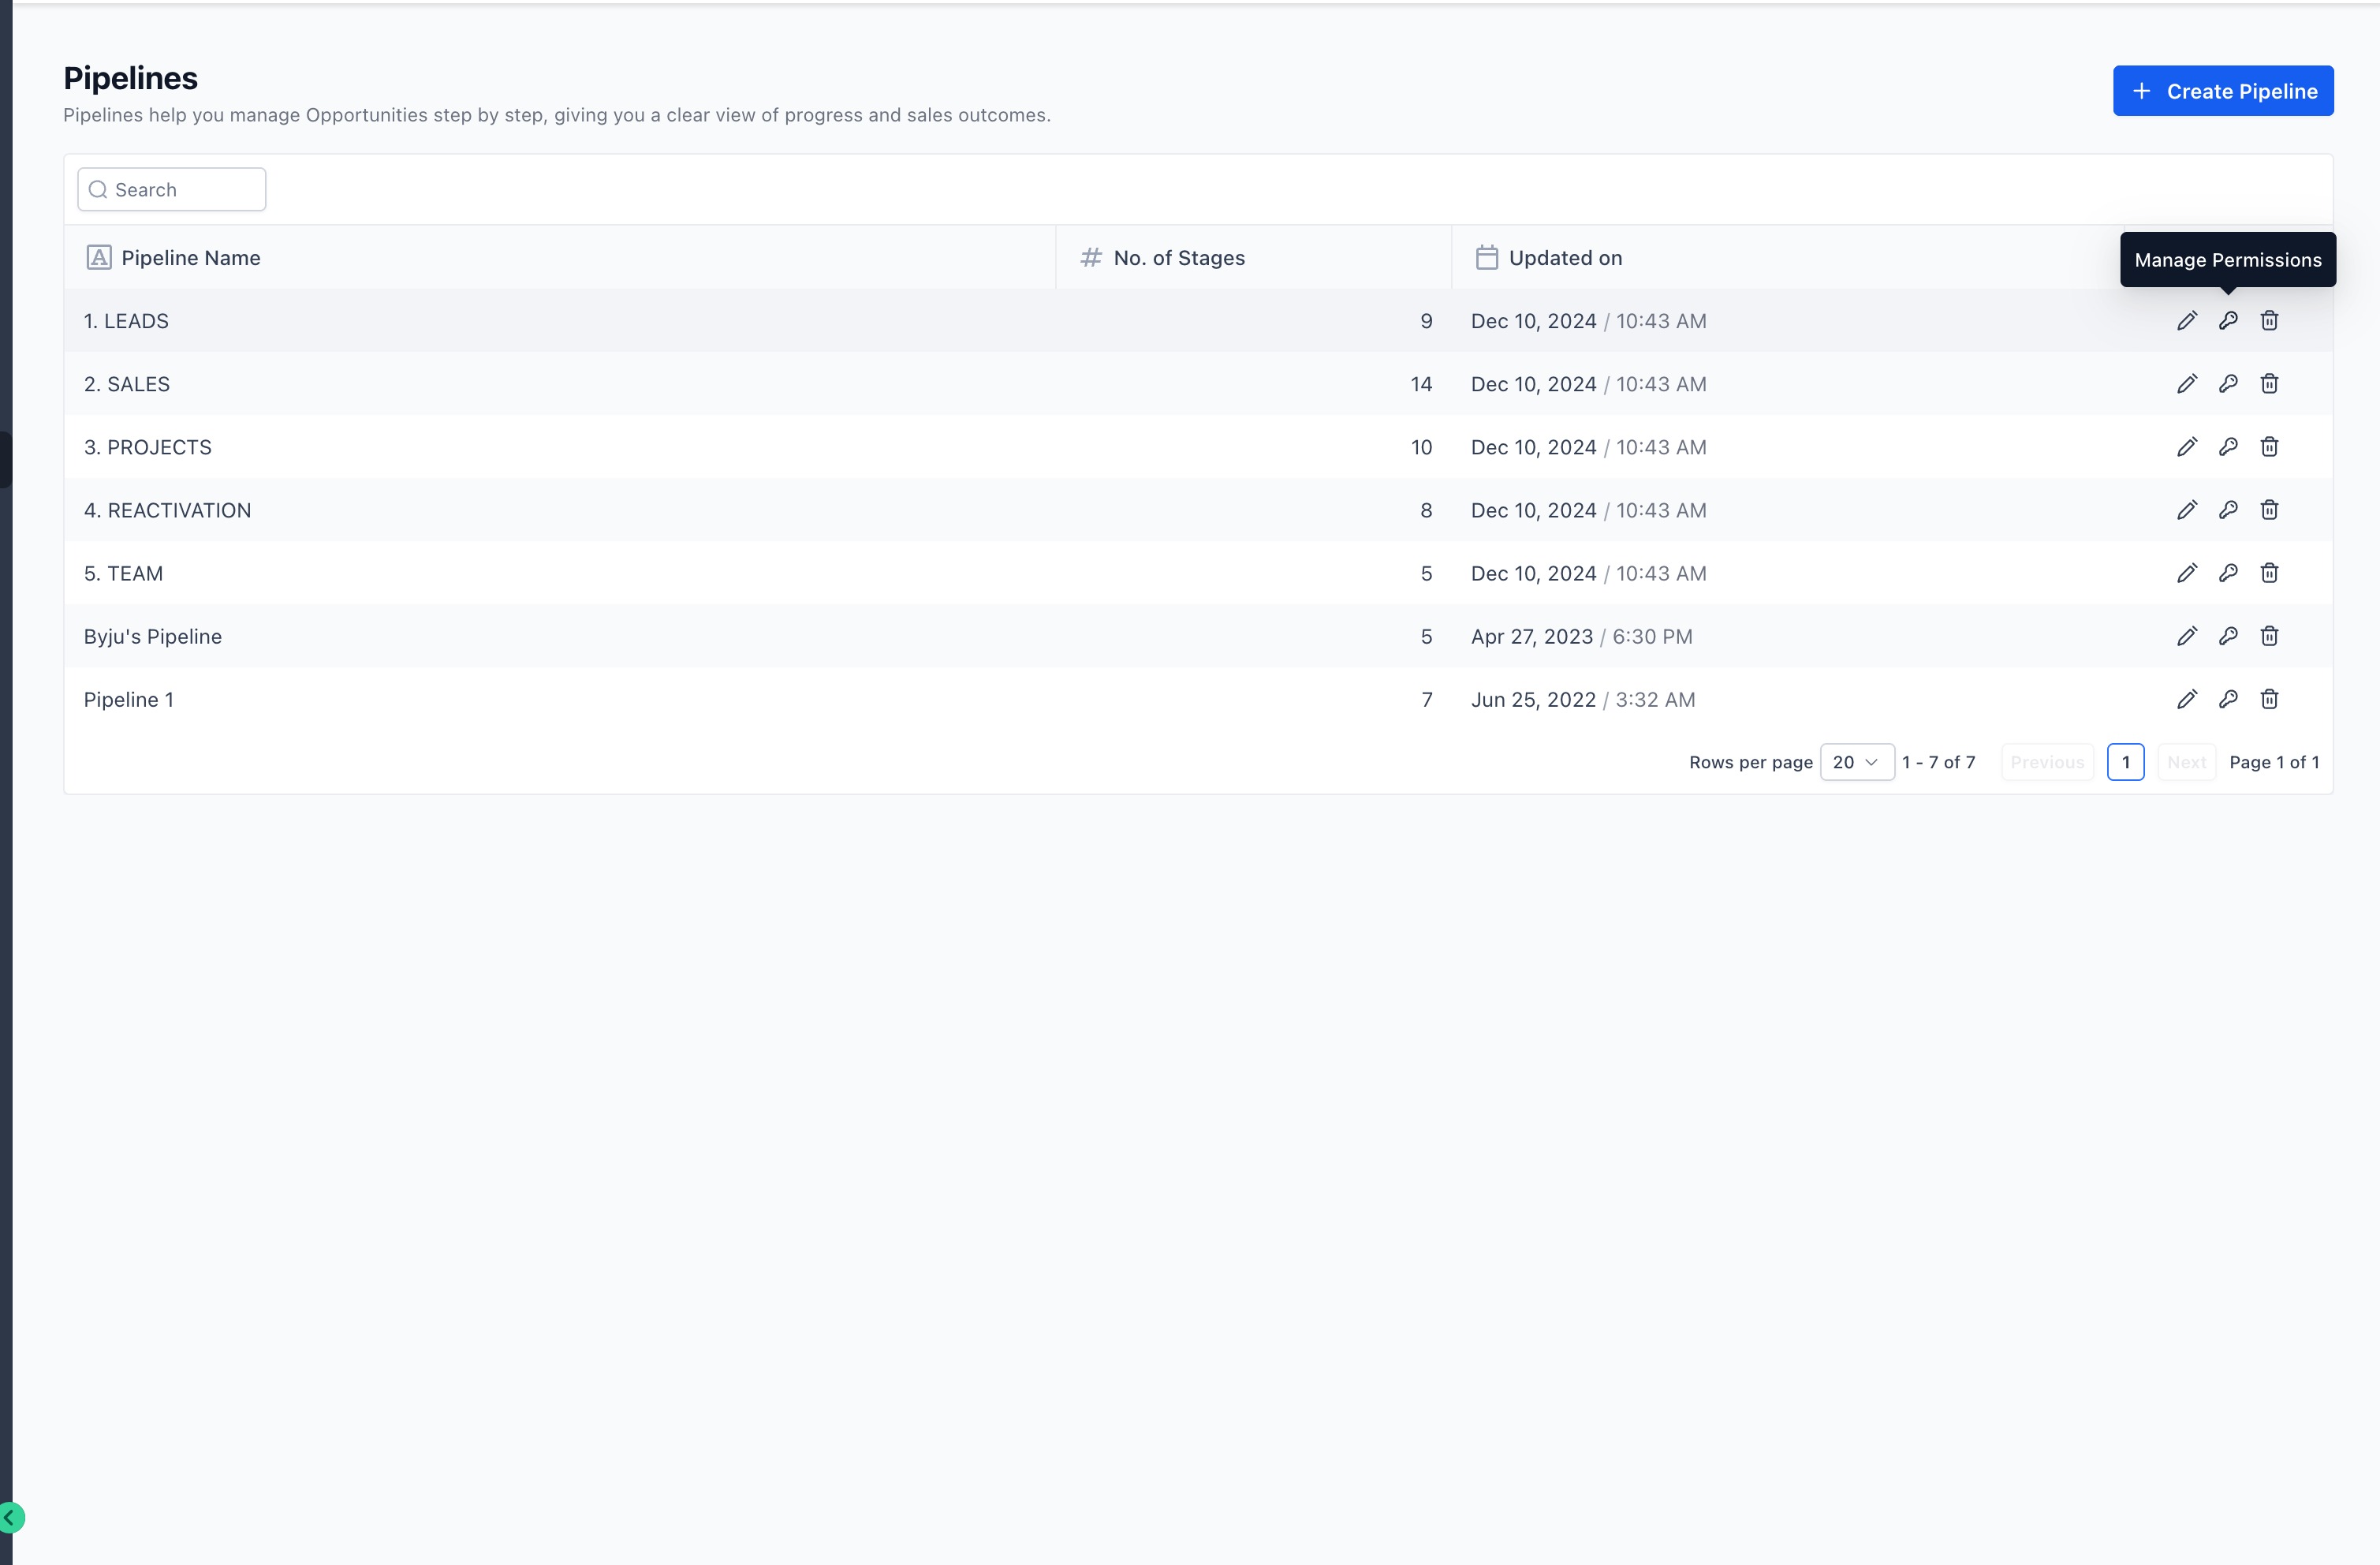
Navigate to Opportunities → Pipelines.
Find the pipeline you want to configure.
Click the “Manage Permissions” icon (lock icon).
The Sharing & Permissions panel will open on the right side of your screen.

Sharing Options
Inside the Sharing & Permissions panel, you’ll find three options:
Share with all users
Default setting, applies to everyone.
You can set the default to View Only or Edit.
Share with selected users
Choose specific users or roles and assign them View, Edit, or No Access.
Add users via the Select Users dropdown.

Exclude specific users
Hide the pipeline from selected users.
Useful when most of your team needs access, but you want to restrict a few.

Frequently Asked Questions
Was this article helpful?
That’s Great!
Thank you for your feedback
Sorry! We couldn't be helpful
Thank you for your feedback
Feedback sent
We appreciate your effort and will try to fix the article