- We are thrilled to announce the launch of our new Estimates feature!
- This addition allows you to create estimates and share them with clients before sending the final invoice.
- The clients can simply accept/rejectthis estimate
- You can directly convert this estimate into an invoiceand then send it with ease.
How to Use?
Access Estimates
- Go to a Sub-account -> Select Payments
- Click on Invoices and Estimates -> Select Estimates

Create an Estimate:
- To create an Estimate: Click on 'New' button and enter the details such as business information, customer information, Estimate number, Expiry
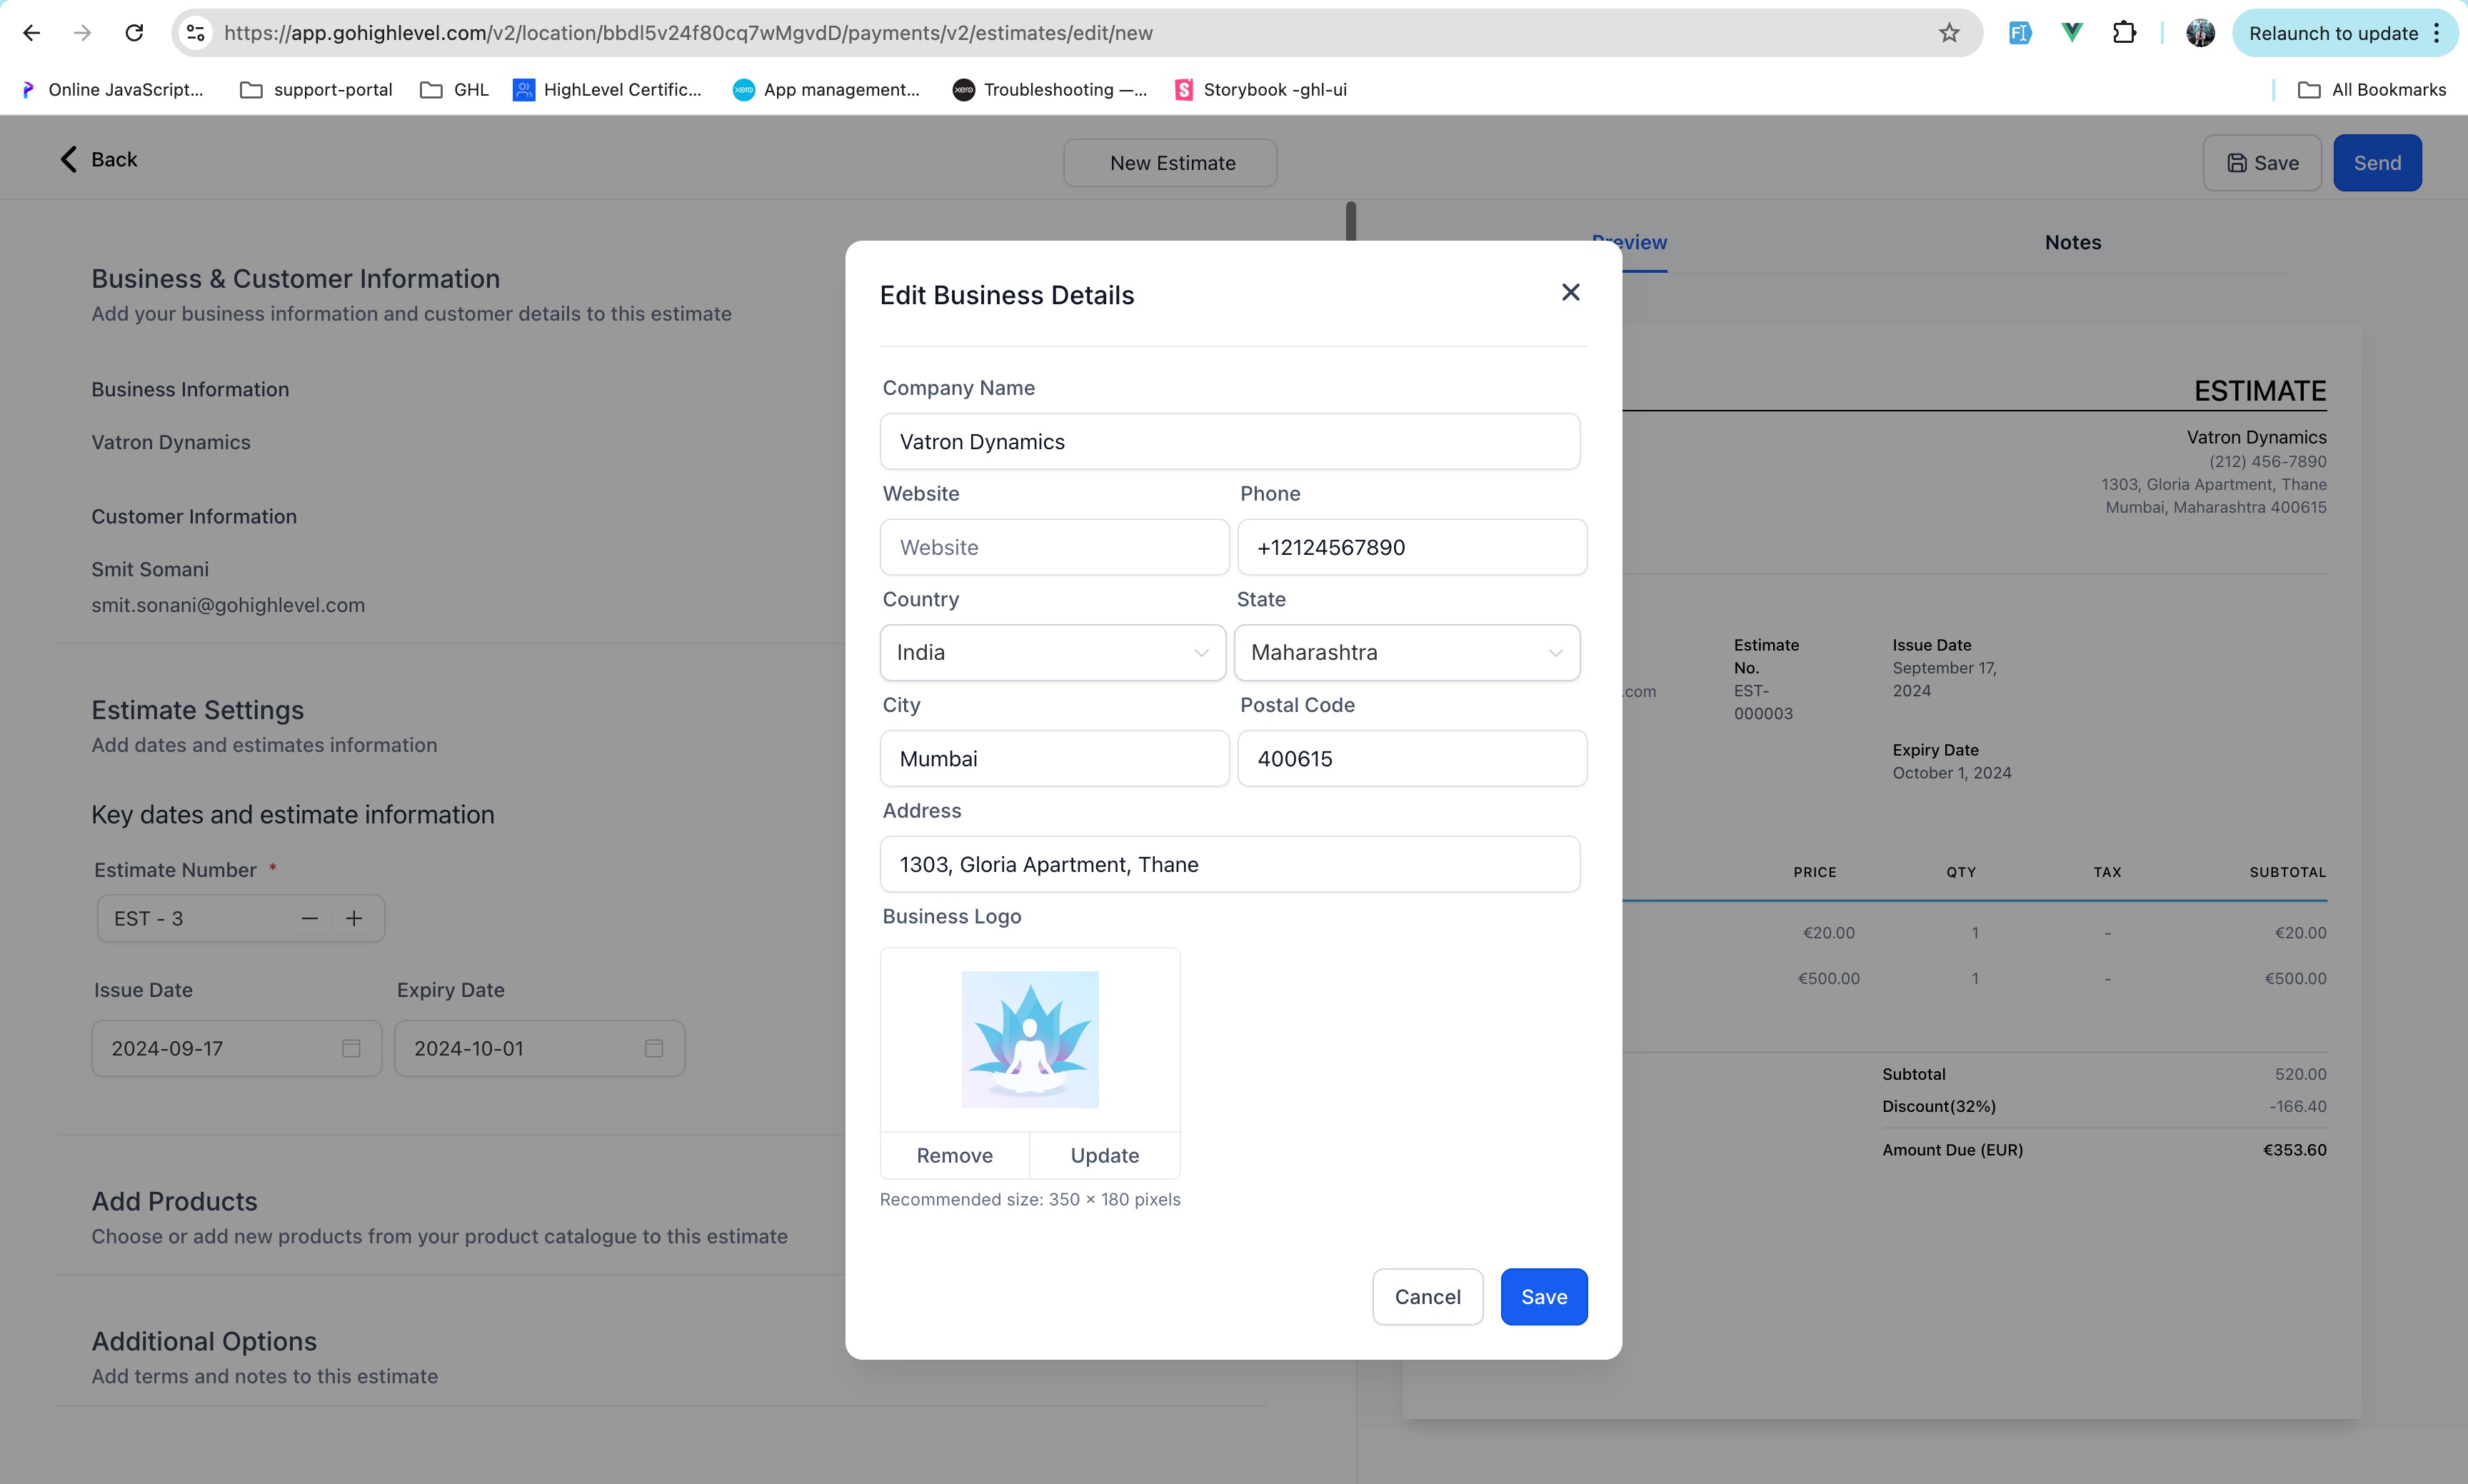
- Add products to the estimate and click on send
- Send to Client: Review the estimate and send it directly to your client via email or SMS.
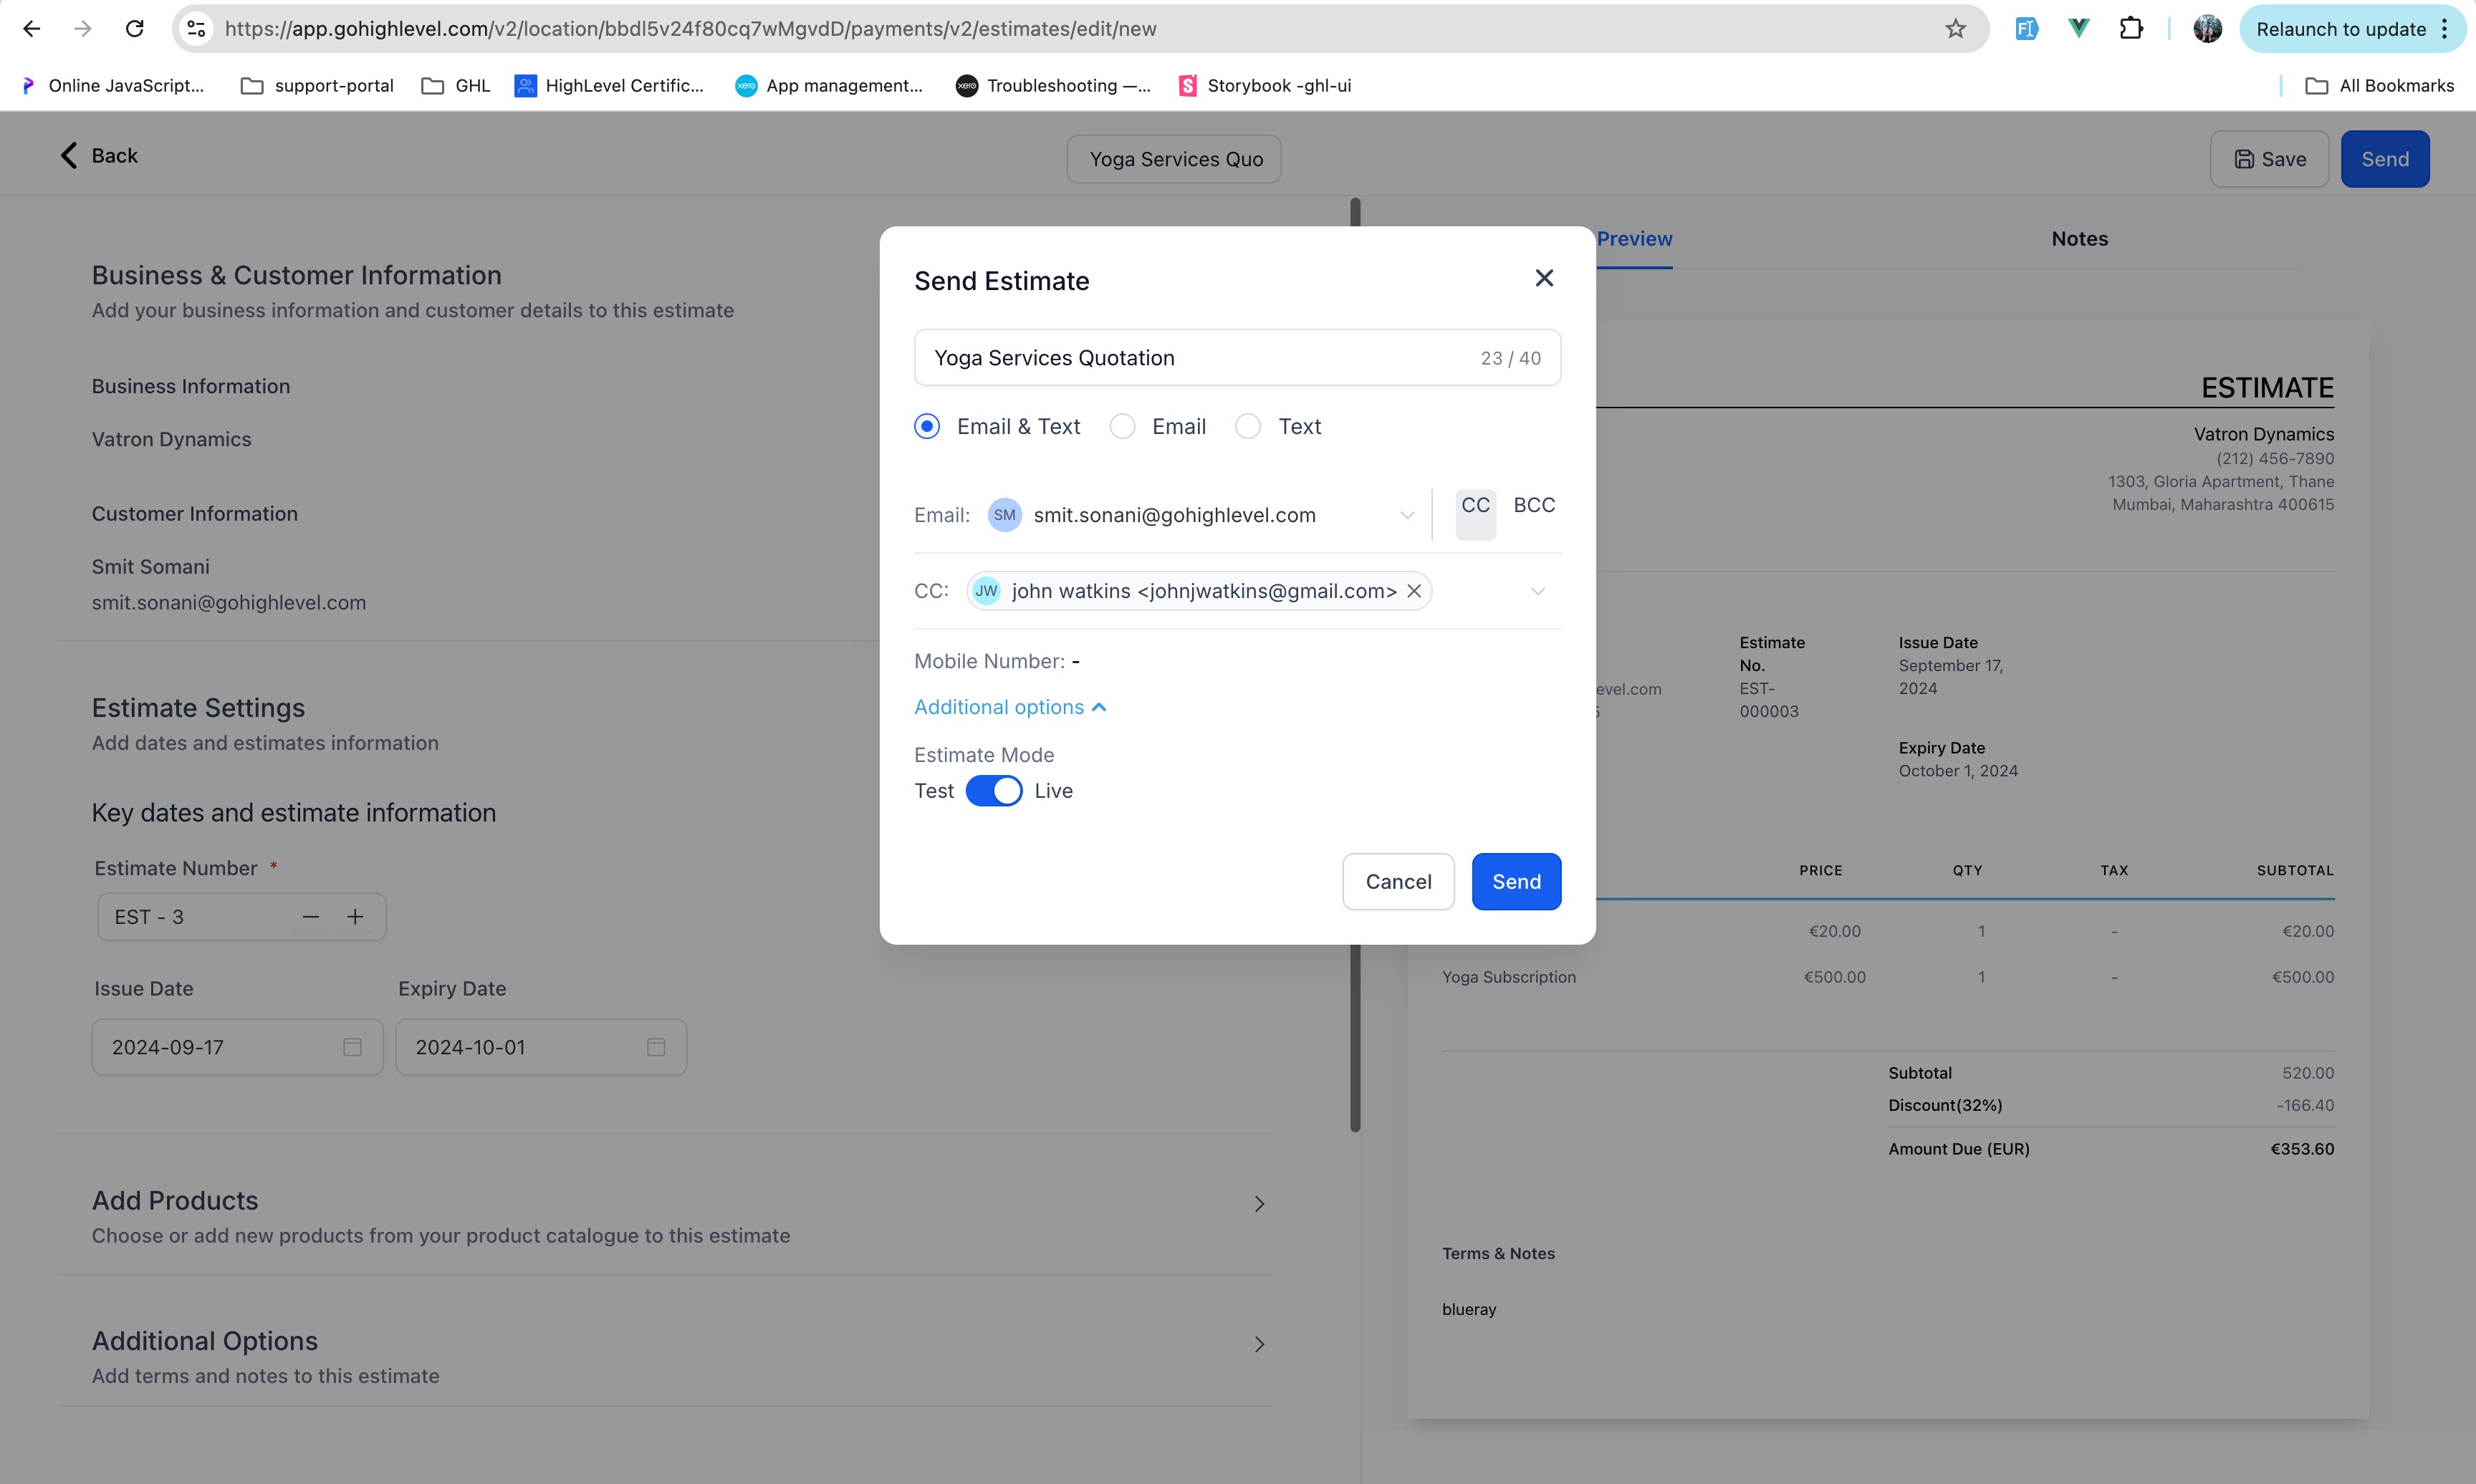

Add a Payment Schedule to an Estimate
Payment schedules let you split an estimate into multiple installments using percentage-based or fixed amounts. You can customize when each payment is due.
Configure a Payment Schedule
- Navigate to Payments → Invoices & Estimates → Estimates and create or open an estimate.
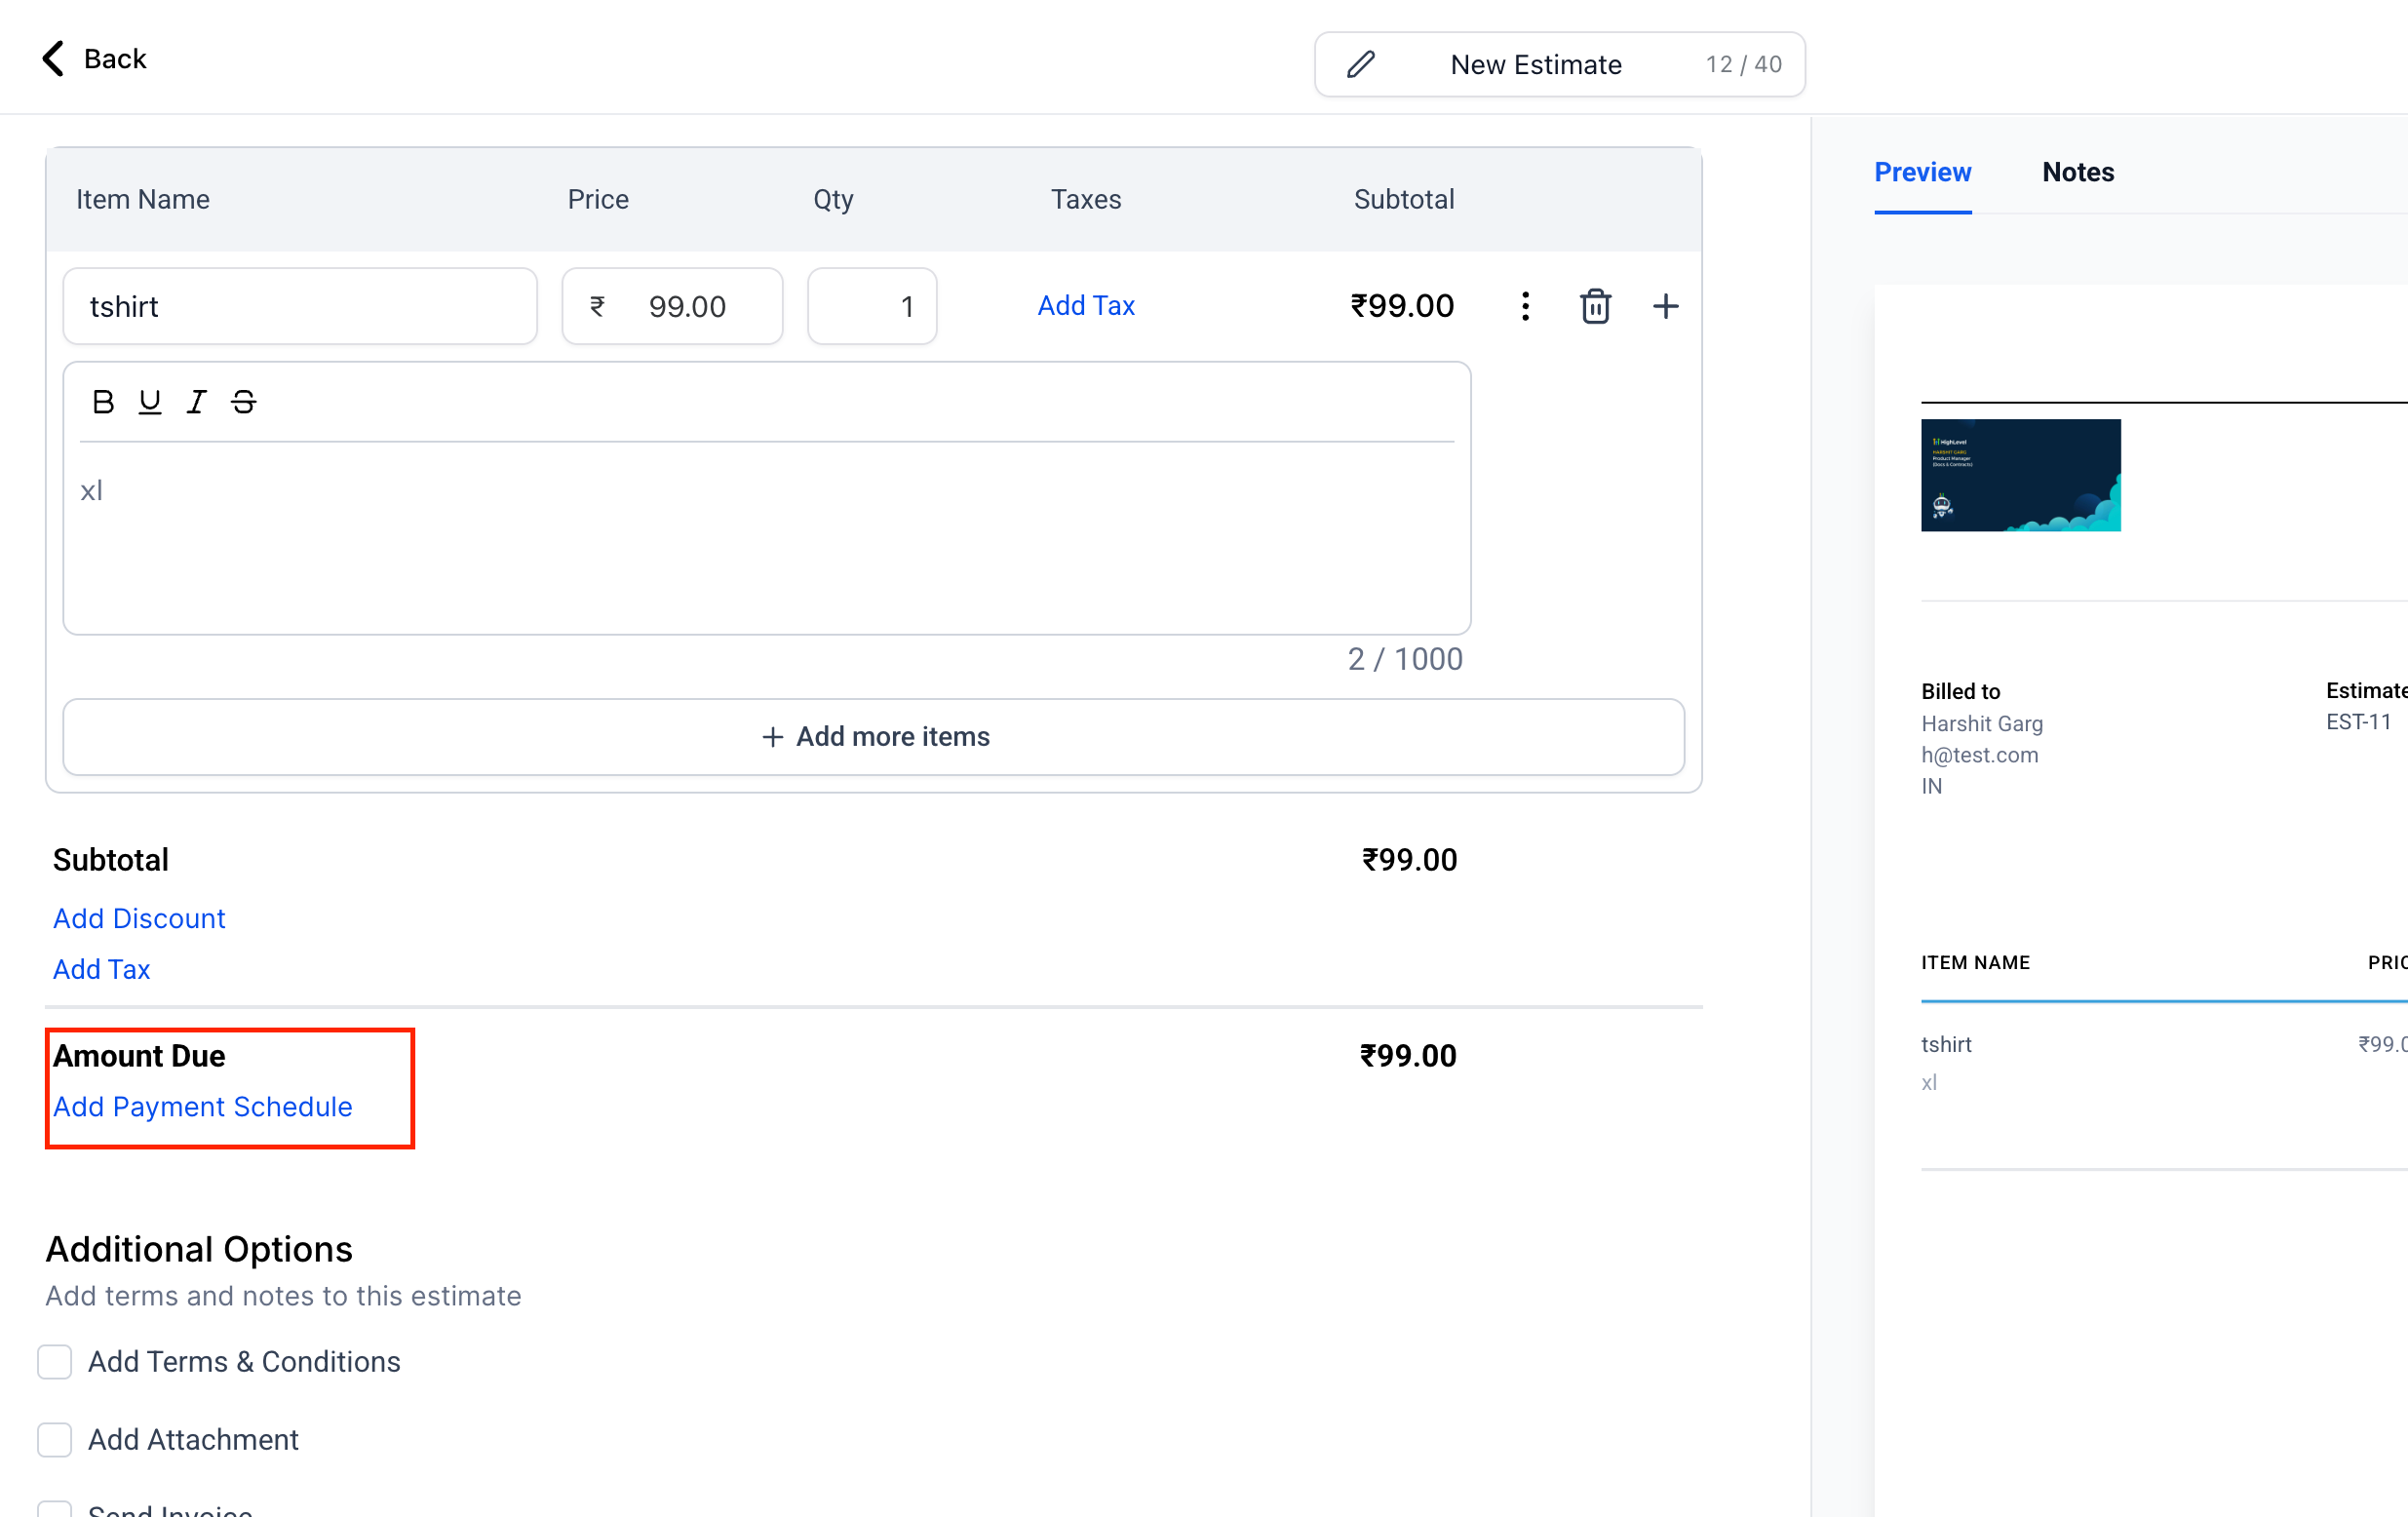
- Under Amount Due, click Add Payment Schedule.
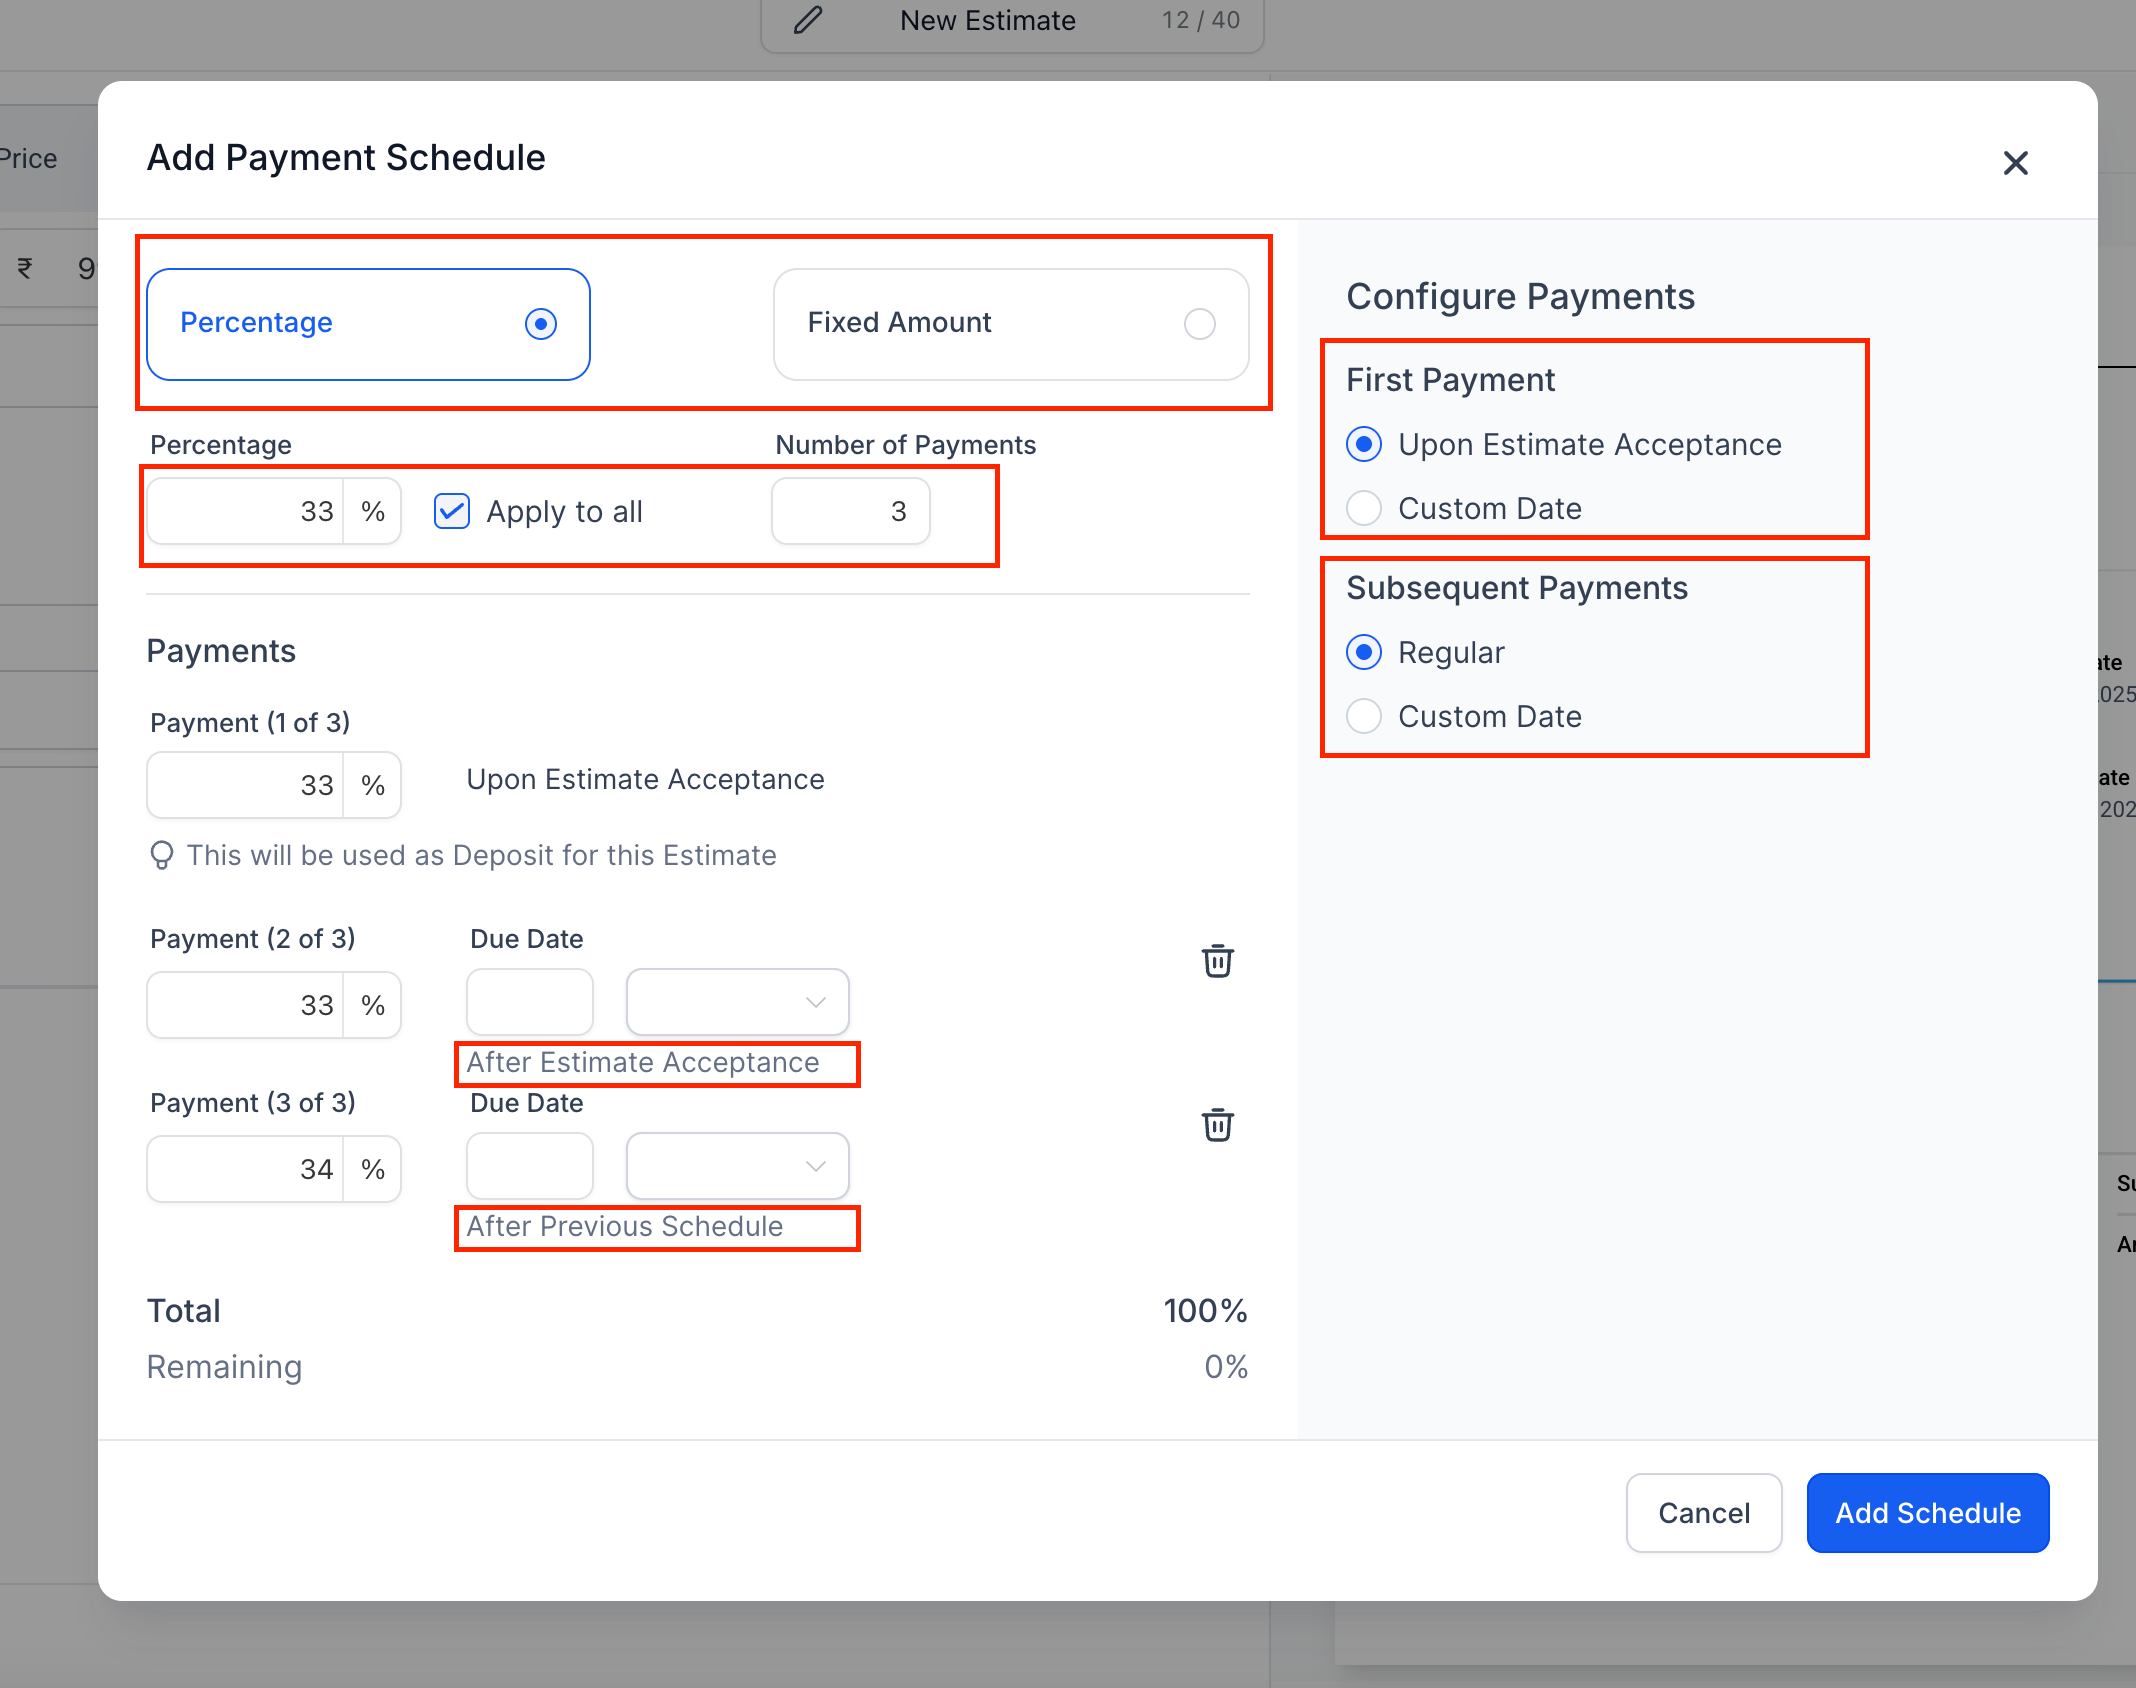
- Choose Percentage or Fixed Amount, then enter the payment amount or percentage and the Number of Payments.
- Under Configure Payments, set:
- First Payment: Upon Estimate Acceptance or Custom Date.
- Subsequent Payments: Regular intervals or Custom Date.
- First Payment: Upon Estimate Acceptance or Custom Date.
- Review the installment breakdown and click Add Schedule.
The schedule appears under Amount Due. Click Change Payment Schedule to make adjustments.
Preview and Send the Estimate
- Review the installment amounts and due dates in the estimate preview.
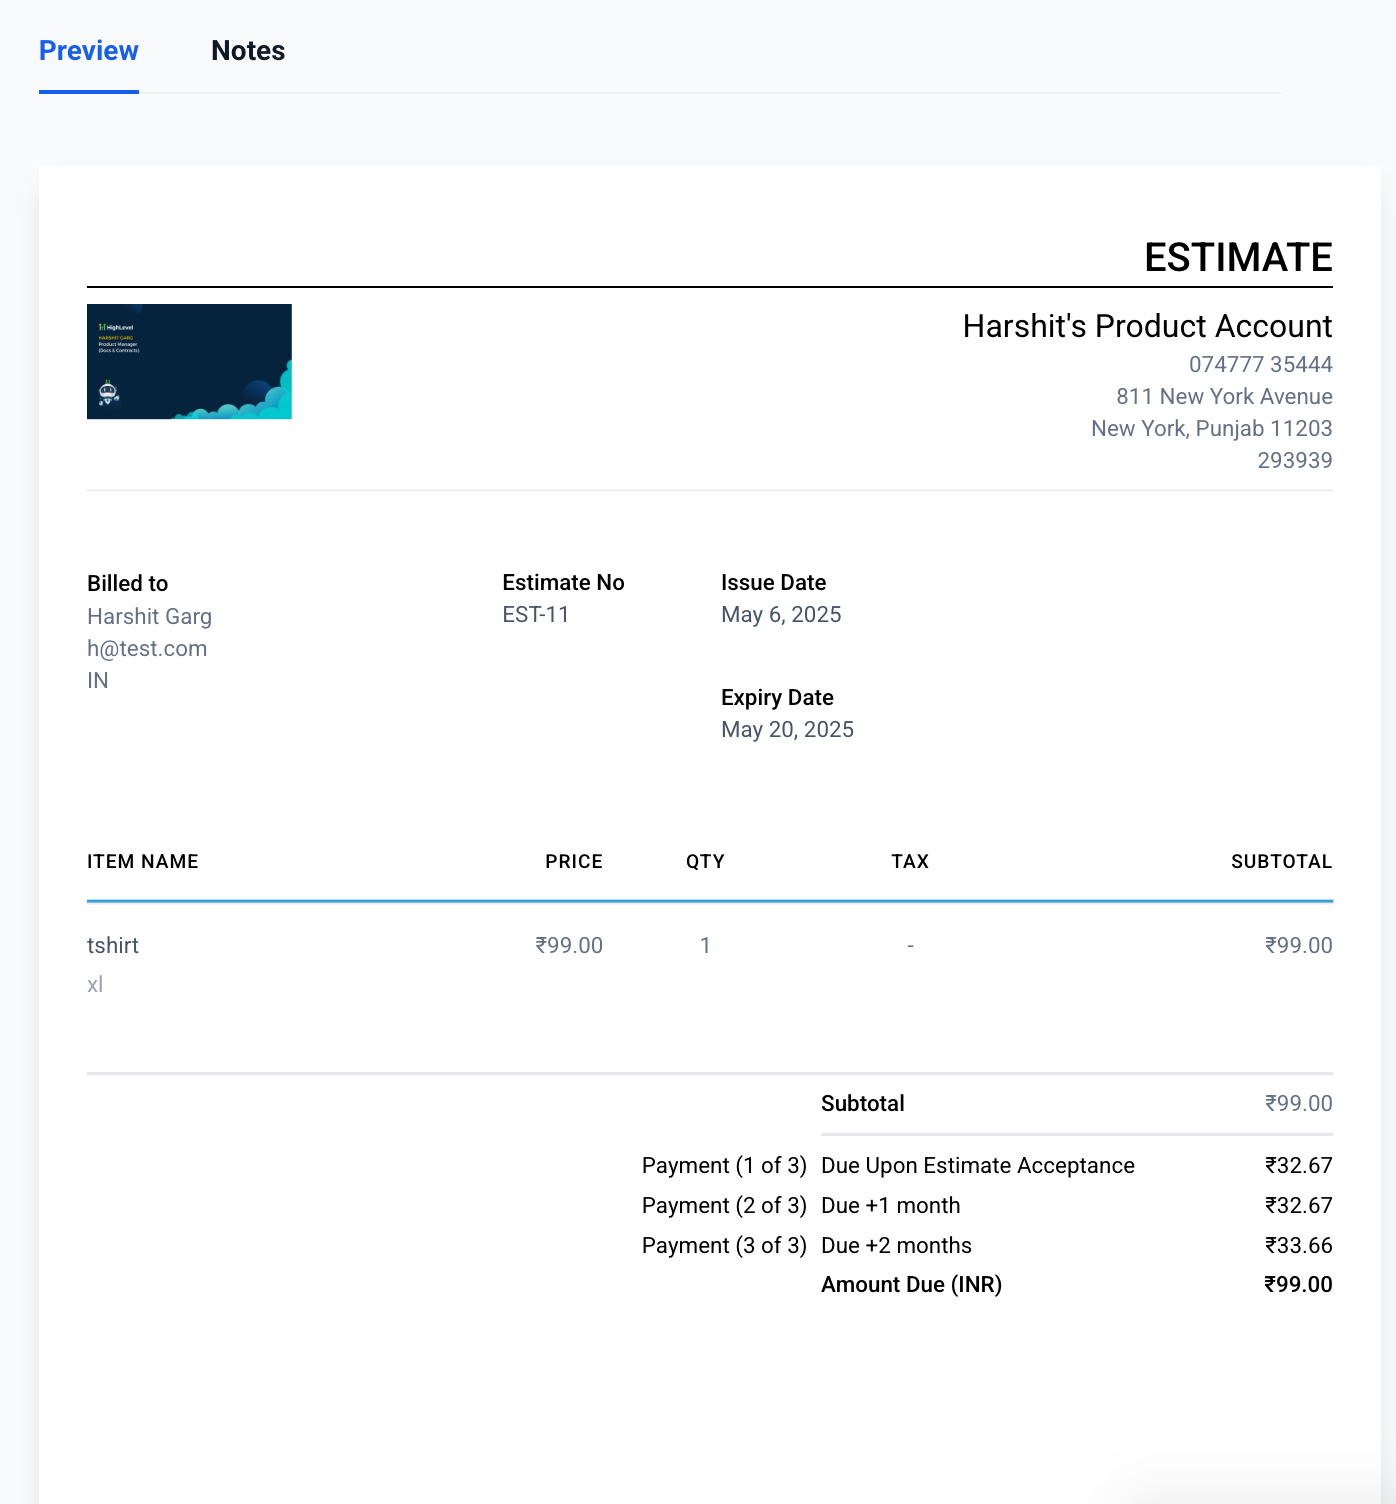
- Under Additional Options, select Send Invoice and turn on Enable Direct Payments.
- Save and send the estimate.
What Happens After Acceptance?
When the customer accepts the estimate, HighLevel automatically generates an invoice and redirects them to the invoice payment page.
The invoice displays the installment amounts, due dates, and payment statuses, allowing the customer to pay the applicable installment.
Users/sender can accept/reject this estimate
- Users can click on accept and this estimate will be marked as accepted
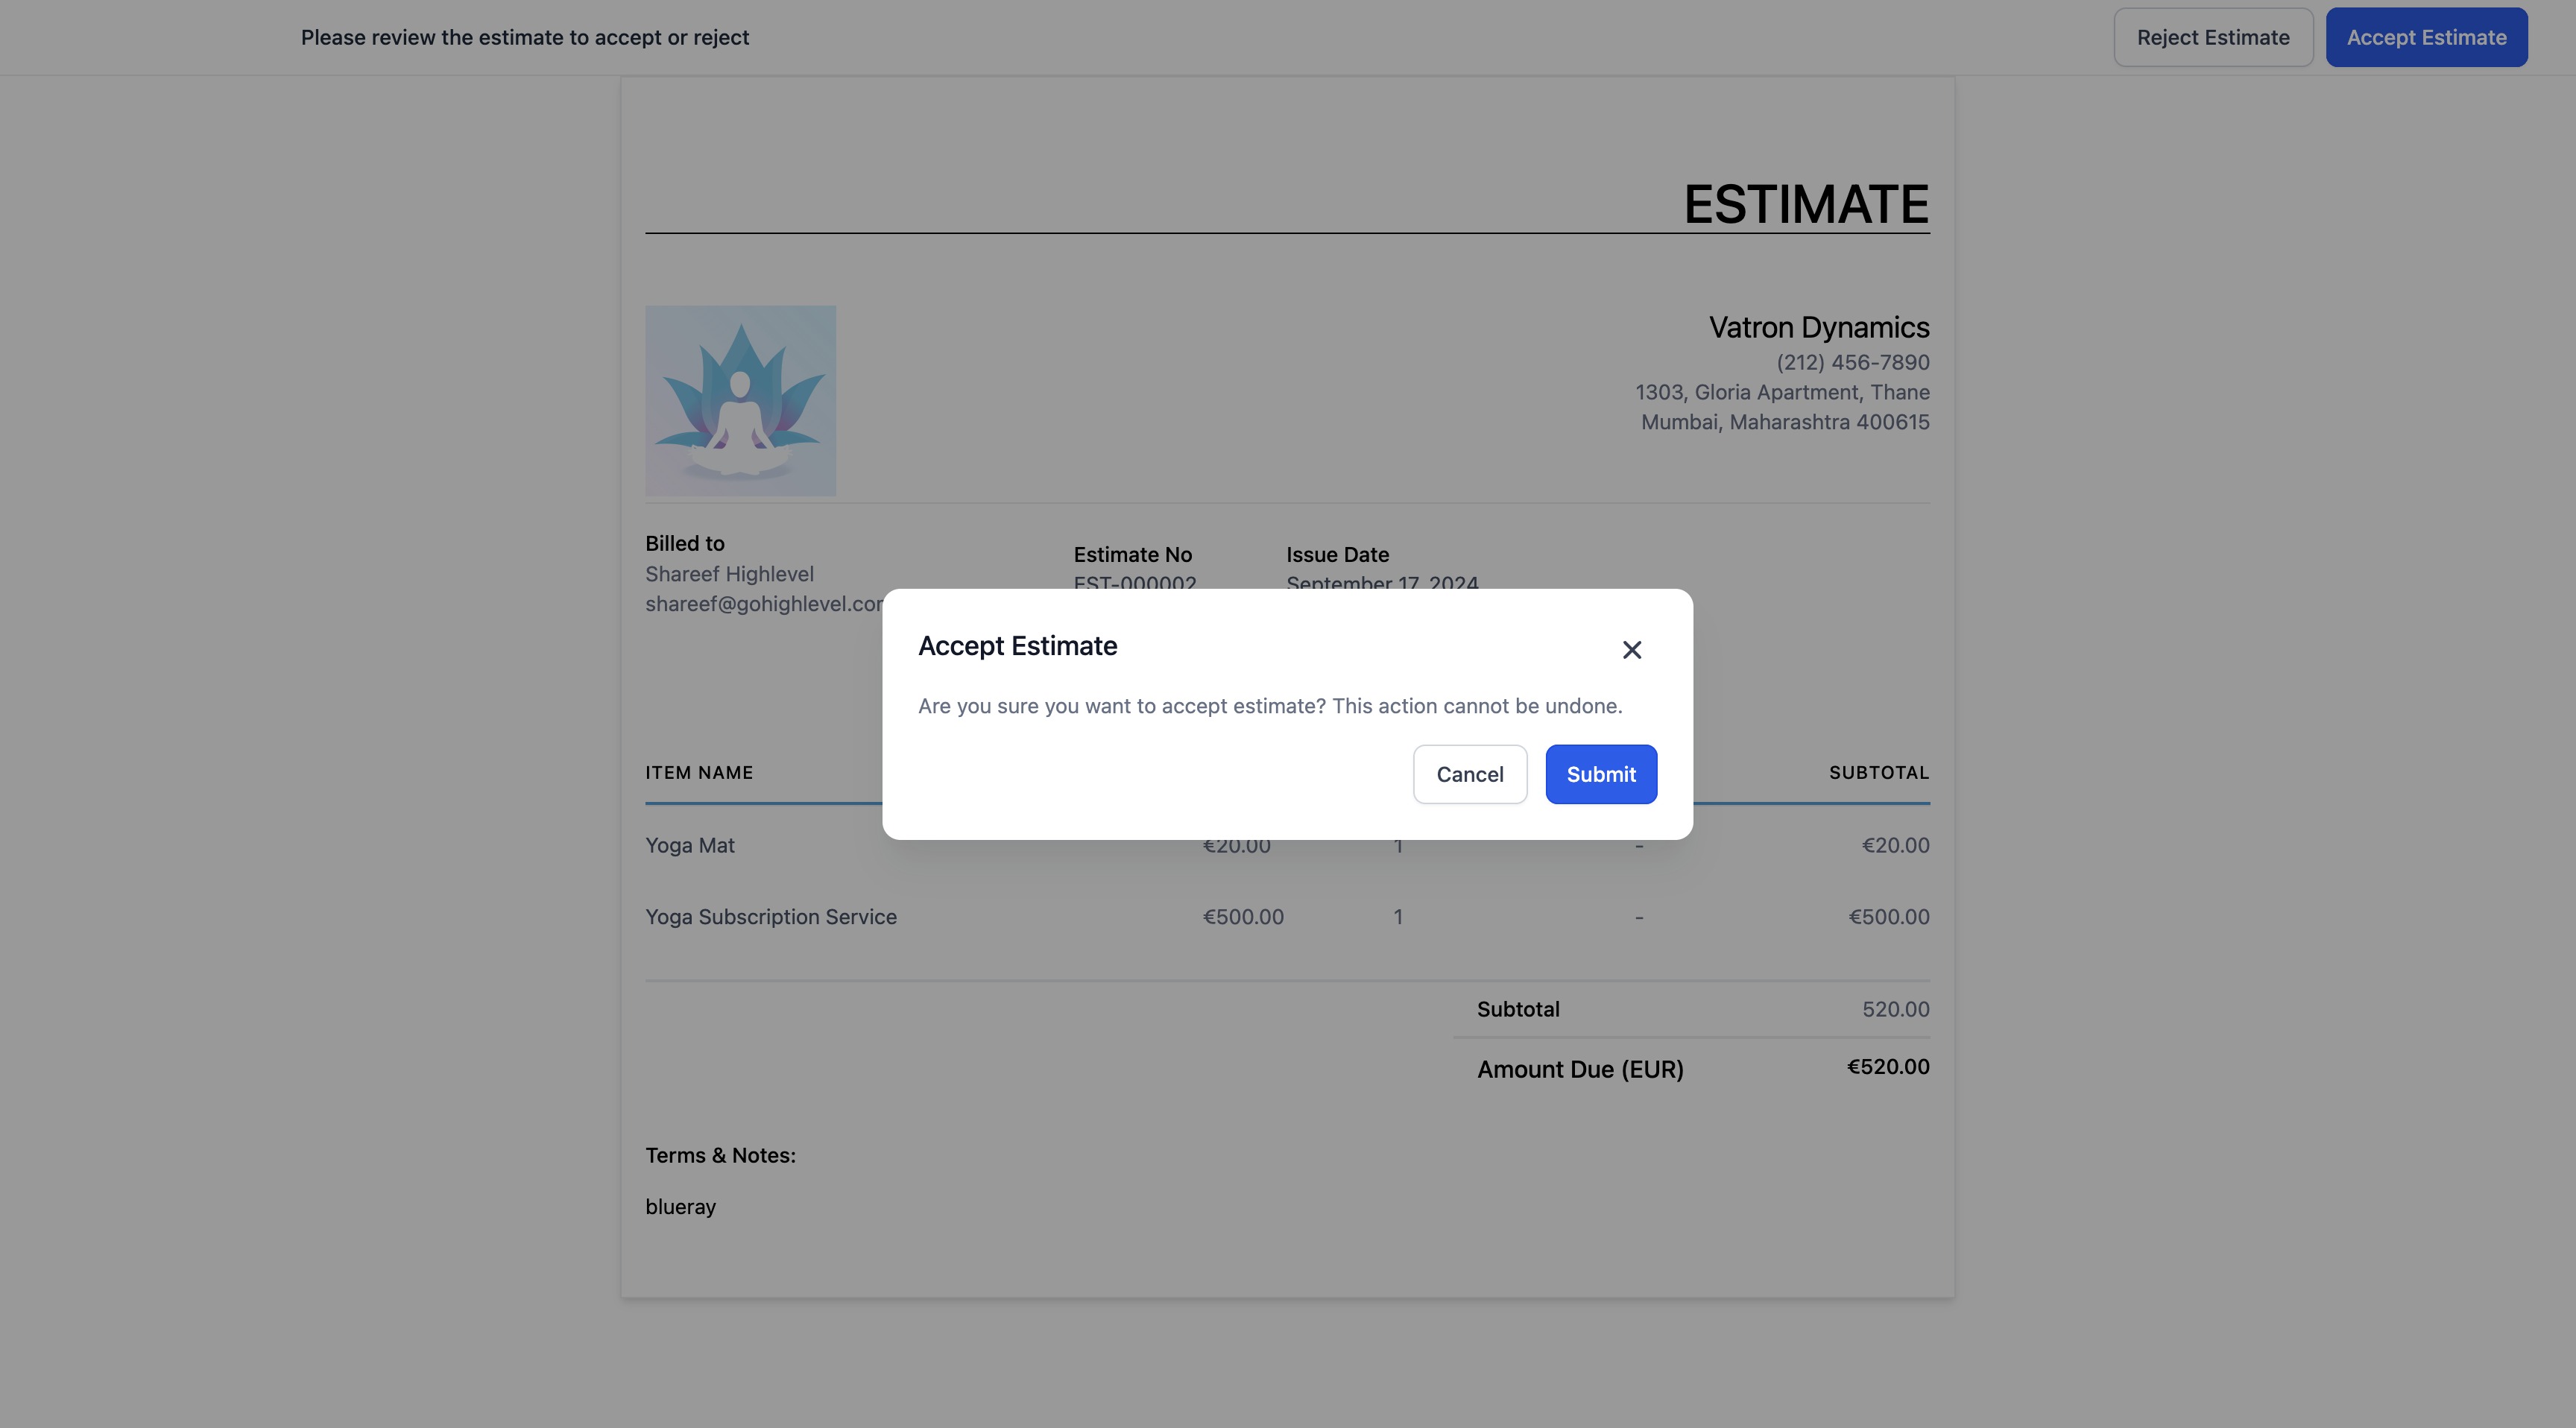
- Users can click on reject, add notes and this estimate will be marked as rejected

- Users can click on Mark as accepted/rejected if user has already confirmed on phone

Convert to Invoice
- Click on sent invoice item

- Convert to Invoice: Once your client approves the estimate, you can easily convert it into an invoice by selectingcreate an invoice from the dashboard or opening the accepted estimate and then clicking on create an invoice.

Track
- Keep a track of all the estimates that are in different stages: Draft, Sent, Accepted, Declined, Invoiced
- Keep a track of value of estimates that are in pipeline from the cards on top of the dashboard
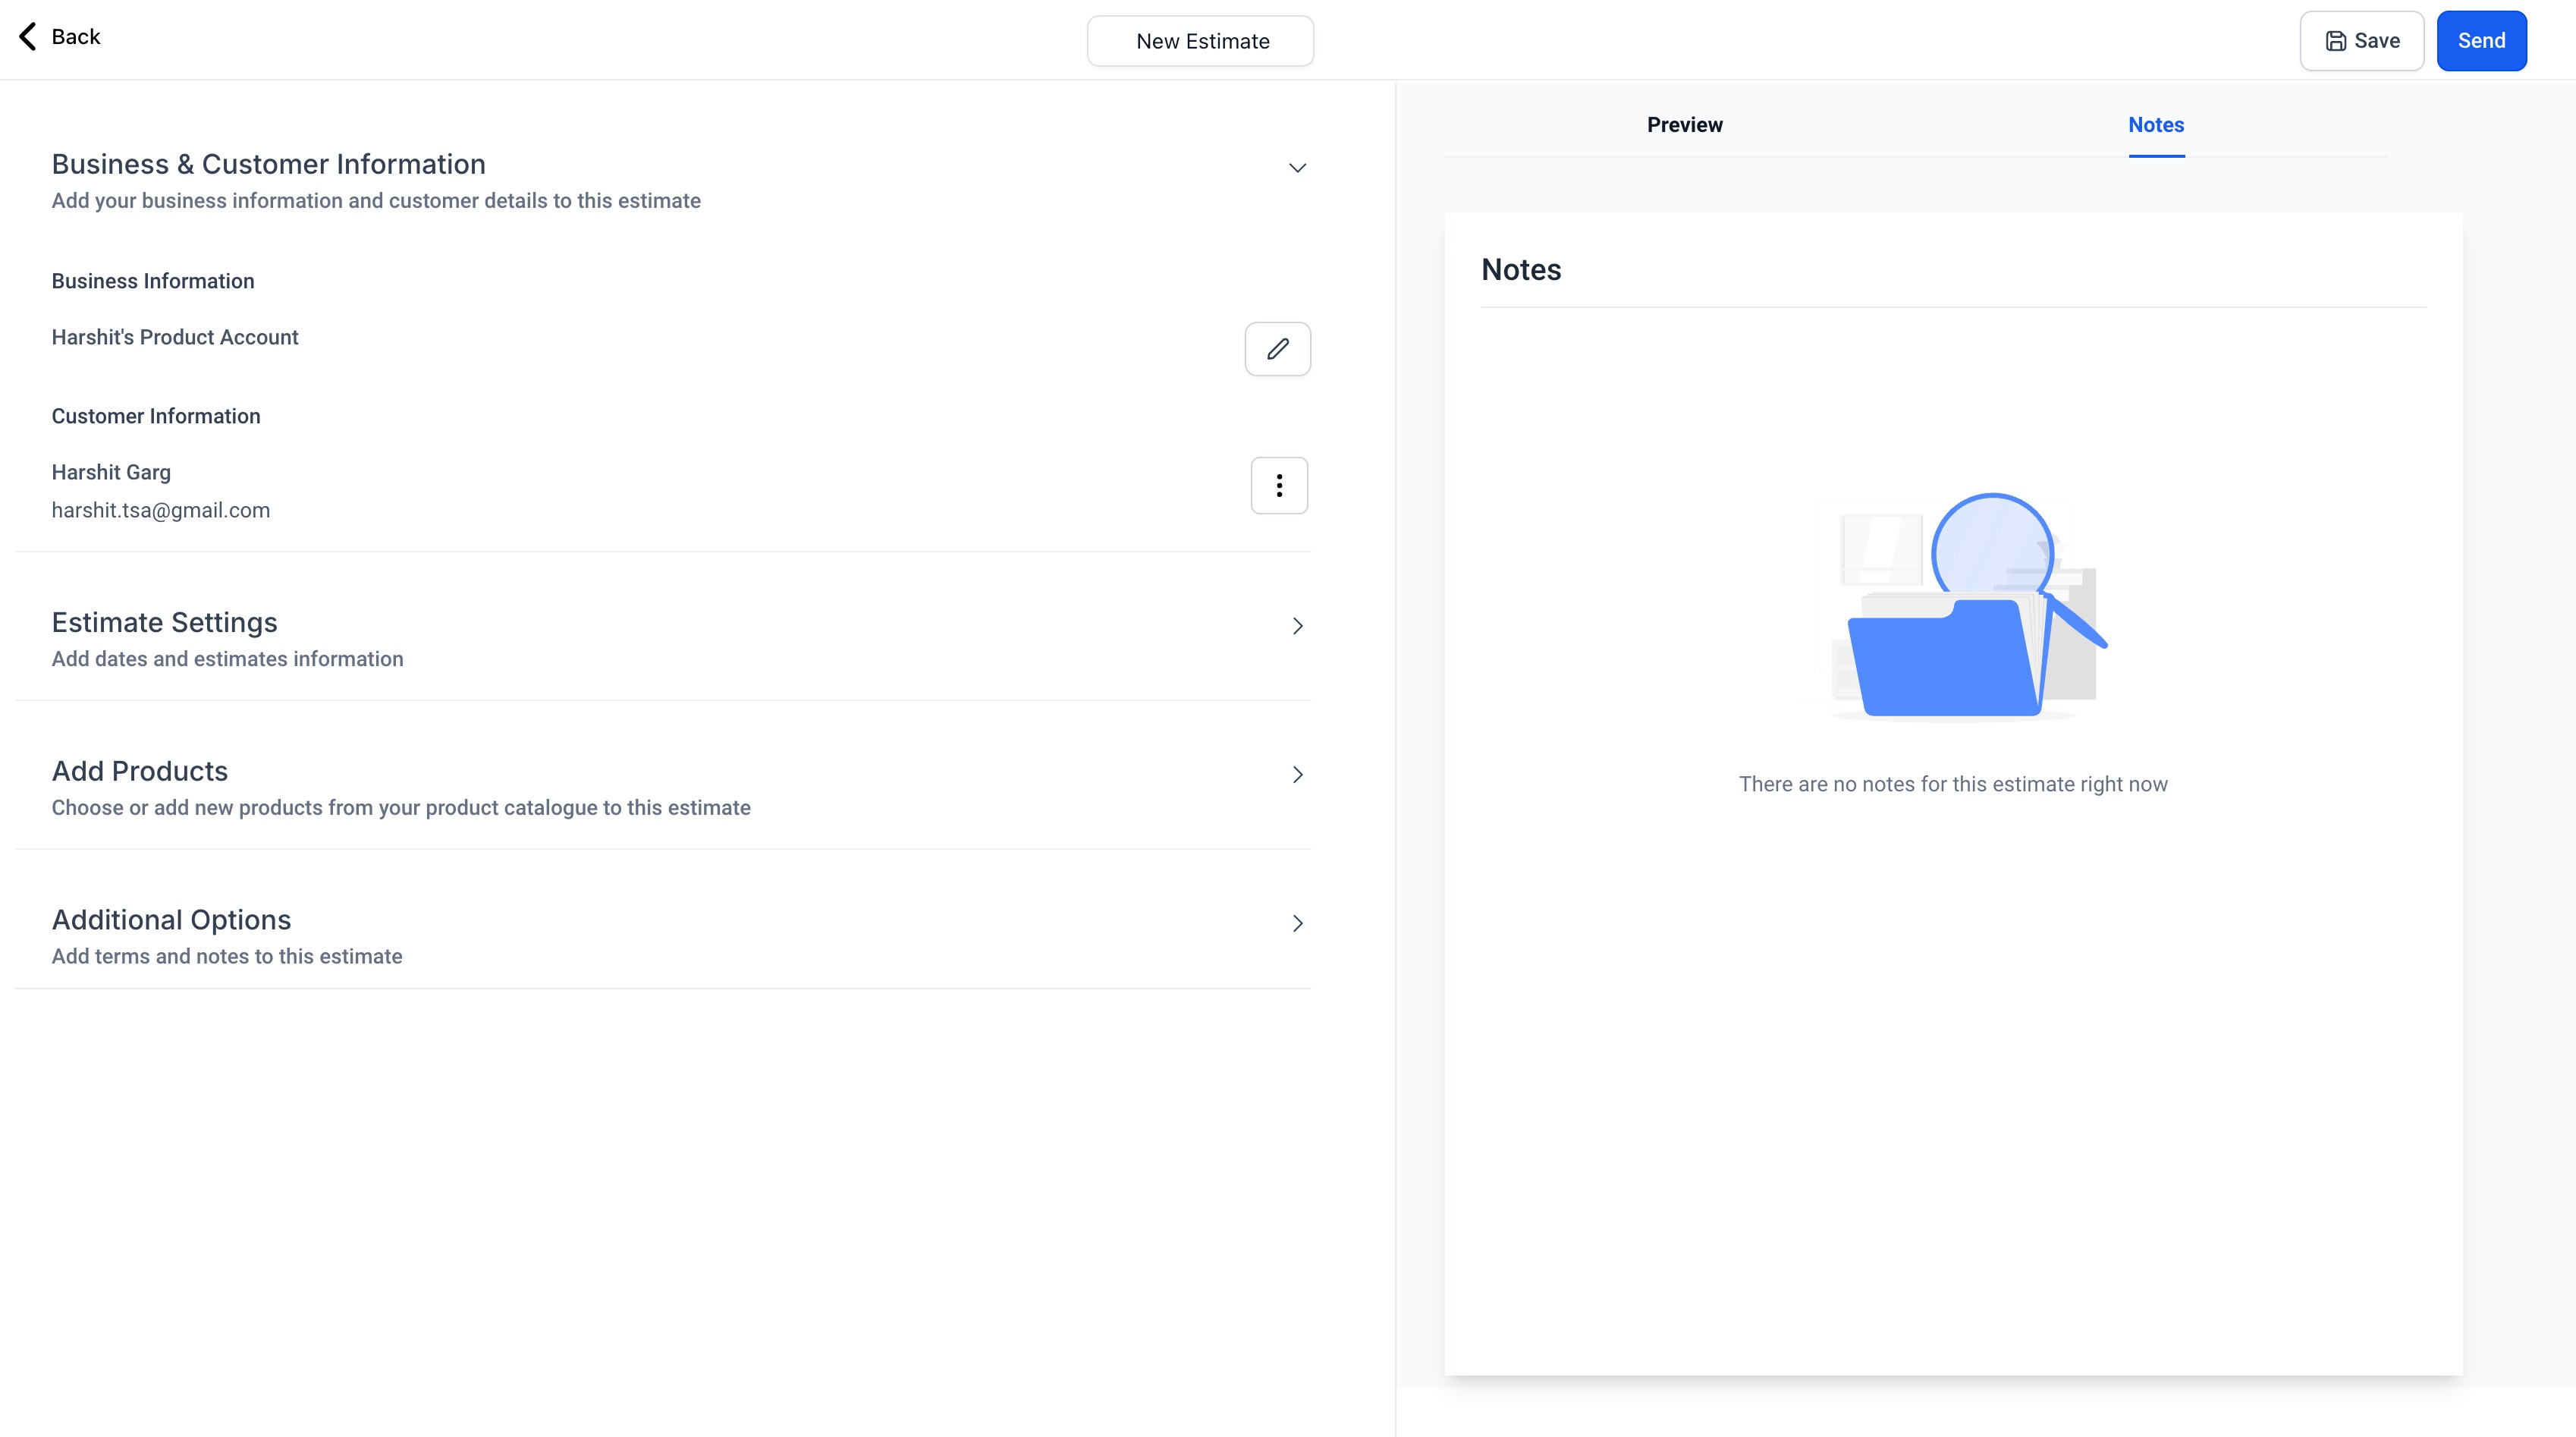
- Keeptrack of notes added by users on the dashboard and within the estimate builder
Others
- Customize: Customize the estimate by adding your company’s branding, terms and adjusting in settings.
Why We Built It?
- Create an estimate
- Get a Document Signed
- Send an invoice
Was this article helpful?
That’s Great!
Thank you for your feedback
Sorry! We couldn't be helpful
Thank you for your feedback
Feedback sent
We appreciate your effort and will try to fix the article