Opportunity custom values let you personalize Documents & Contracts templates with deal-specific information, such as a project budget, service type, or closing date. When a workflow generates the document, the platform replaces each merge field with information from the relevant Opportunity. This reduces manual editing and keeps documents accurate and consistent.
TABLE OF CONTENTS
- What Are Opportunity Custom Values in Documents & Contracts Templates?
- Key Benefits of Opportunity Custom Values
- Before You Begin
- How To Set Up Opportunity Custom Values in a Template
- How To Use the Template in a Workflow
- Frequently Asked Questions
- Related Articles
What Are Opportunity Custom Values in Documents & Contracts Templates?
Opportunity custom fields store information about a specific deal. A merge field acts as a placeholder inside the template and displays the Opportunity’s saved value when the workflow generates the document. Unlike Contact fields, Opportunity values can differ for each deal associated with the same contact.
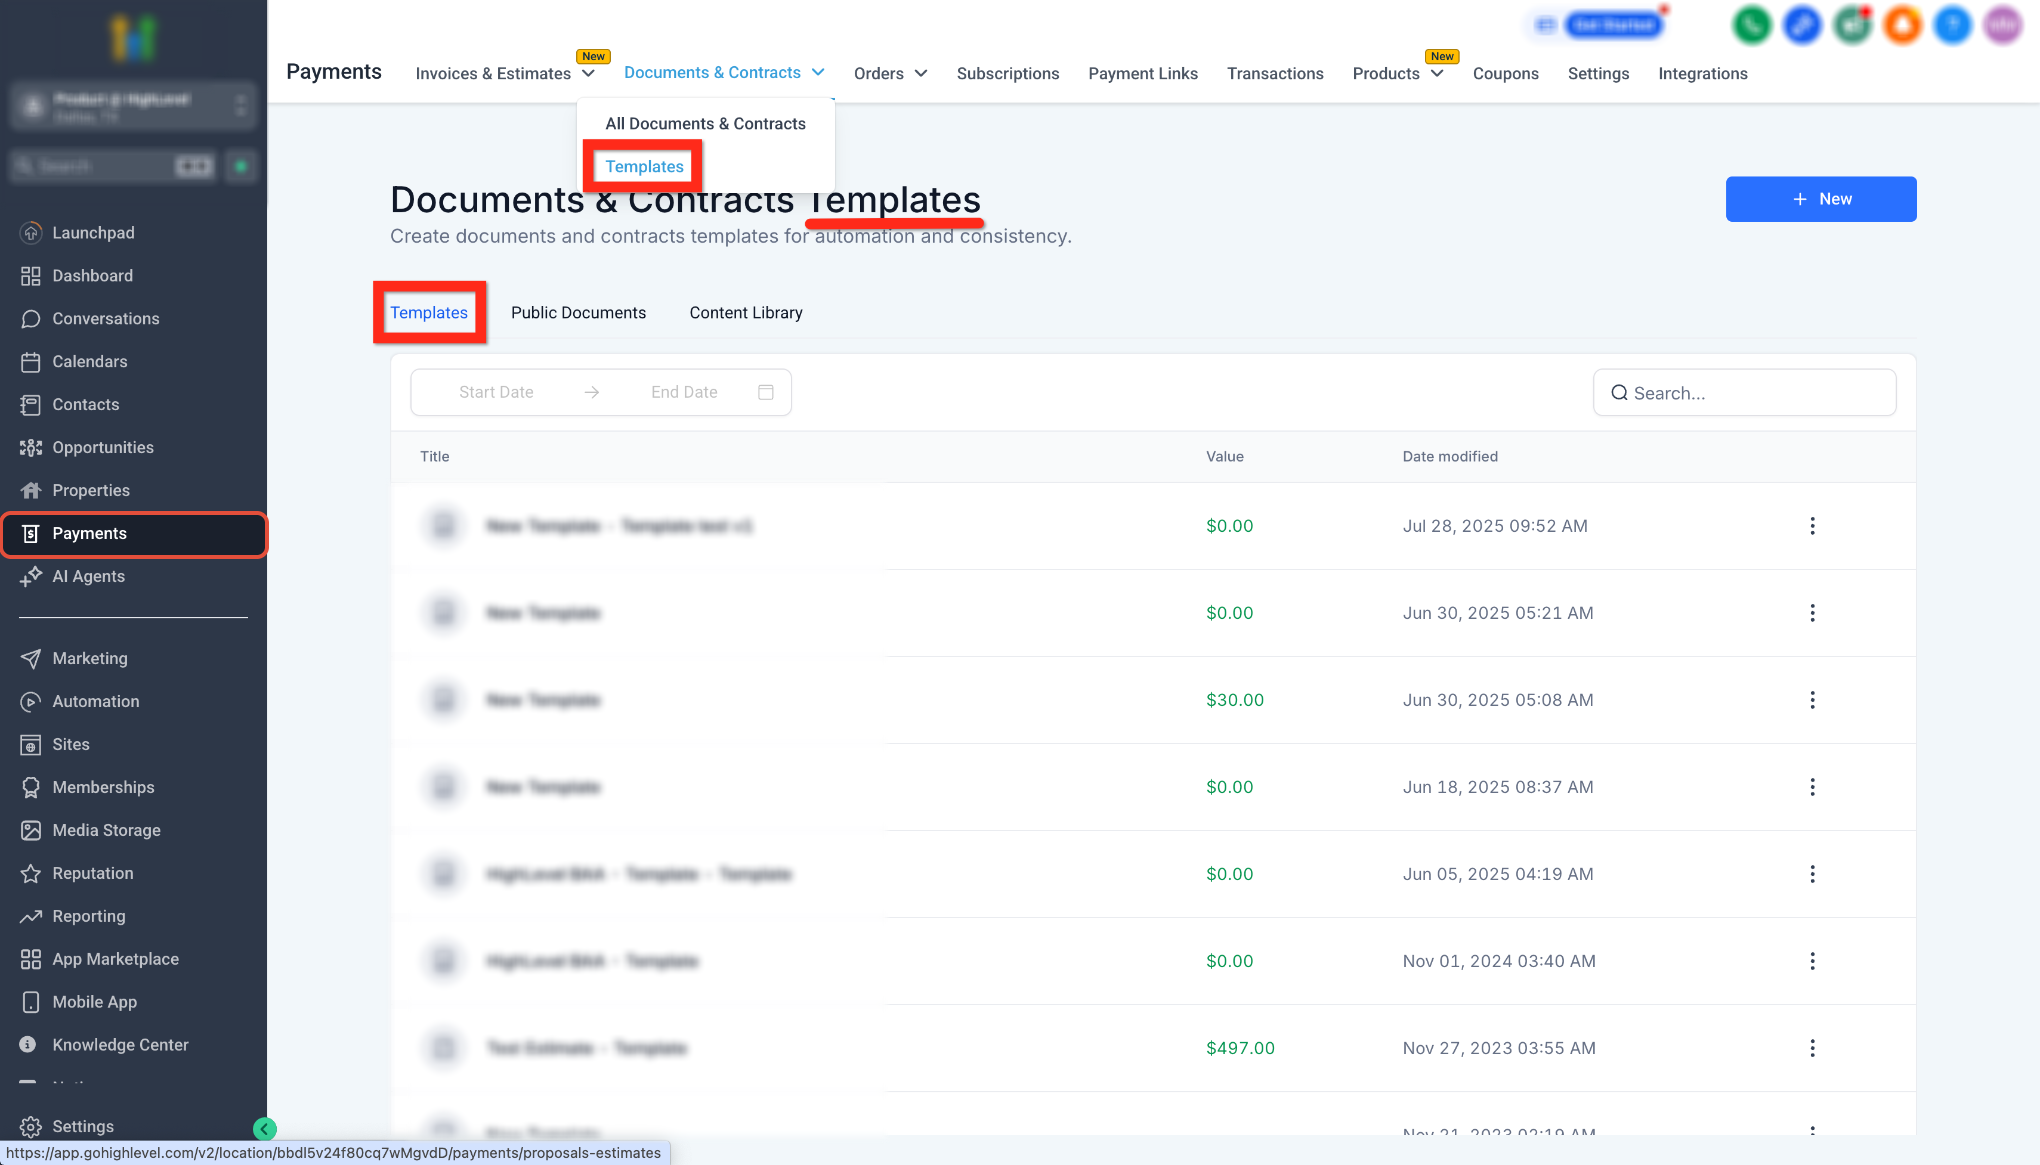
Important: These instructions apply to reusable templates, not individual documents. Go to Payments → Documents & Contracts → Templates and confirm that the Templates tab is selected.
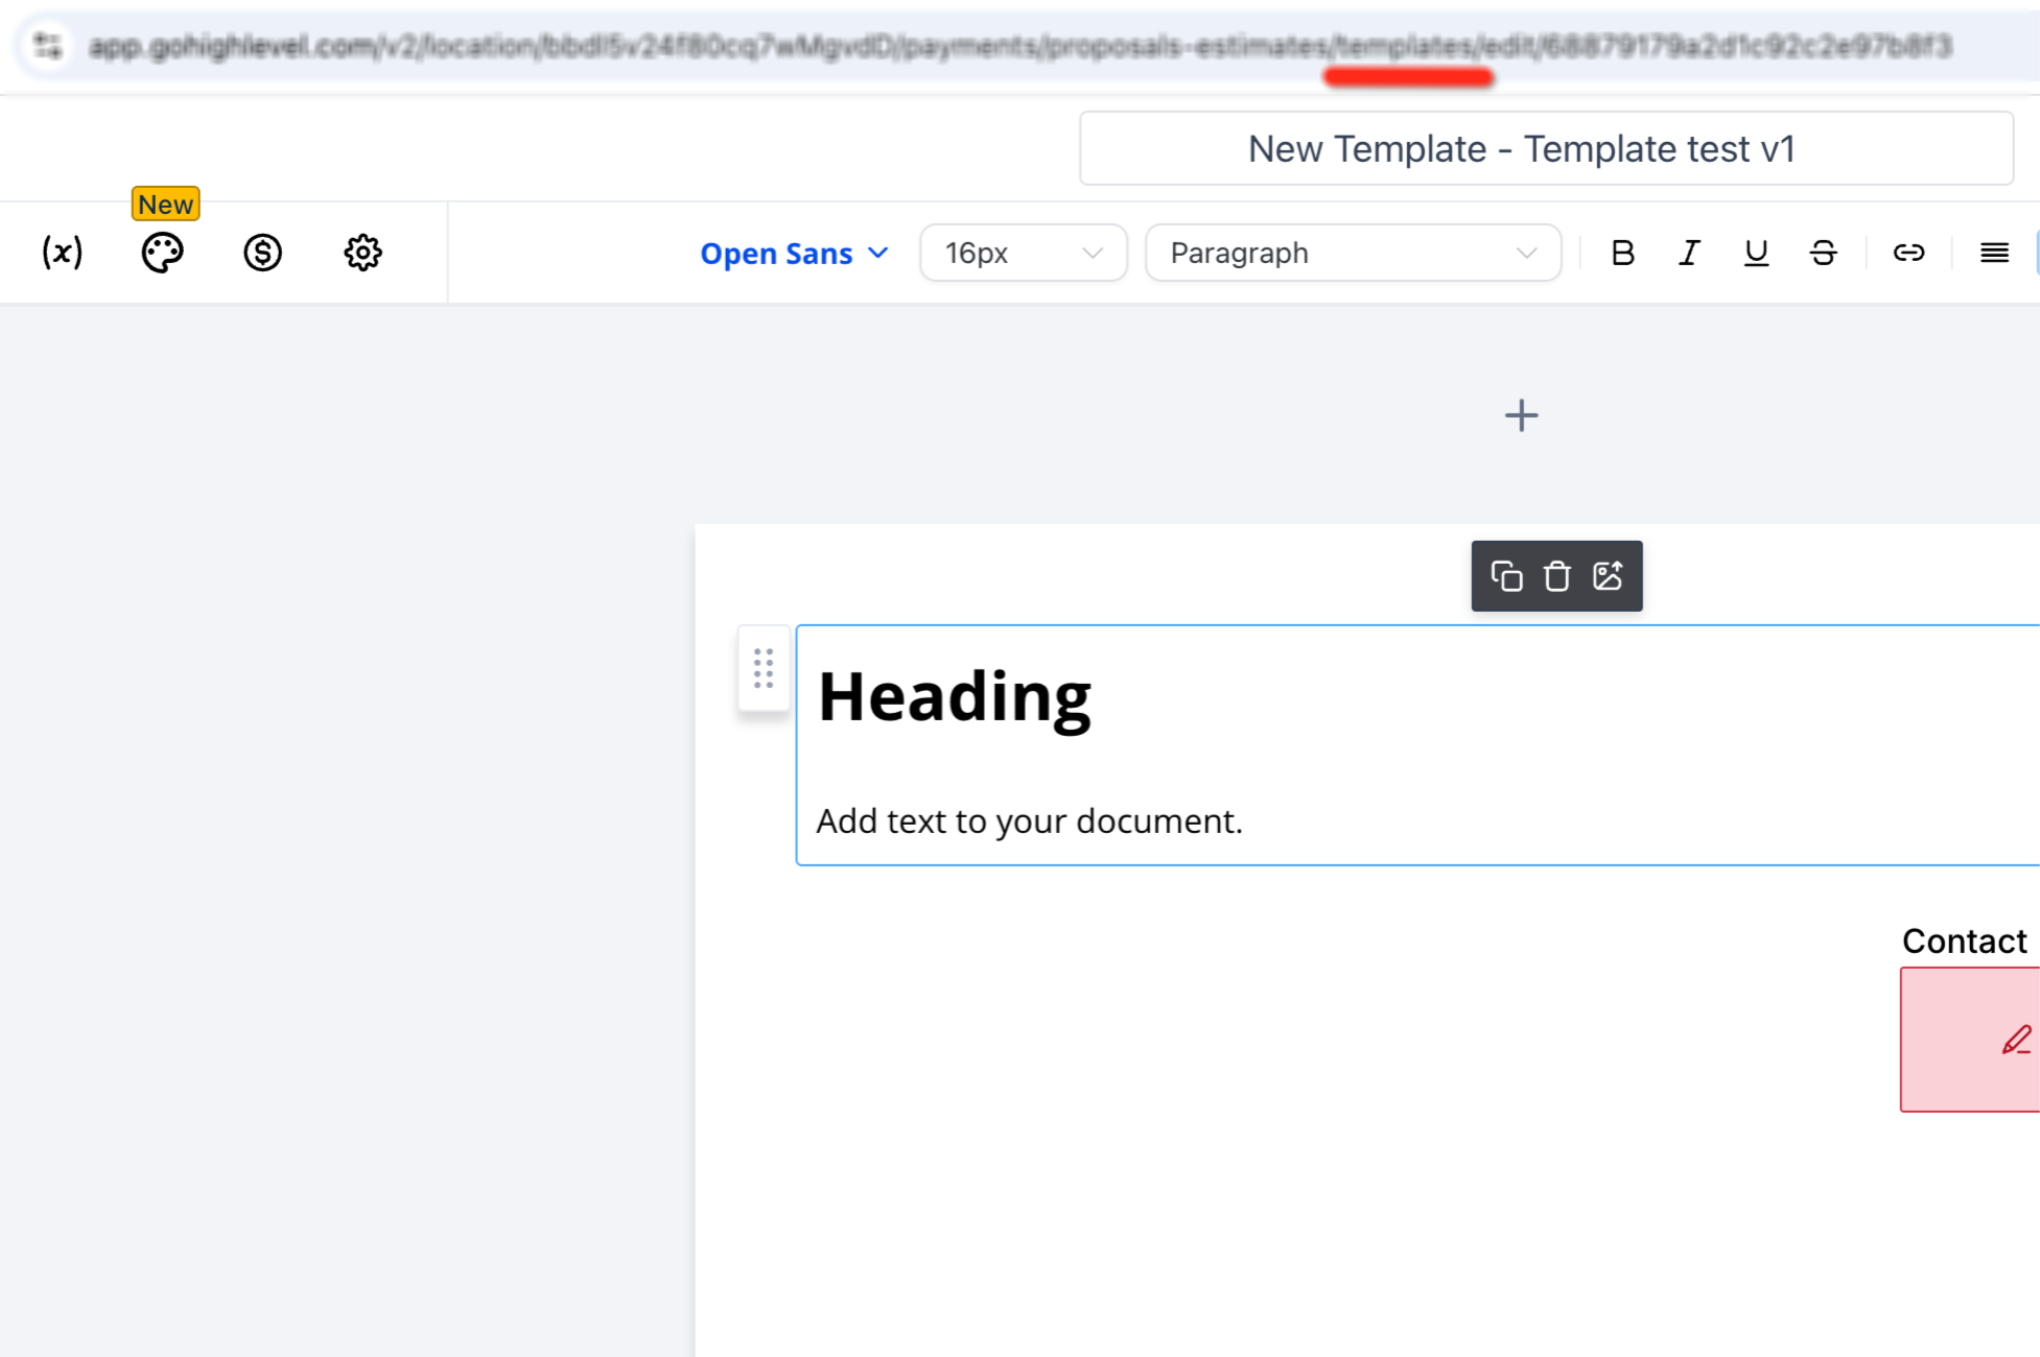
When editing a template, the browser address also contains /templates/.
Key Benefits of Opportunity Custom Values
Opportunity merge fields allow one reusable template to automatically adapt to different deals.
- Faster document creation: Reduce manual editing before sending proposals or contracts.
- Accurate deal information: Pull values directly from the Opportunity record.
- Reusable automation: Use the same template across multiple Opportunities and pipelines.
- Consistent documents: Keep formatting and deal information standardized across your team.
Before You Begin
Opportunity values can only populate when the required field, value, template, and workflow context are available.
Confirm the following:
- The required field was created as an Opportunity custom field.
- The Opportunity contains a value for that field.
- The Opportunity is associated with the correct contact.
- The template is saved before it is selected in a workflow.
- The workflow uses an Opportunity-related trigger when deal information must populate.
- The contact has a valid email address when the document will be sent.
Multi-role templates: Assign at least one fillable element to Contact before using the template in a workflow. Role details entered in the workflow override the corresponding template defaults.
How To Set Up Opportunity Custom Values in a Template
Using the merge-field menu inserts the correct field token and helps prevent formatting or syntax errors.
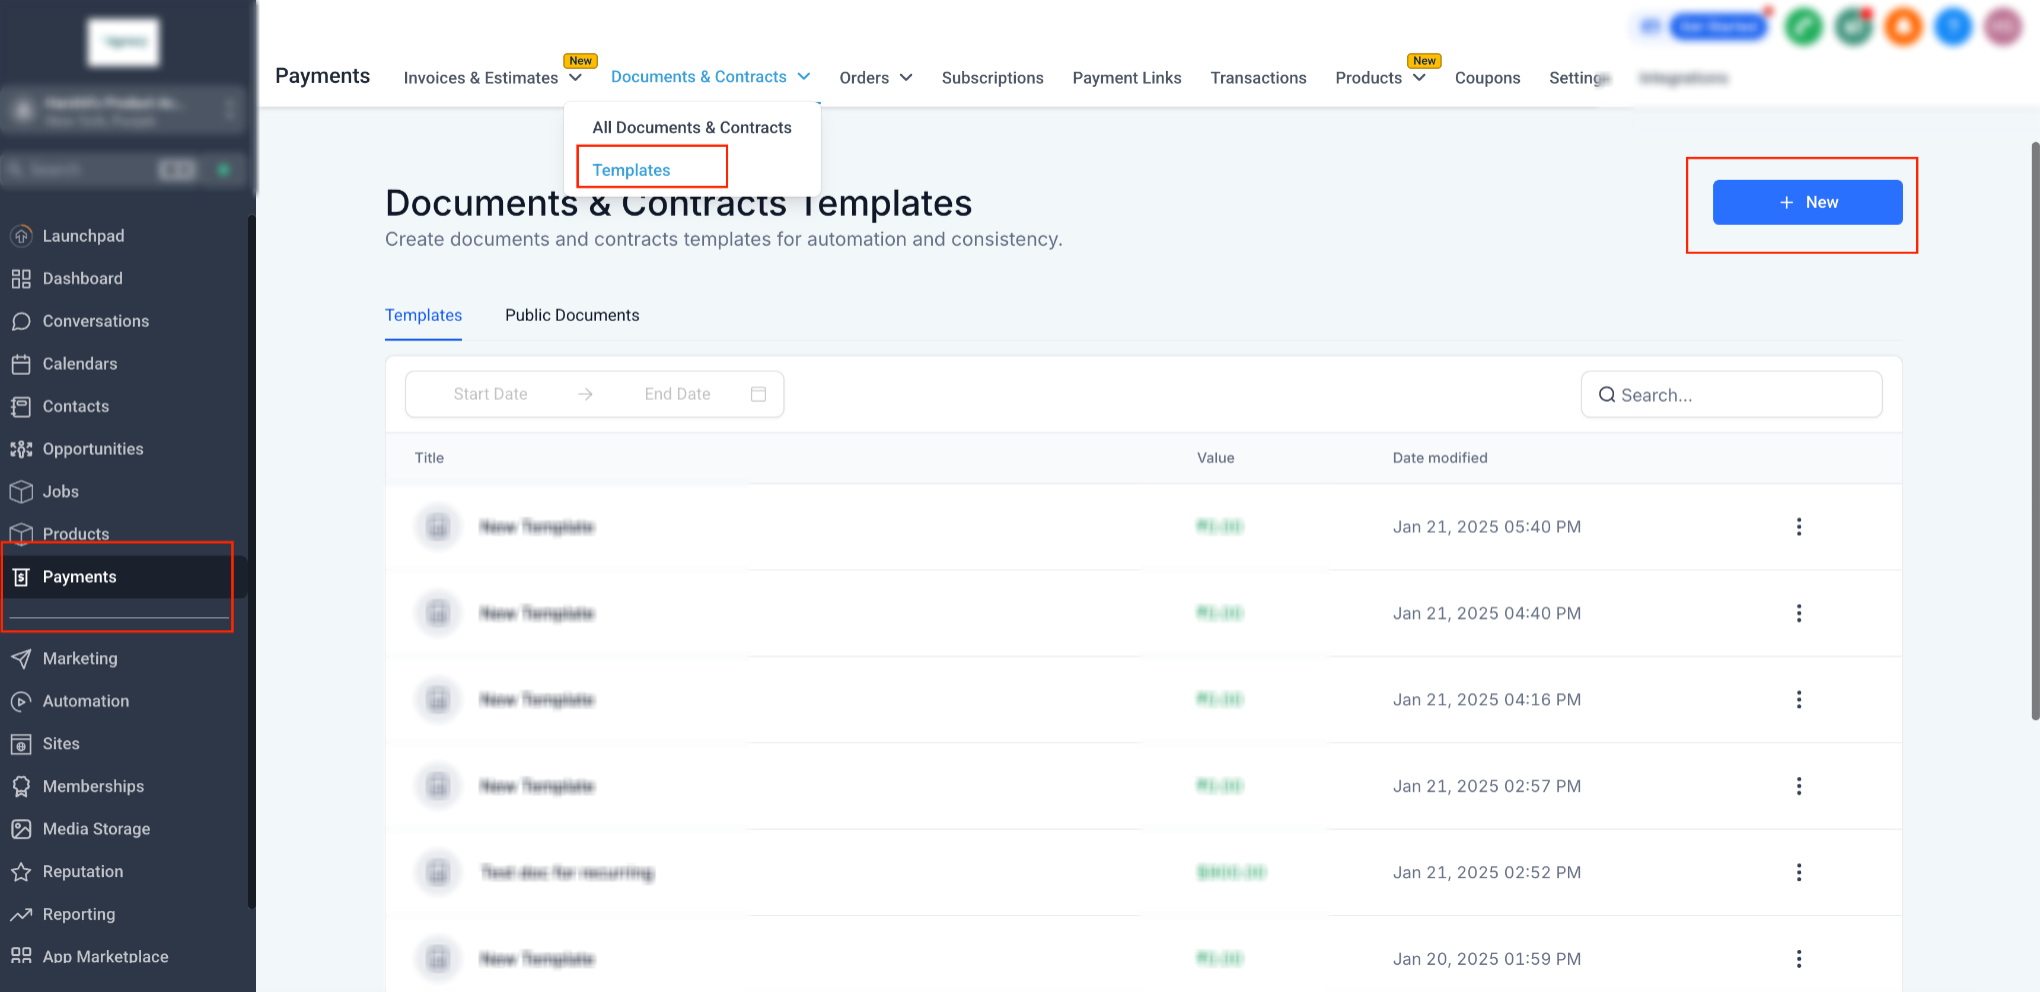
- Go to Payments → Documents & Contracts → Templates.
- Click + New or open an existing template.
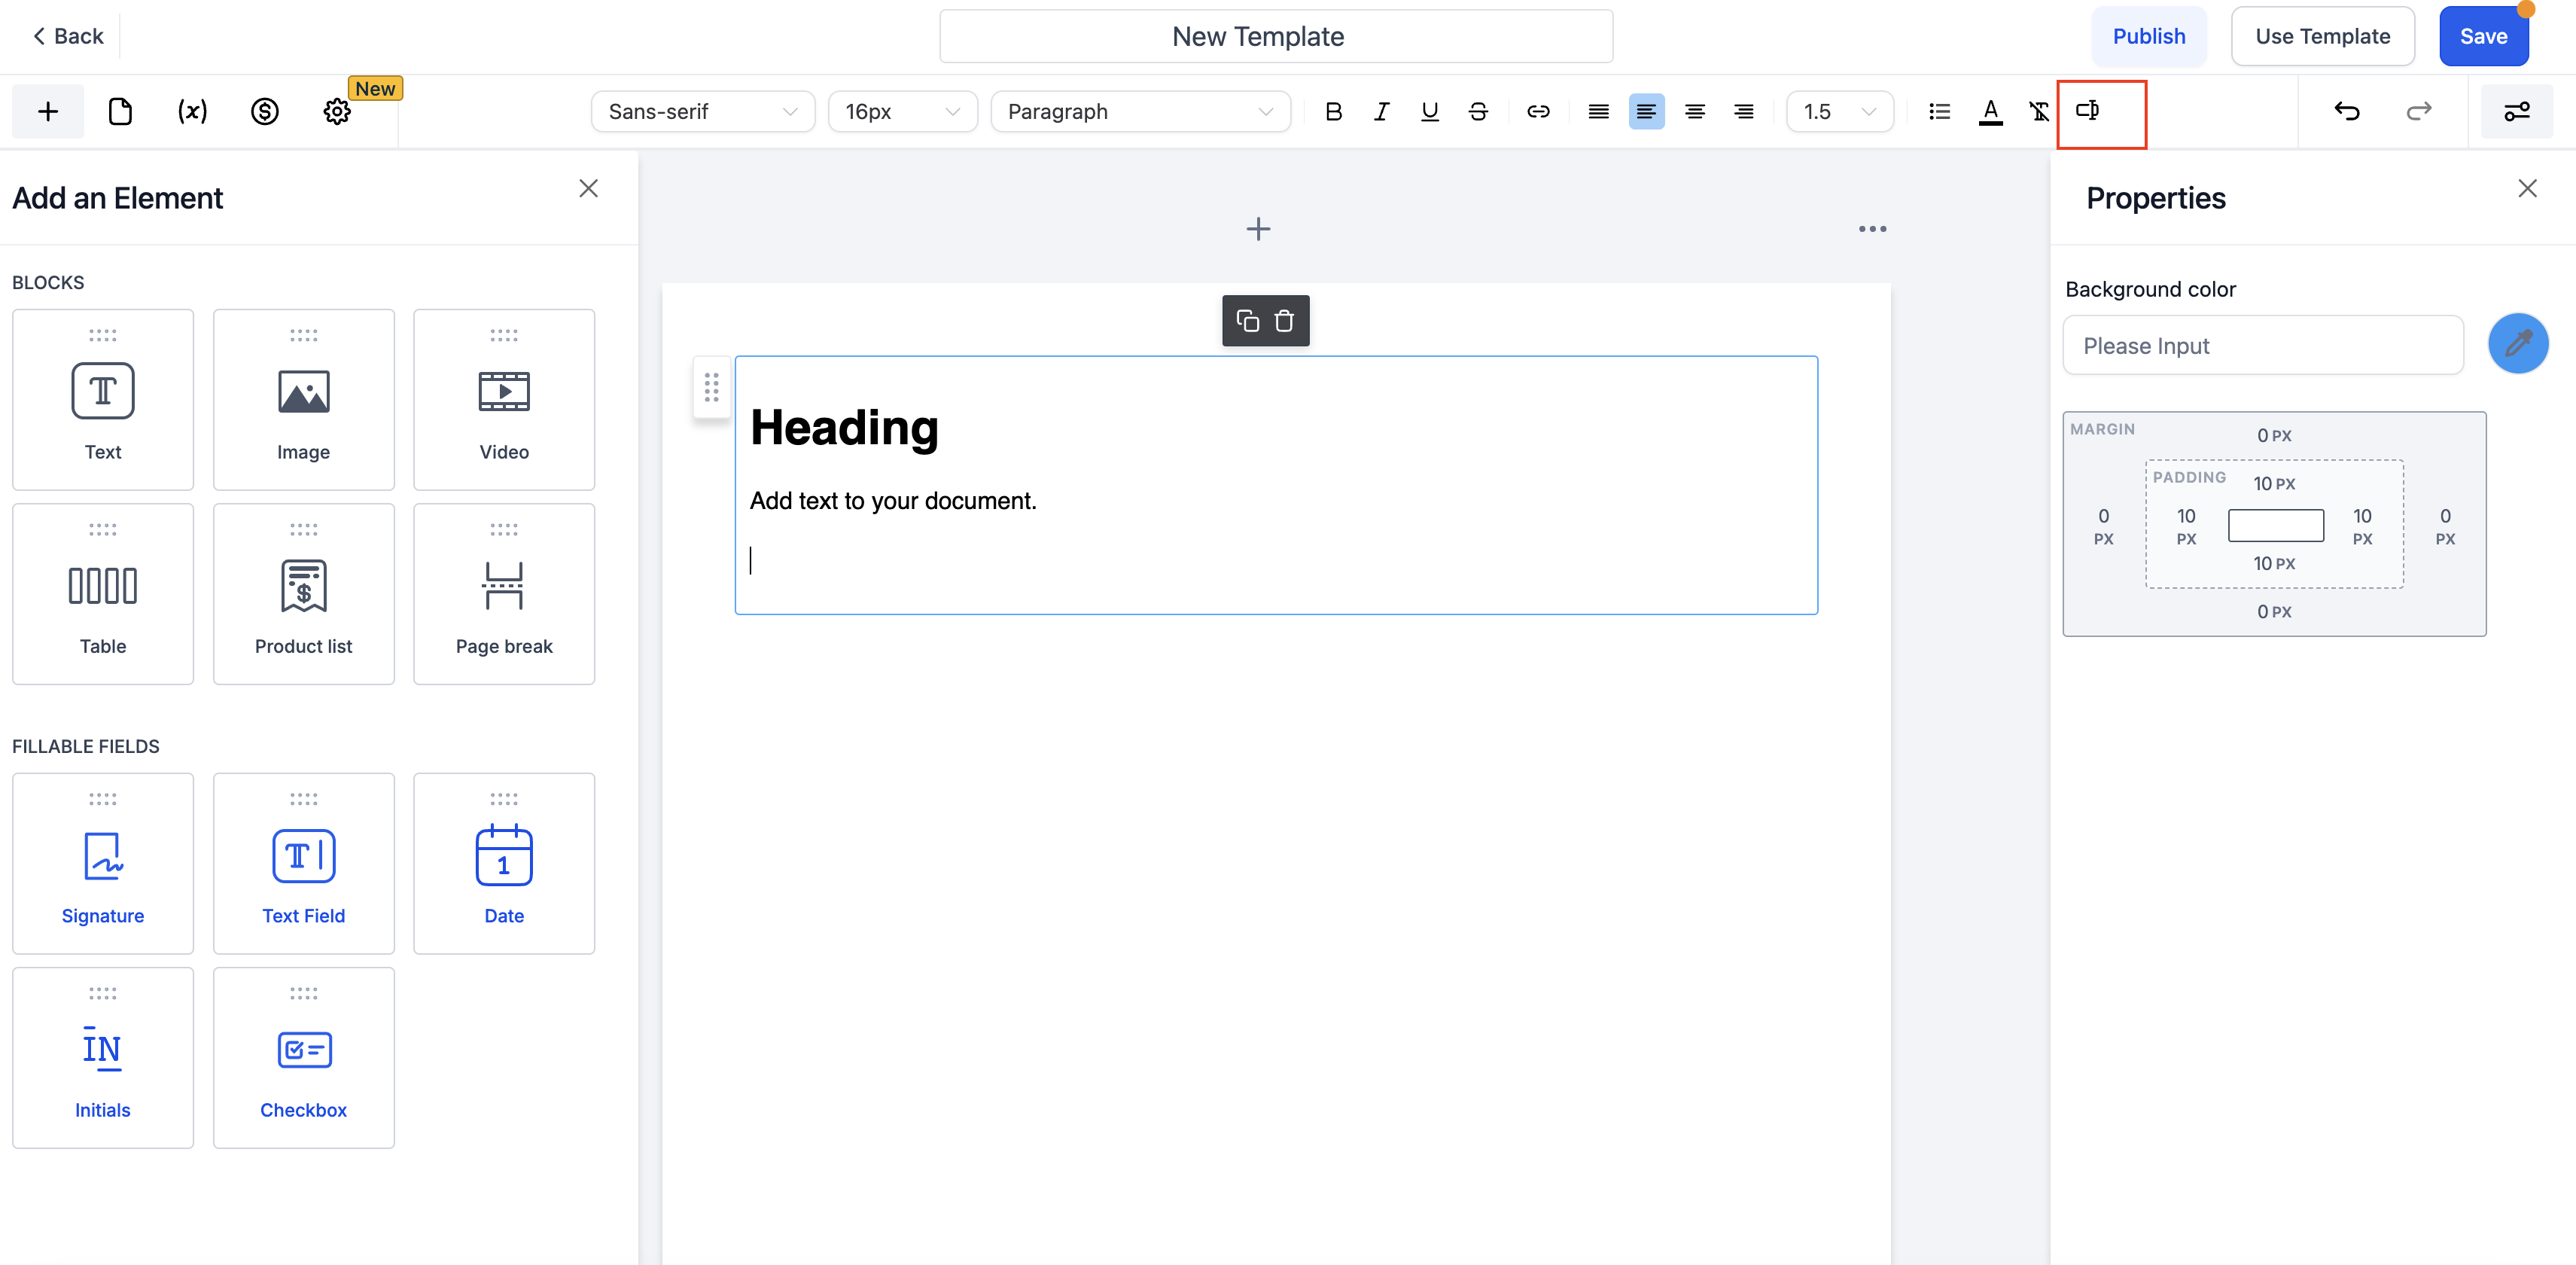
- Click the + icon and add a Text block or Table where the Opportunity information should appear.
- Place your cursor in the required location and click the Merge Fields icon.
- Select:
Contact → Custom Fields → Opportunity Details → Field Name
- Confirm that the merge-field token appears in the correct location.
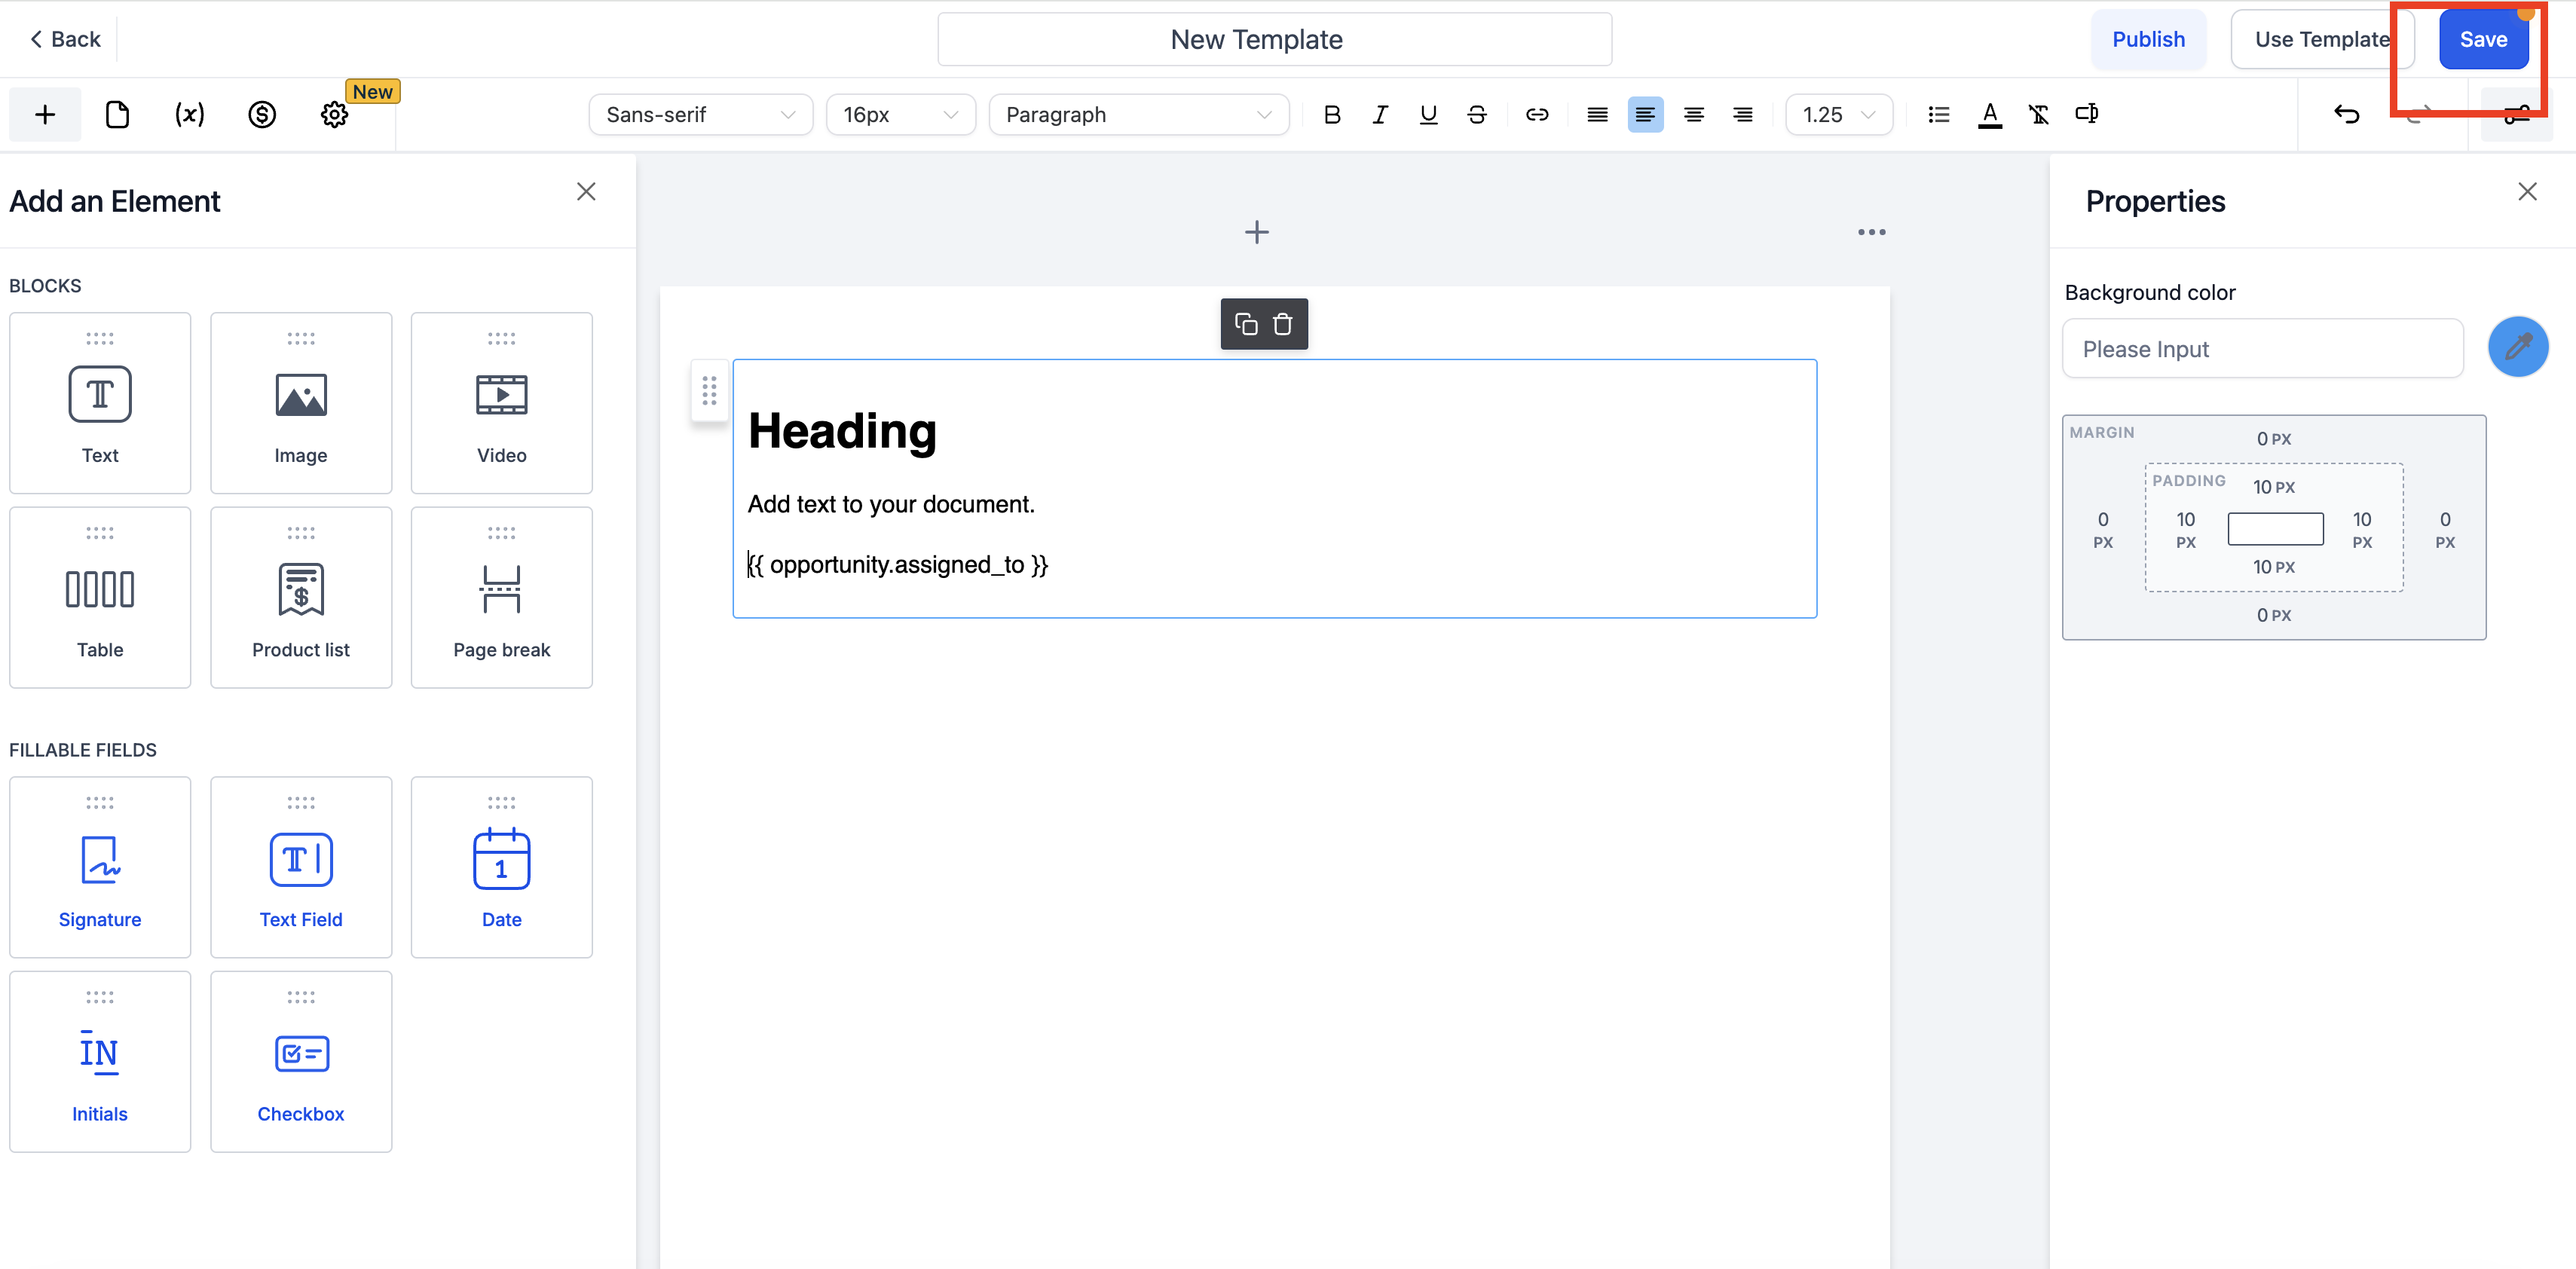
- Click Save.
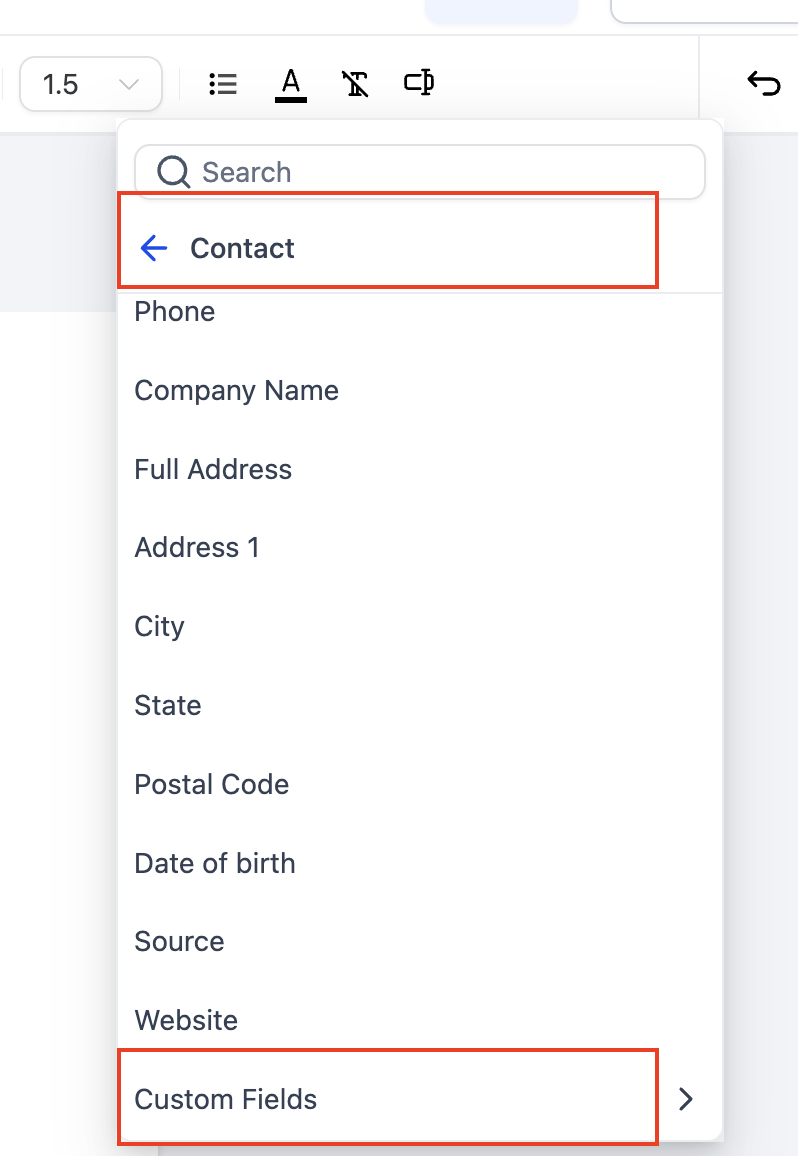
Tip: Select fields from the Merge Fields menu instead of manually typing a generic token such as {{opportunity.xyz}}. The menu inserts the exact token for the selected field.
How To Use the Template in a Workflow
An Opportunity-related workflow trigger gives the platform the deal context needed to populate the template’s Opportunity merge fields.
- Go to Automation → Workflows.
- Create a workflow or open an existing one.
- Add the trigger that matches your process:
- Pipeline Stage Changed: Starts the workflow when an Opportunity enters a selected stage.
- Opportunity Status Changed: Starts the workflow when an Opportunity moves to a status such as Won or Lost.
- Pipeline Stage Changed: Starts the workflow when an Opportunity enters a selected stage.
You only need both triggers when either event should start the workflow.
- Configure the trigger filters, such as the pipeline, stage, or status.
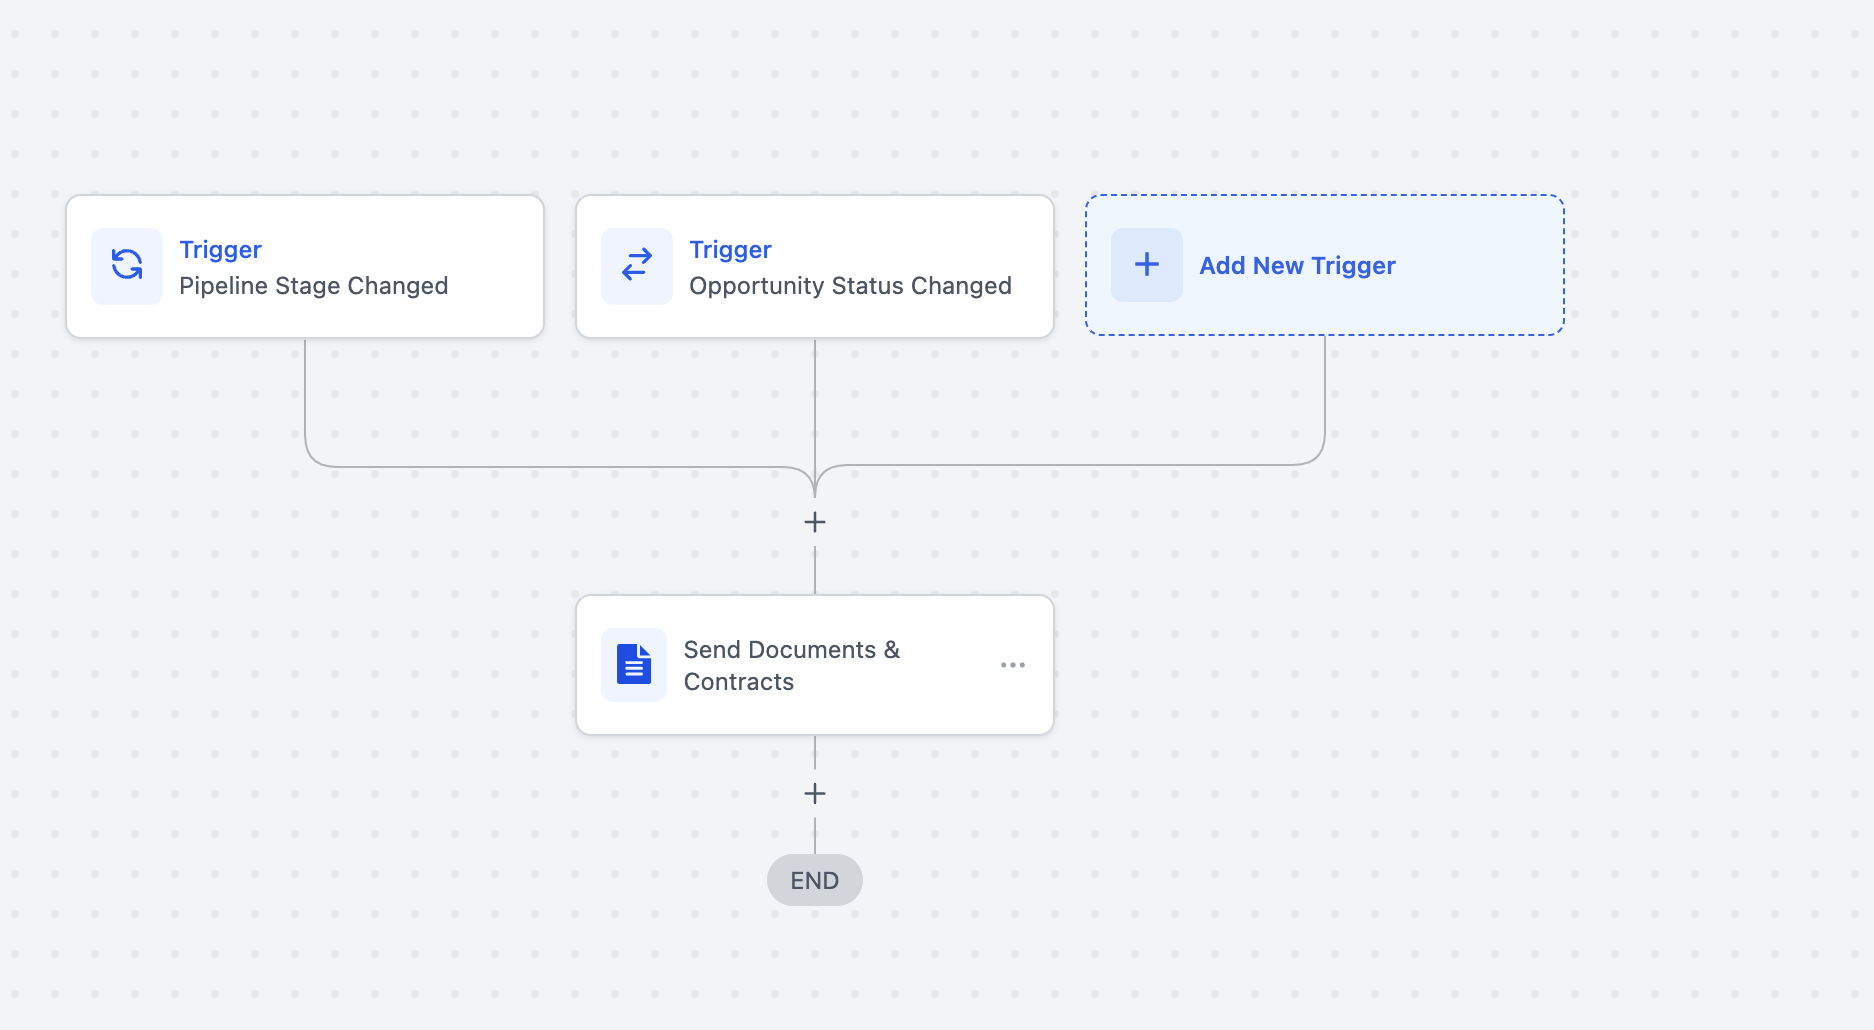
- Click + Add Action and select Send Documents & Contracts.
- Configure the action:
- Select the From User.
- Select the saved template.
- Choose Create as Draft or Send Directly.
- Select the delivery channel.
- Complete any required recipient or signer information.
- Select the From User.
- Click Save Action, then publish the workflow.
Use Create as Draft when testing. Open the generated draft and verify that every Opportunity field contains the expected value before changing the action to Send Directly.
Frequently Asked Questions
Q: Why is an Opportunity value blank in the generated document?
Confirm that the field contains a value on the Opportunity that triggered the workflow. Also verify that you selected the field under Opportunity Details and saved the template before the workflow ran.
Q: Why is the merge-field token still visible?
The token normally remains visible while editing the template. It should be replaced when the workflow generates the document. If it remains in the generated document, reinsert the field using the Merge Fields menu and test again.
Q: Can I manually type an Opportunity merge field?
Yes, but the token must match the field’s exact merge key. Using the Merge Fields menu is recommended because it reduces typing and formatting errors.
Q: Which workflow trigger should I use?
Use Pipeline Stage Changed when the document should be created at a particular pipeline stage. Use Opportunity Status Changed when it should be created after a status change, such as when a deal is marked Won.
Q: Why does my template not appear in the workflow action?
Confirm that you created a template rather than an individual document and clicked Save. Only saved templates can be selected in the Send Documents & Contracts action.
Q: Why did the document remain in Drafts instead of sending?
Check whether the action uses Create as Draft. Also confirm that the contact has a valid email address, which is required even when SMS delivery is selected.
Related Articles
Was this article helpful?
That’s Great!
Thank you for your feedback
Sorry! We couldn't be helpful
Thank you for your feedback
Feedback sent
We appreciate your effort and will try to fix the article