Learn how to create and configure Rooms to manage physical spaces and avoid double bookings. This article also shows how to connect Rooms with service calendars and equipment to streamline your scheduling.
TABLE OF CONTENTS
- What is a Room?
- Key Benefits of Rooms
- How to Set Up Rooms
- Editing or Deleting a Room
- Frequently Asked Questions
- Related Articles
What is a Room?
Rooms are assignable resources used to control scheduling, availability, and resource management within service calendars. Whether you’re managing consultation rooms, service bays, therapy spaces, or event areas, Rooms help prevent double-bookings and ensure resources are properly allocated across your business. Rooms can also be tied to equipment, users, and availability settings, making them essential for appointment-based workflows.
Key Benefits of Rooms
Understanding the benefits of using Rooms helps you maximize your scheduling efficiency and eliminate resource conflicts. Rooms ensure that spaces, tools, and people are aligned with your calendar logic to support a seamless booking experience.
Prevents double-booking by associating Rooms with calendars
Enables resource management by linking Rooms with equipment
Supports team-based access control with user or team assignment
Integrates with availability settings to control booking windows
Provides flexibility across multiple services while respecting availability
Optimizes workflows for appointment-based businesses
How to Set Up Rooms
Creating Rooms ensures your calendar availability aligns with physical spaces or virtual resources, preventing overlapping appointments and improving scheduling accuracy.
Step 1: Enable Rooms
- Navigate to Settings > Calendar Settings in the primary navigation bar
- Select the Preferences tab in the secondary navigation ribbon
- Select the Account Preference tab located under Preferences
- Turn on the blue Rooms toggle, located in the Services section
Click the blue button labelled Save Preferences in the bottom right corner

Step 2: Create a Room
- Return to the Calendars tab in secondary navigation ribbon of Calendar Settings
- Select the Rooms tab located under Calendar Settings
Click the blue button labeled + Create Room button in the top-right corner

Step 3: Provide Room Details
To set up your Room, complete the following fields:
Name: Assign a clear and specific name to identify the space (e.g., “Consultation Room 2”).
Description: Add additional notes about the Room’s intended use.
- Total Capacity: Specify maximum number of appointments that can be scheduled in the room simultaneously.
- Select Calendar: Choose the calendars you wish to associate with this equipment.
Once all details are entered, click Create to create the Room.

Editing or Deleting a Room
Keeping your Room list accurate helps prevent scheduling issues and user confusion. Whether you need to rename a Room, update the calendar it is linked to, or remove an unused Room entirely, these quick actions keep your workspace organized and functional.
- Navigate to Settings > Calendar Settings
- Select the Rooms tab
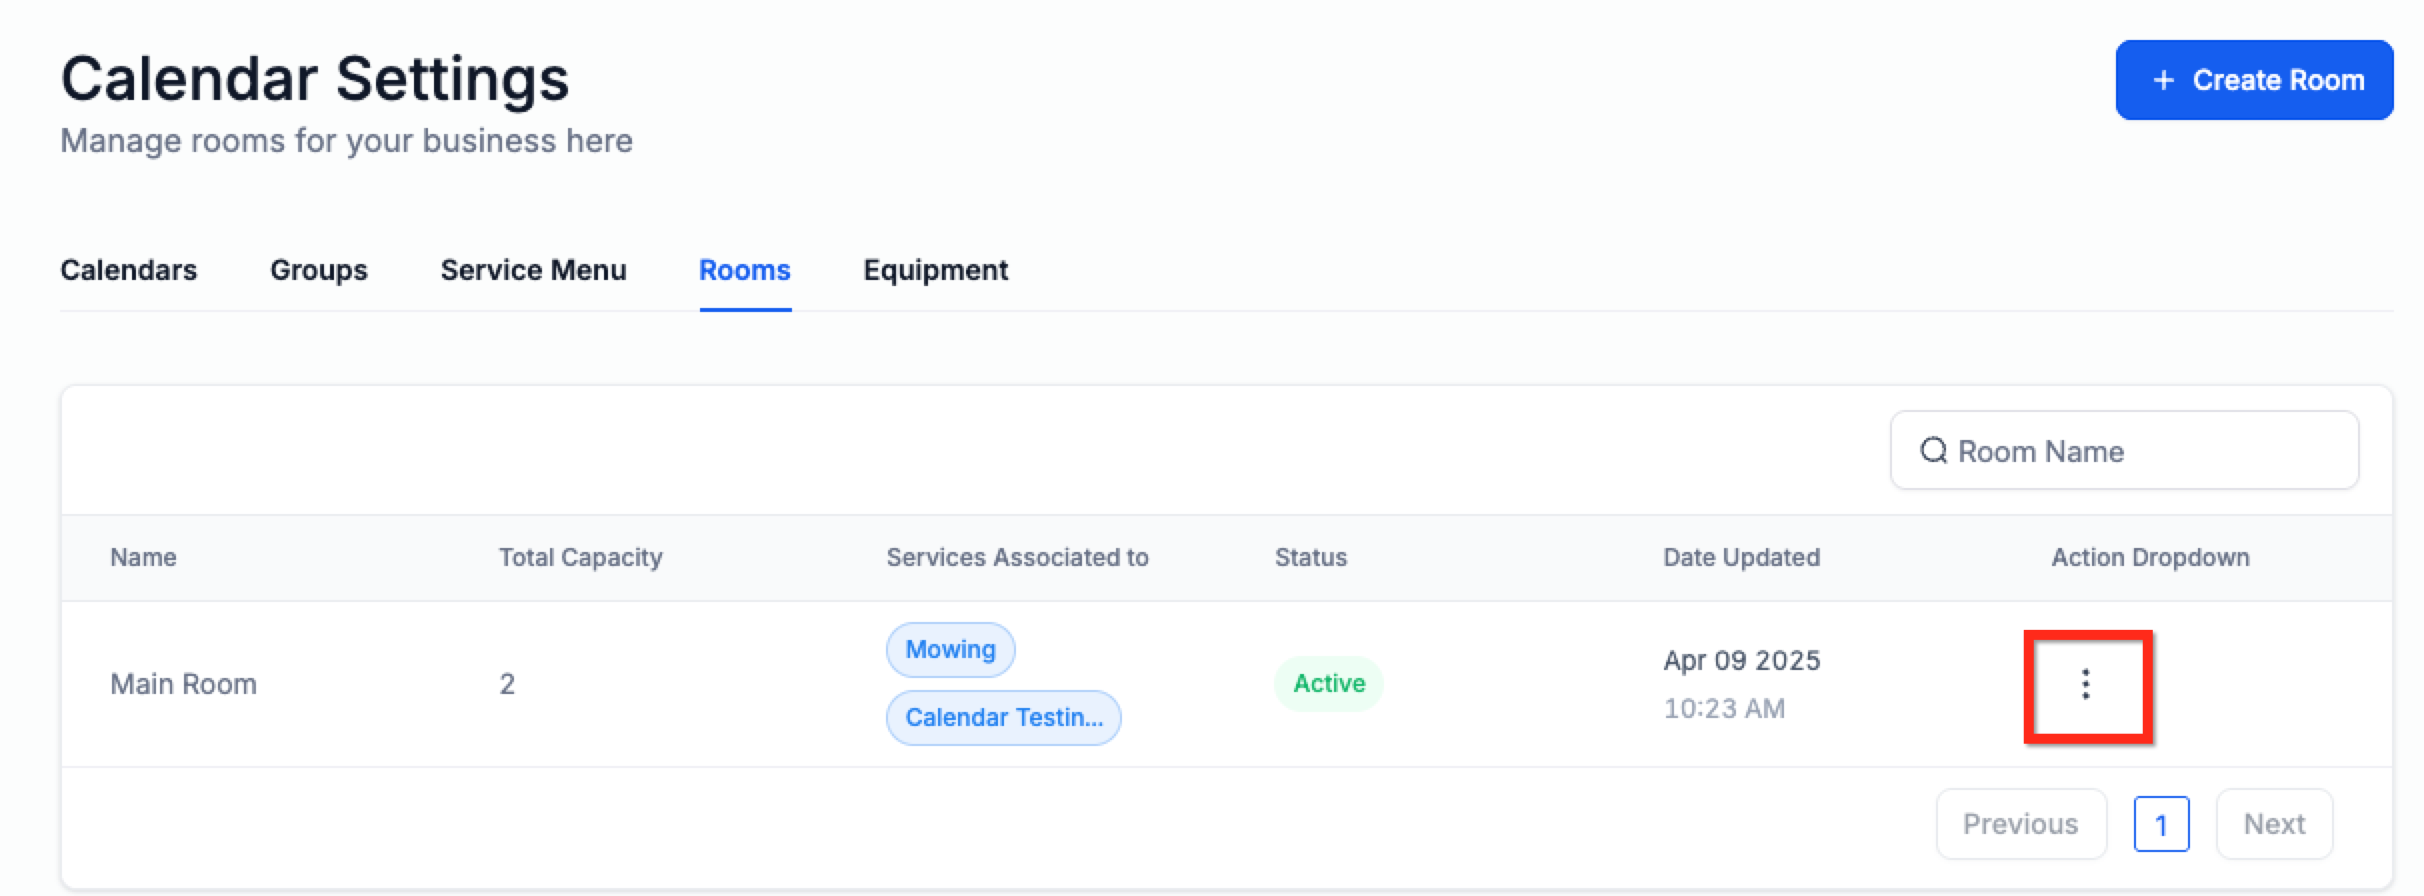
- Click the 3 Dots icon and choose Edit to edit Room or Delete to delete room
- Make your changes and click the blue button labeled Save
Frequently Asked Questions
Q: Can I assign the same Room to multiple calendars?
A: Yes, but overlapping bookings may occur if availability is not managed properly.
Q: Will users be notified when added to a Room?
A: Yes, notifications are sent when users are assigned to Rooms.
Q: Can clients see or join Rooms?
A: No. Rooms are only visible internally and used for managing resources.
Q: What happens if a Room isn’t linked to a calendar?
A: It won’t be factored into booking logic, which may result in double-bookings.
Q: Can I rename a Room after creation?
A: Yes. Rooms can be renamed anytime through the edit menu.
Q: How many Rooms can I create?
A: There’s no official limit, but keeping names and assignments organized is strongly recommended.
Related Articles
Was this article helpful?
That’s Great!
Thank you for your feedback
Sorry! We couldn't be helpful
Thank you for your feedback
Feedback sent
We appreciate your effort and will try to fix the article